
Radon is an invisible, odorless radioactive gas produced when uranium breaks down in soil and rocks. It can seep into your home through foundation cracks, accumulating silently and increasing your lung cancer risk over time. Testing is essential because you can’t detect it naturally. The best time to test is during late fall or winter when homes are sealed. Keep exploring to learn how to protect your family from this hidden hazard.
Key Takeaways
- Radon is a radioactive gas from uranium decay in soil, odorless and invisible, increasing lung cancer risk with prolonged exposure.
- Testing is essential because radon cannot be detected without specialized devices; ideal testing times are late fall or winter.
- Radon levels are measured in pCi/L; levels above 4 pCi/L require mitigation, while below 2 pCi/L are generally safe.
- Common testing methods include short-term, long-term, and continuous monitoring, with proper placement critical for accuracy.
- Regular re-testing every two years and after remodeling helps ensure ongoing safety and effective radon mitigation.
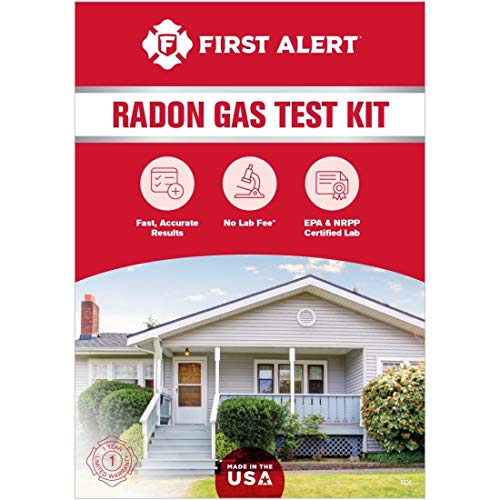
First Alert Radon Gas Test Kit, RD1
The simple and safe way to test for radon
As an affiliate, we earn on qualifying purchases.
As an affiliate, we earn on qualifying purchases.
What Is Radon and Why Is It a Hidden Home Hazard?
Have you ever wondered what radon is and why it can be dangerous inside your home? Radon is a naturally occurring radioactive gas that forms from the decay of uranium in soil and rocks. It’s invisible, odorless, and tasteless, so you can’t detect it without testing. Radon health risks are serious; prolonged exposure increases your chances of lung cancer, making it a significant hidden home hazard. Because radon can seep into your house through cracks in the foundation, it quietly accumulates without obvious signs. Ensuring home safety means understanding this threat and taking steps to keep radon levels low. Recognizing radon as a common, yet invisible risk helps you prioritize testing and mitigation to protect yourself and your loved ones.

Airthings 325 Corentium Home 2 Smart Digital Radon Detector – Portable and Easy-to-use Radon Testing with Bluetooth connectivity and Humidity & Temperature Sensors
THE ORIGINAL RADON DETECTOR, UPDATED: The same proven accuracy as the best-selling original Corentium Home, now with Bluetooth…
As an affiliate, we earn on qualifying purchases.
As an affiliate, we earn on qualifying purchases.
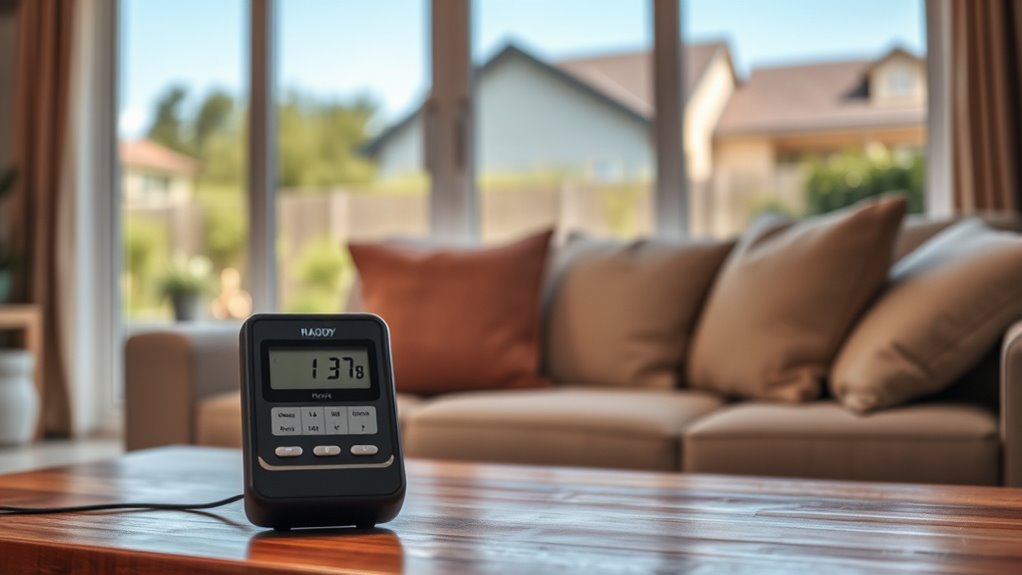
How to Test Your Home for Radon: A Simple Step-by-Step Guide

Testing your home for radon is a straightforward process that can substantially reduce health risks. To guarantee accurate radon detection, follow these simple steps:
- Choose a testing method—short-term or long-term radon detection devices—based on your needs.
- Place the test kit in the lowest livable area, away from drafts, humidity, and heat sources.
- Follow the instructions carefully, and leave the device undisturbed for the recommended time.
- Consider the accuracy of your measurements, which depends on proper placement and adherence to testing methods. Ensuring correct testing procedures can greatly influence the reliability of your results.
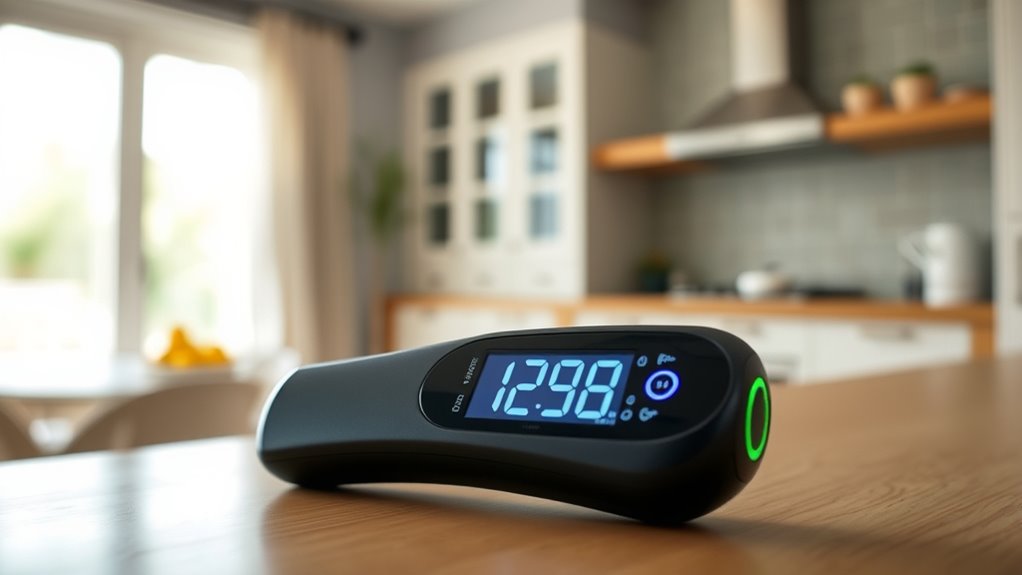
After completing the test, send the device to a lab or use a digital radon monitor for quick results. Remember, proper placement and adherence to testing methods are vital for reliable readings. Regular testing helps you stay informed and take action if radon levels are high.

Festa AMG Maverick Radon Fan – Quiet and Energy Efficient 260 CFM Radon Mitigation System Inline Duct Fan – 4" Electric Inline – Made with Sturdy Glass Reinforced Poly-Resin – White
✅ QUIET, ENERGY EFFICIENT OPERATION – This model has a power wattage of up to 70 watts which…
As an affiliate, we earn on qualifying purchases.
As an affiliate, we earn on qualifying purchases.
When Is the Best Time to Test for Radon in Your Home?

The timing of your radon test can impact the results, so it’s important to choose the right moment. Seasonal fluctuations can cause radon levels to vary throughout the year, and testing immediately after remodeling or before buying a home can provide more accurate readings. Knowing when to test helps make certain you get a clear picture of your home’s radon levels and take appropriate action. Additionally, understanding radiation exposure can help homeowners allocate resources effectively for mitigation if high radon levels are detected. Conducting tests during times of highest radon levels ensures more reliable results, especially since these peaks often occur during colder months when homes are less ventilated. Recognizing AI discoveries in related fields can also inspire innovative approaches to radon detection and mitigation techniques. Being aware of seasonal radon variation can further help homeowners plan the most effective testing periods.
Seasonal Radon Fluctuations
Since radon levels can vary throughout the year, understanding seasonal fluctuations is essential for accurate testing. During colder months, radon tends to increase because homes are sealed tighter, reducing ventilation and trapping radon indoors. In warmer months, natural ventilation and open windows often lower radon levels, improving indoor air quality. To get the most accurate reading, consider testing during periods of stable conditions, typically in late fall or winter. Keep in mind:
- Radon levels often peak in winter due to sealed homes.
- Seasonal variation can lead to misleading results if tested at the wrong time.
- Testing during stable conditions provides more reliable data on your home’s indoor air quality.
- Using chamber vacuum sealers and sealing gear under budget can ensure proper storage of radon test kits, maintaining their accuracy. Proper testing procedures and understanding of seasonal radon fluctuations are crucial for accurate results.
- Awareness of indoor air quality factors can help you interpret radon test results more effectively.
Being aware of these fluctuations helps you determine the best time for radon testing, ensuring you get an accurate assessment.
Post-Remodel Testing Timing
After completing a home remodel, it’s important to choose the right time to test for radon to guarantee accurate results. Remodeling impact can temporarily alter your home’s ventilation and structural integrity, which might influence radon levels. To get a clear reading, it’s best to wait at least 48 hours after finishing the project before conducting post-project testing. This pause allows any disturbances caused by construction, such as dust or changes in airflow, to settle. Testing too soon might produce skewed results, either overestimating or underestimating the true radon levels. Remember, post-remodel testing helps ensure your home’s radon levels are safe after significant changes, giving you peace of mind that your living environment remains healthy and secure.
During Home Purchase
Timing is crucial when testing for radon during the home purchase process. The best time to test is before closing, giving you an accurate picture of radon sources and health risks. Testing early ensures you can negotiate repairs or mitigation if radon levels are high.
Consider these key points:
- Conduct testing during winter or colder months when windows stay closed, increasing test accuracy.
- Use a long-term test to account for seasonal variations in radon levels.
- Testing after any renovations helps identify new radon sources affecting indoor air quality.
- Employing proper testing protocols enhances the reliability of your radon assessment during this critical period.
- Additionally, understanding radon mitigation options can help you prepare for potential issues identified during testing.
- Being aware of radon level fluctuations throughout different seasons can further inform your decision-making process.

Airthings Corentium Home Radon Detector 223 Portable, Lightweight, Easy-to-Use, (3) AAA Battery Operated, USA Version, pCi/L
FIRST OF ITS KIND: The first battery-operated, digital radon detector. Monitor your home without the need for an…
As an affiliate, we earn on qualifying purchases.
As an affiliate, we earn on qualifying purchases.
How Often Should You Re-Test for Radon?
To guarantee your home’s radon levels remain safe, it’s important to re-test regularly. Many people believe radon testing myths, like thinking one test is enough or that levels won’t change over time. In reality, radon levels can fluctuate due to weather, seasons, and home renovations. Radon level fluctuations can be influenced by various environmental factors, making consistent re-testing essential. Additionally, testing accuracy can vary depending on the conditions during testing, so repeated tests help ensure reliable results. The EPA recommends testing at least every two years, especially if your initial test was near the action level. If you’ve made significant changes to your home or if a previous test showed high radon levels, re-testing sooner is wise. Don’t fall for testing myths that suggest radon is only a concern during certain times. Radon mitigation strategies can help reduce high levels if detected early. Regular testing ensures your home stays safe and helps you catch any changes early. Unexpected weather changes can also lead to sudden fluctuations in radon levels, making consistent re-testing even more important. Staying informed about radon testing methods can further improve your understanding and safety.
Understanding Radon Safety Levels: What Do the Numbers Mean?
Understanding Radon Safety Levels: What Do the Numbers Mean?
When you receive your radon test results, it’s important to understand what the numbers indicate. Radon levels are categorized to show whether your home is safe or needs action. Knowing how to interpret these results helps you make informed decisions to protect your health. Recognizing early warning signs of elevated radon levels can prompt timely testing and mitigation efforts. Additionally, staying updated on wall art trends such as digital frames and interactive murals can contribute to creating a healthier and more aesthetically pleasing living environment. Being aware of home environment factors, like ventilation and air quality, can also influence radon concentration levels in your home. Regularly assessing air quality indicators can help identify issues before they become more serious, ensuring a safer indoor environment. Monitoring piercing care and hygiene in your home environment can also reduce exposure to potential irritants that may affect your overall health.
Radon Level Categories
Have you ever wondered what your radon test results really mean? Radon level categories help you understand your risk and necessary actions. These radon categories are based on level thresholds set by health authorities. Generally, they are:
- Below 2 pCi/L – Considered safe, but testing is still recommended.
- 2 to 4 pCi/L – Moderate risk; mitigation might be advisable.
- Above 4 pCi/L – High risk; mitigation is strongly recommended to reduce exposure.
Understanding these categories helps you determine whether your home needs action or continued monitoring. The thresholds are designed to protect health, but the importance of testing and knowing your levels cannot be overstated. Regular home testing methods are essential for accurate assessment and ongoing safety. Always consult local guidelines and professionals for personalized advice.
Interpreting Test Results
Interpreting your radon test results is straightforward once you understand what the numbers mean. Radon levels are measured in picocuries per liter (pCi/L), indicating the concentration of radon gas in your home. During test interpretation, compare your results to safety guidelines; the EPA recommends taking action if radon levels are 4 pCi/L or higher. If your test shows levels below this threshold, you’re generally safe, but ongoing testing can help ensure continued safety. Elevated radon levels don’t always mean immediate danger, but they do indicate a need for mitigation. Knowing how to interpret these numbers helps you decide whether to implement radon reduction systems or seek professional advice. Clear test interpretation empowers you to protect your home and health effectively.
What Are Your Options for Radon Mitigation and How Do They Work?
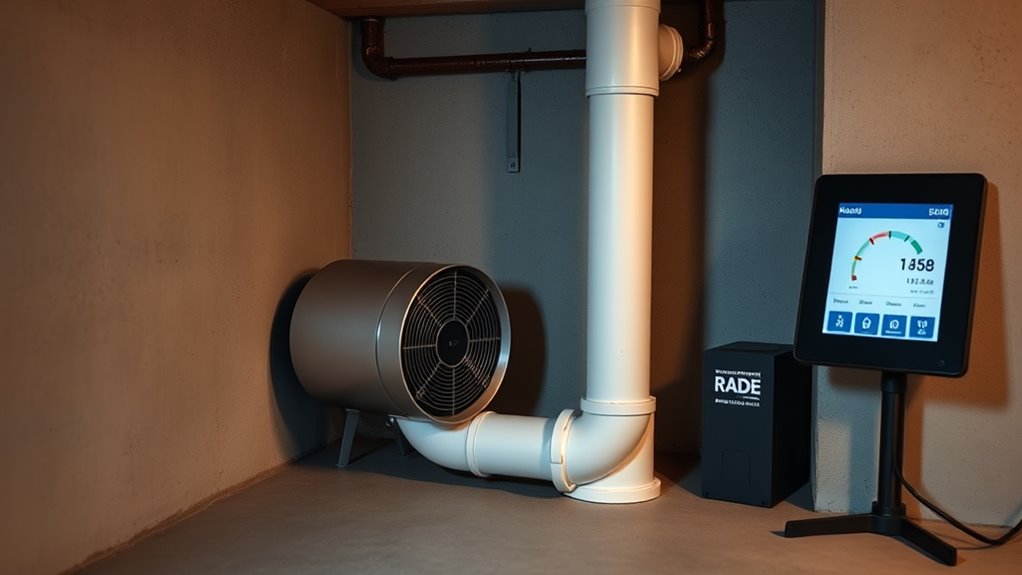
Are you wondering how to reduce radon levels effectively? The key options include installing radon barriers, ventilation systems, or a combination of both. Radon barriers are physical membranes placed beneath or around your home’s foundation to block radon entry. Ventilation systems, like active soil depressurization, draw radon from beneath the house and vent it outside, preventing buildup. Here are your main choices:
To reduce radon, install barriers, ventilation, or both to keep indoor air safe and healthy.
- Radon barriers to prevent entry.
- Ventilation systems to reduce indoor radon concentrations.
- Sealing cracks and openings to minimize radon leaks.
These methods work together to lower radon levels, making your home safer. Choosing the right approach depends on your home’s structure and radon levels, but combining barriers with ventilation typically offers the best results.
Common Questions About Radon Testing and Mitigation

Many homeowners ask about the best ways to test for radon and whether their mitigation efforts are effective. Testing is essential because radon health risks increase with higher levels. Common questions include how often to test and which methods are most reliable. Short-term tests provide quick results, while long-term tests give a more accurate picture. Ventilation solutions can considerably reduce radon levels, but their effectiveness varies. Here’s a quick comparison:
| Test Type | Duration | Best Use |
|---|---|---|
| Short-term | 2-90 days | Initial screening |
| Long-term | Over 90 days | Accurate radon level assessment |
| Continuous | Continuous | Ongoing radon monitoring |
| Professional | Varies | Detailed, certified testing |
Understanding these options helps you make informed decisions to protect your family’s radon health effectively.
Taking Action: Protect Your Family From Radon Risks

Taking action to protect your family from radon risks requires prompt and effective steps. Increasing radon awareness is key to maintaining home safety. First, get your home tested if you haven’t recently. Second, install a radon mitigation system if levels are high. Third, regularly monitor radon levels to ensure ongoing safety. These actions help reduce exposure and safeguard your loved ones from lung cancer risks associated with radon. Remember, early detection and mitigation are essential in creating a safe living environment. By staying informed and proactive, you ensure your home remains a healthy space for your family. Taking these steps demonstrates your commitment to home safety and radon awareness, giving you peace of mind and protecting those you care about most.
Frequently Asked Questions
Can Radon Levels Vary Seasonally or Daily?
Yes, radon levels can vary seasonally and daily. You might notice higher concentrations during colder months when homes are sealed, trapping radon inside. Daily fluctuations can also occur due to changes in weather, ventilation, or use of appliances. To get accurate readings, you should test during different seasons and times of day, as these variations help you understand your home’s true radon risk.
Are There Health Risks From Low-Level Radon Exposure?
While low-level radon exposure may seem harmless, it still poses potential health risks. You might think small amounts are safe, but long-term exposure can increase your risk of lung cancer. Radon health concerns aren’t just for high levels—continuous low-level exposure adds up over time. To protect yourself, it’s wise to test regularly, even if you suspect radon isn’t a big problem in your home.
How Long Should a Radon Test Last for Accuracy?
For accurate radon detection, you should conduct a radon test for at least 48 hours. Longer testing durations, like 3 to 7 days, improve reliability, especially if radon levels fluctuate. Short-term tests are useful for quick assessments, but if you want precise results, a longer testing duration helps identify consistent radon exposure. Always follow the device manufacturer’s instructions for ideal testing conditions.
Are Professional Radon Testing Services Reliable?
Think of professional radon testing services as a watchful lighthouse guiding you through foggy waters. They’re generally reliable because they follow strict standards, ensuring testing accuracy. Certified technicians use calibrated equipment, so you can trust their results. While no test is perfect, choosing a certified service minimizes risks. You’ll get a clear picture of radon levels, helping you make informed decisions to protect your health and home.
What Are the Costs Associated With Radon Mitigation?
The cost of radon mitigation varies depending on factors like home size, foundation type, and radon levels. Typically, you’ll spend between $800 and $2,500. Cost factors include the type of mitigation system needed, whether you require additional sealing, and local labor rates. You should get a professional assessment to determine specific costs, ensuring your home’s radon levels stay safe without overpaying.
Conclusion
Now that you know the basics about radon and how to test for it, aren’t you motivated to take action? Regular testing and proper mitigation can protect your family from this hidden hazard. Remember, radon levels can change over time, so staying vigilant is key. Don’t wait until it’s too late—what’s stopping you from ensuring your home is safe today? Your family’s health is worth the effort.