
To pick a laser level, first identify the type you need—line lasers for indoor tasks or rotary lasers for outdoor projects. Check for essential features like accuracy within ±1/8 inch at 30 feet and guarantee it meets your range requirements. Consider your budget and whether a professional model is worth the investment. Don’t forget about accessories like tripods for stability. With these guidelines in mind, you’ll be well on your way to making the right choice. More insights await!
Key Takeaways
- Determine the type of laser level needed (line, rotary, or dot) based on your specific project requirements and working environment.
- Assess the accuracy and range specifications to ensure the laser level meets your distance and precision needs for the task.
- Consider your budget and frequency of use; choose between budget-friendly models for occasional tasks or professional levels for regular use.
- Look for essential accessories like a stable tripod and quick-release mechanism to enhance setup and usability during projects.
- Check for maintenance guidelines and proper surface conditions to ensure optimal performance and accurate measurements throughout your projects.
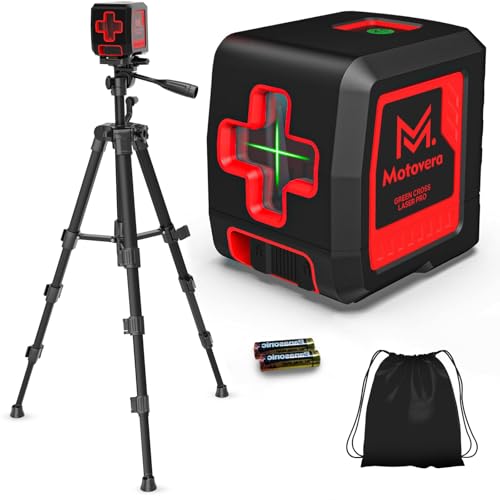
Motovera Self Leveling Laser Level 100ft, Green Cross Line with Tripod, 4 Brightness Modes & Pulse Function, Manual & Self-Leveling Modes, IP54 Waterproof for Picture Hanging, Tile, DIY Construction
【Ultra-Bright Green Beam & High-Precision Accuracy】Powered by an advanced green laser diode, this tool delivers 4X the brightness…
As an affiliate, we earn on qualifying purchases.
As an affiliate, we earn on qualifying purchases.
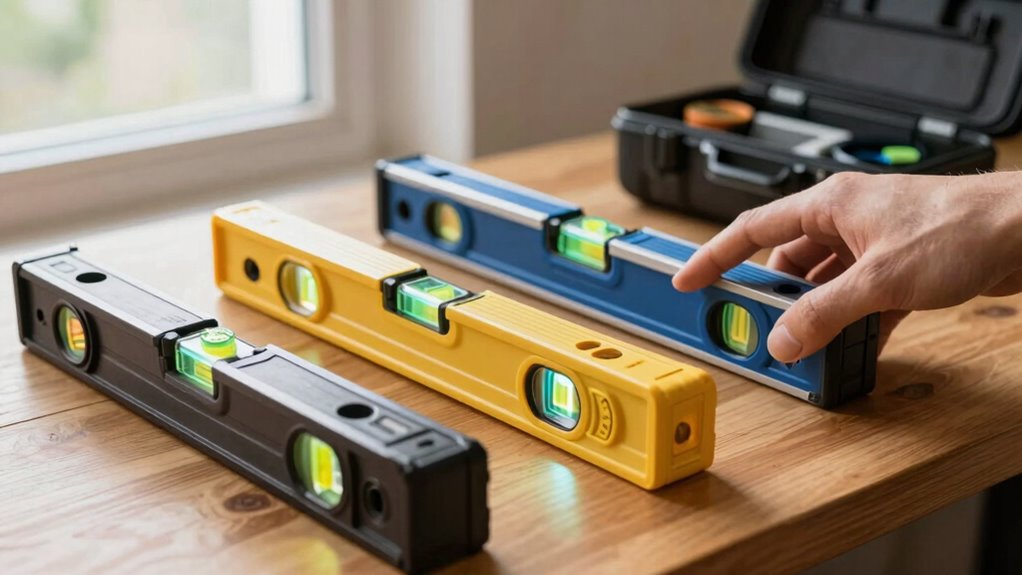
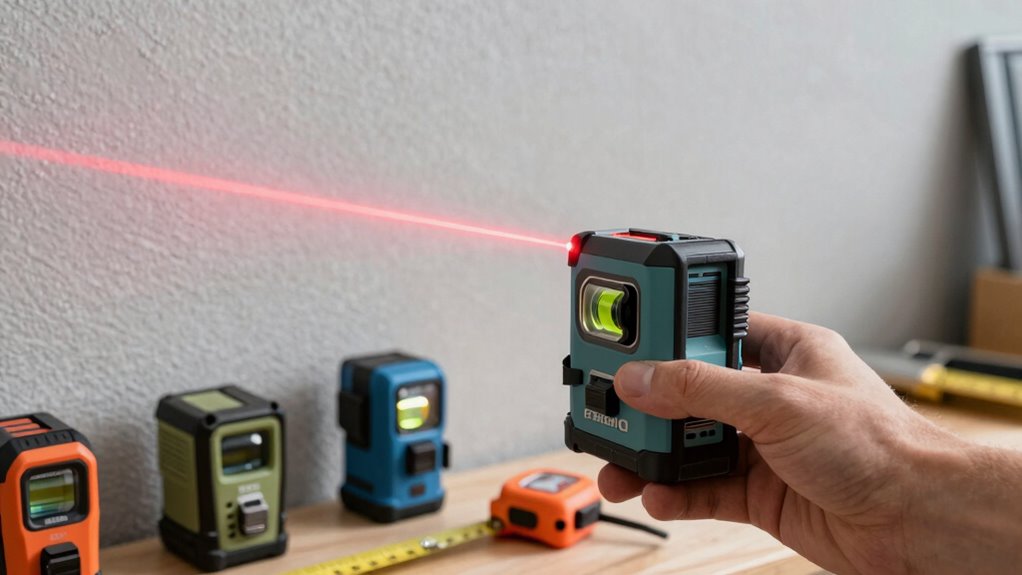
Understanding the Different Types of Laser Levels
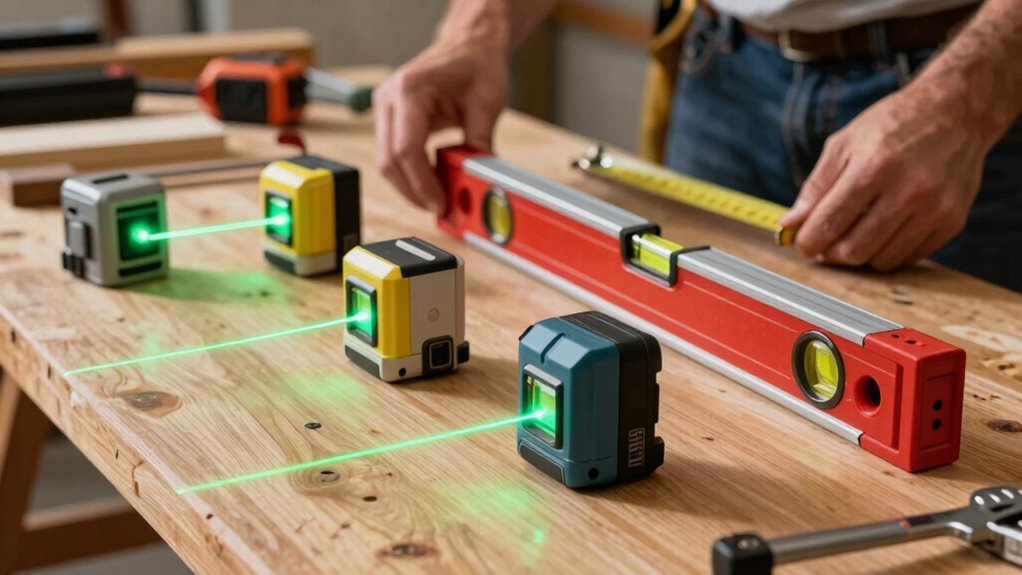
When you’re choosing a laser level, it’s essential to understand the different types available, as each serves a specific purpose. Line laser levels project a straight beam of light, ideal for tasks like hanging pictures or aligning objects over short distances. They’re user-friendly and perfect for indoor projects. On the other hand, rotary laser levels are more versatile and can project a 360-degree beam, making them excellent for larger outdoor tasks like grading or landing foundations. These levels often come with more features, such as self-leveling capabilities. By knowing the differences between line and rotary laser levels, you can select the right tool for your specific needs, ensuring your projects are accurate and efficient.

VEVOR Rotary Laser Level Kit, 984ft 360-Degree Self Leveling Red Horizontal Laser Transit,with Tripod,Receiver,Remote Control, Scale, Toolcase, IP54 Waterproof, 0.12in/100ft Precision for Construction
360-Degree Rotating Scan: Self-leveling rotary laser level for efficient site-wide leveling and alignment. ±5° self-leveling with manual mode….
As an affiliate, we earn on qualifying purchases.
As an affiliate, we earn on qualifying purchases.
Essential Features for Choosing a Laser Level
Choosing the right laser level involves considering several essential features that can greatly impact your project’s accuracy and ease of use. Here are four key aspects to keep in mind:
- Laser Level Types: Decide between rotary, line, or dot levels based on your needs.
- Leveling Accuracy: Look for models that offer precision within ±1/8 inch at 30 feet for reliable results.
- Range: Confirm the laser level can cover the distance required for your project, especially for larger spaces.
- Self-Leveling Capability: Opt for self-leveling models to save time and improve accuracy during setup.
Motovera Self Leveling Laser Level 100ft, Green Cross Line with Tripod, 4 Brightness Modes & Pulse Function, Manual & Self-Leveling Modes, IP54 Waterproof for Picture Hanging, Tile, DIY Construction
【Ultra-Bright Green Beam & High-Precision Accuracy】Powered by an advanced green laser diode, this tool delivers 4X the brightness…
As an affiliate, we earn on qualifying purchases.
As an affiliate, we earn on qualifying purchases.
How to Choose the Right Laser Level for Your Project
Understanding the different laser level types and their features sets the stage for selecting the right one for your project. Consider the laser level applications you’ll be using. If you’re tackling simple tasks like hanging pictures or shelving, a basic line laser might suffice. For more complex projects, such as installing cabinets or flooring, a rotary laser level offers greater precision and versatility.
Next, assess your project’s complexity. If you’re working on larger areas or multi-level installations, opt for a laser level with extended range and advanced features. This guarantees you achieve accurate results without frustration. By matching the type of laser level to your specific applications and project complexity, you’ll set yourself up for success in any endeavor.
DEWALT Laser Level Tripod, ¼ x 20 Thread Mount, Collapsible Legs, Non-Skid Feet, Carrying Pouch Included (DW0881T)
DEWALT laser has aluminum construction
As an affiliate, we earn on qualifying purchases.
As an affiliate, we earn on qualifying purchases.
Evaluating the Accuracy and Range of Your Laser Level
How accurately can your laser level measure distances? To guarantee you get precise results, you need to evaluate both accuracy measurement and range testing. Here’s how to do it:
To ensure precision with your laser level, assess both its accuracy and range through careful testing.
- Check the specifications: Look for the manufacturer’s accuracy rating, usually expressed in millimeters per 10 meters.
- Perform a calibration test: Set up your laser level and measure against a known distance to confirm accuracy.
- Test the range: Use your level at various distances to see if the lines remain straight and true.
- Evaluate environmental factors: Consider how lighting conditions and surfaces can affect performance.
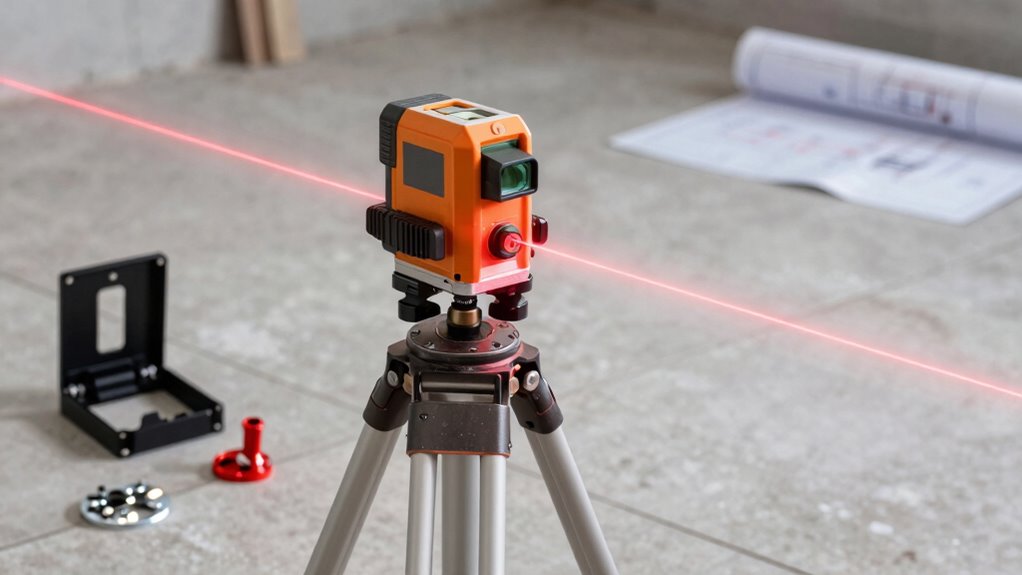
Budget vs. Professional Laser Levels

When you’re deciding between budget and professional laser levels, consider your specific needs and how often you’ll be using the tool. A budget laser level is perfect for occasional DIY projects around the house. These models typically offer basic functionality and accuracy, making them suitable for simple tasks like hanging pictures or aligning shelves. However, if you’re a contractor or plan to use the tool frequently, a professional laser level is worth the investment. Professional lasers provide enhanced features, greater accuracy, and durability, ensuring they withstand rigorous use. Ultimately, think about the projects you’ll tackle and choose a level that matches your frequency of use and complexity. Your choice will impact your results and satisfaction in the long run.
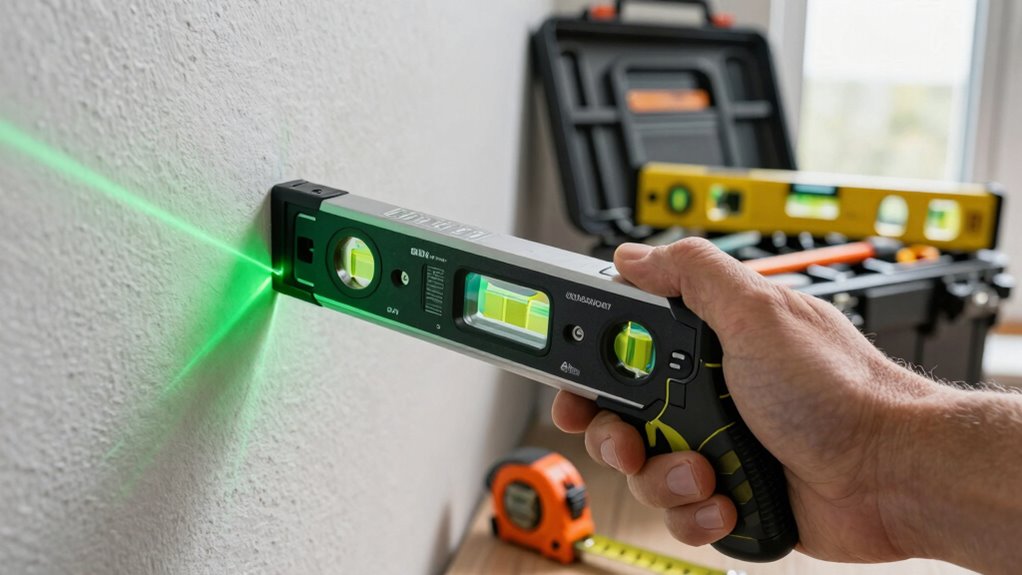
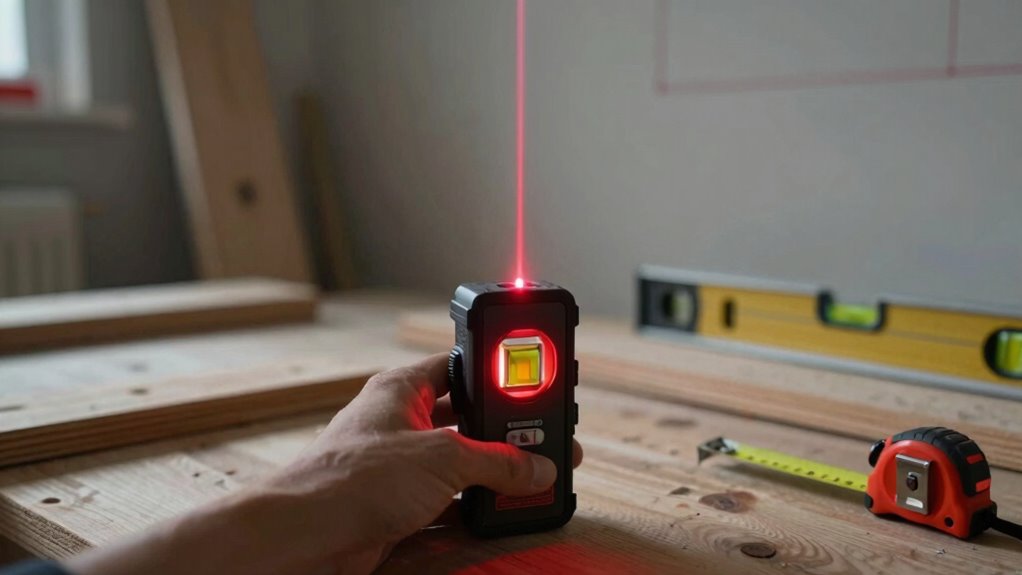
Why Visibility and Brightness Matter in Laser Levels
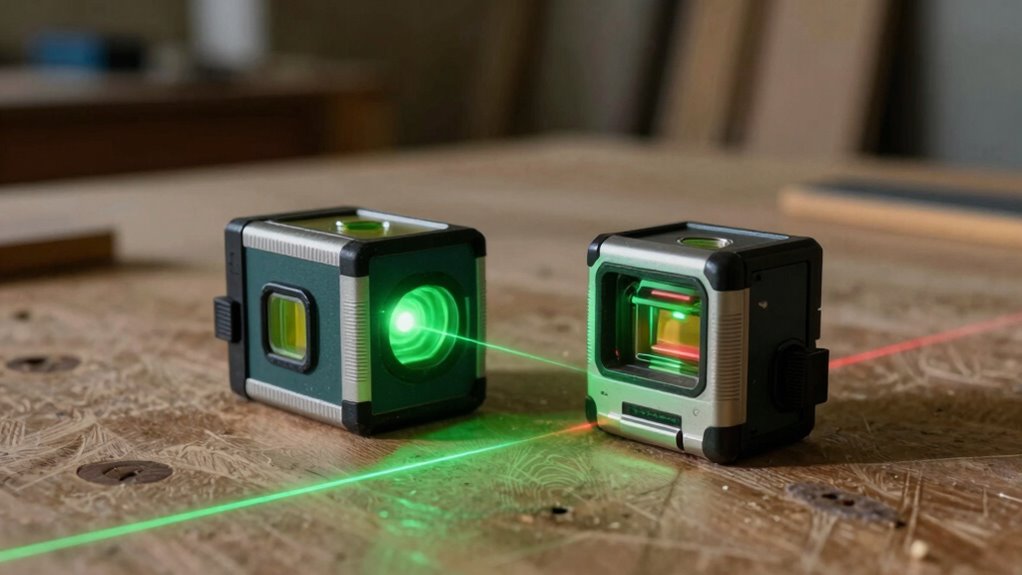
Laser levels are all about precision, and visibility plays an essential role in achieving that accuracy. When you’re choosing a laser level, consider these key factors regarding visibility and brightness:
- Laser Color: Red lasers are common but less visible in bright light. Green lasers are brighter and easier to see, especially outdoors.
- Beam Divergence: A narrow beam divergence means less spreading, resulting in a sharper line at longer distances.
- Brightness: Higher brightness levels guarantee the laser line remains visible in various lighting conditions.
- Range: Confirm the laser level has a sufficient range for your specific projects, particularly if you’re working outdoors.
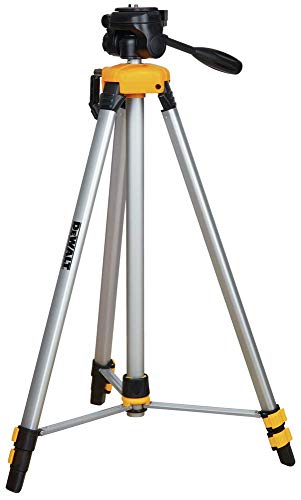
Accessory Considerations: Tripods, Mounts, and More
When you’re setting up your laser level, the right accessories can make all the difference. Consider essential tripod features and various mounting options to guarantee ideal stability and versatility. Let’s explore how these tools can enhance your leveling experience.
Essential Tripod Features
Choosing the right tripod for your laser level can greatly enhance your accuracy and ease of use. Here are four essential features to take into account:
- Tripod Stability: A sturdy tripod minimizes vibrations, ensuring precise measurements.
- Adjustable Height: Look for a tripod that allows you to easily adjust its height to suit different project needs.
- Material: Opt for lightweight yet durable materials, like aluminum, for easy transport without sacrificing strength.
- Quick-Release Mechanism: This feature lets you set up and take down your laser level quickly, saving you time on the job site.
Mounting Options Explained
Having a reliable tripod is just one part of ensuring your laser level performs at its best. You’ll also want to take into account various mounting options to suit your project needs. For wall mounting, you can easily attach your laser level directly to a wall bracket, providing a stable reference point. If you’re working overhead, ceiling mounting allows you to project lines from above, perfect for aligning fixtures. Tripod mounting offers versatility and adjustability, especially on uneven surfaces. Finally, magnetic mounting is ideal for quick setups on metal surfaces, giving you flexibility without additional tools. By exploring these options, you’ll maximize the effectiveness and functionality of your laser level for any task.
How to Use a Laser Level Effectively
To use a laser level effectively, you’ll want to start by selecting the right spot for setup. This guarantees accuracy in your projects. Here are some essential laser level techniques to follow:
Selecting the right setup spot is crucial for ensuring accuracy in your laser level projects.
- Position the level: Set it on a stable surface or mount it securely.
- Adjust the height: Make sure the laser line aligns with your intended reference point.
- Check the calibration: Verify that the level is properly calibrated to avoid misalignment.
- Utilize the laser line: Use the projected line for marking, measuring, or aligning objects based on your laser level applications.
Top Mistakes to Avoid When Using a Laser Level
When using a laser level, it’s easy to make critical mistakes that can throw off your project. Misalignment of laser beams, ignoring surface conditions, and overlooking battery life can lead to inaccurate results. By avoiding these common pitfalls, you’ll guarantee a smoother and more successful leveling experience.
Misalignment of Laser Beams
Misalignment of laser beams is a common mistake that can lead to frustrating inaccuracies in your projects. To guarantee that your laser level performs at its best, follow these tips:
- Check beam divergence: Understand how your laser beam spreads over distance to avoid misalignment.
- Use calibration methods: Regularly calibrate your laser level to maintain accuracy.
- Position correctly: Make sure your laser level is set on a stable surface and adjusted to the height you need.
- Verify alignment: After setting up, double-check the laser line against a reference point to confirm it’s straight.
Ignoring Surface Conditions
Ignoring surface conditions can lead to significant errors in your laser leveling projects. Proper surface preparation is essential for accurate results. Make sure the surface is clean, stable, and compatible with your laser level. Failure to account for factors like unevenness or debris can skew your measurements.
| Surface Type | Preparation Needed | Material Compatibility |
|---|---|---|
| Concrete | Clean and level | High compatibility |
| Wood | Smooth and dry | Moderate compatibility |
| Soil | Compact and even | Low compatibility |
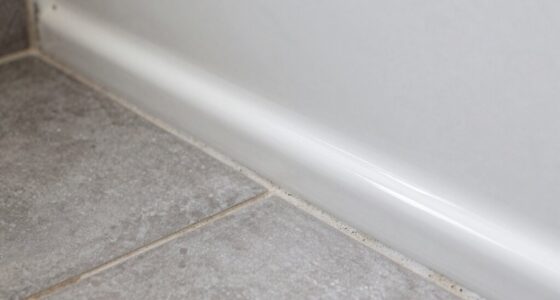
| Tile | Free of dust and debris | High compatibility |
Overlooking Battery Life
One of the critical mistakes you can make while using a laser level is overlooking the battery life. If your tool runs out of power mid-project, it can lead to frustrating delays. To avoid this, consider these key points about battery types and power sources:
- Check Battery Type: Confirm you know what type your laser level uses—alkaline, lithium, or rechargeable batteries.
- Carry Spares: Always have extra batteries on hand to prevent interruptions.
- Monitor Usage: Keep track of how long your laser level operates on a single charge or set of batteries.
- Recharge Regularly: If you use rechargeable batteries, charge them before significant projects to guarantee they’re ready when you need them.
Staying proactive about battery life keeps your work on track!
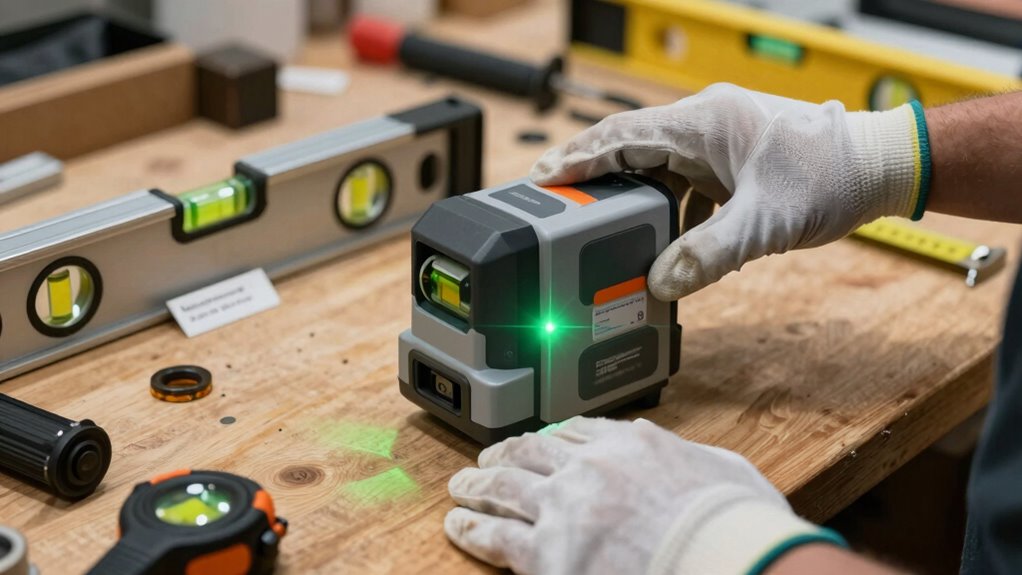
Maintenance Tips for Your Laser Level

While laser levels are designed for durability, regular maintenance guarantees they continue to provide accurate measurements over time. To keep your laser level in top shape, follow these essential maintenance tips:
| Task | Frequency |
|---|---|
| Cleaning Procedures | After each use |
| Calibration Checks | Monthly |
| Battery Replacement | As needed |
| Storage Care | Always store in case |
For cleaning procedures, use a soft cloth to wipe the exterior and avoid harsh chemicals. Regular calibration checks confirm your tool remains accurate; take the time to perform them monthly. Finally, always store your laser level in its case to protect it from damage. Following these tips will extend the life of your laser level considerably.
Frequently Asked Questions
Can I Use a Laser Level Outdoors Effectively?
Yes, you can use a laser level outdoors effectively, but you need to take into account outdoor visibility. Look for a laser level with a bright beam, as this enhances visibility in sunlight. Additionally, make sure it has good battery performance, so it lasts through your projects. Some models even come with a detector to help you see the beam in bright conditions, making your outdoor leveling tasks much easier and more accurate.
How Do I Calibrate My Laser Level?
To calibrate your laser level, start by placing it on a stable surface and turning it on. Use calibration techniques like the two-point method: mark two points on a wall at a specific height, then measure the distance. Adjust the level until the laser line matches your marks. This guarantees laser accuracy. Don’t you just love the precision? Once calibrated, you can tackle any project with confidence, knowing your level’s spot on!
What Is the Lifespan of a Laser Level?
A laser level typically lasts between 5 to 10 years, depending on usage and care. With proper maintenance tips, like storing it in a protective case and keeping it clean, you can extend its lifespan. Regularly check the calibration and avoid exposing it to extreme temperatures. By understanding laser level technology, you’ll guarantee your tool remains accurate and reliable for all your projects, maximizing your investment and minimizing replacements.
Are Laser Levels Waterproof or Weather-Resistant?
Most laser levels aren’t fully waterproof, but many do offer weather resistance. When you’re choosing a model, look for those specifically designed with waterproof features or rated for outdoor use. These options can withstand light rain and humidity, making them suitable for outdoor projects. However, if you know you’ll be working in wet conditions, it’s best to invest in a more robust, waterproof model to guarantee durability and accuracy.
Can Laser Levels Be Used for Vertical Applications?
Imagine a tightrope walker, perfectly balanced high above the ground. That’s what using a laser level for vertical applications is like. Yes, you can absolutely use laser levels for vertical alignment! They help you achieve installation accuracy by projecting a straight line up and down, ensuring your walls and fixtures stand tall and true. With the right laser level, you’ll feel like a master craftsman, confident in every vertical project you tackle.
Conclusion
In the grand journey of selecting a laser level, you’ve embraced the art of precision. By understanding the types, features, and your specific needs, you’re well on your way to making a wise choice. Remember, a little care goes a long way in maintaining your tool’s accuracy. So, as you step forward into your projects, let your newfound knowledge shine as brightly as the laser beam itself, guiding you toward flawless results and a job well done!