
To break in your hiking boots without blisters, start with short, easy walks to allow the materials to mold to your feet. Gradually increase your hike duration, adding 15 to 30 minutes as your comfort improves. Always wear moisture-wicking socks and make certain your boots fit snugly but allow toe wiggle. Proper lacing can minimize movement and pressure points. By following these steps, you’ll set yourself up for a blister-free hiking experience and discover more tips along the way.
Key Takeaways
- Start with short walks on flat surfaces to allow boots to gradually mold to your feet without causing discomfort.
- Wear moisture-wicking socks to keep your feet dry and reduce the risk of blisters.
- Gradually increase the duration of hikes by 15 to 30 minutes to prevent overwhelming your feet.
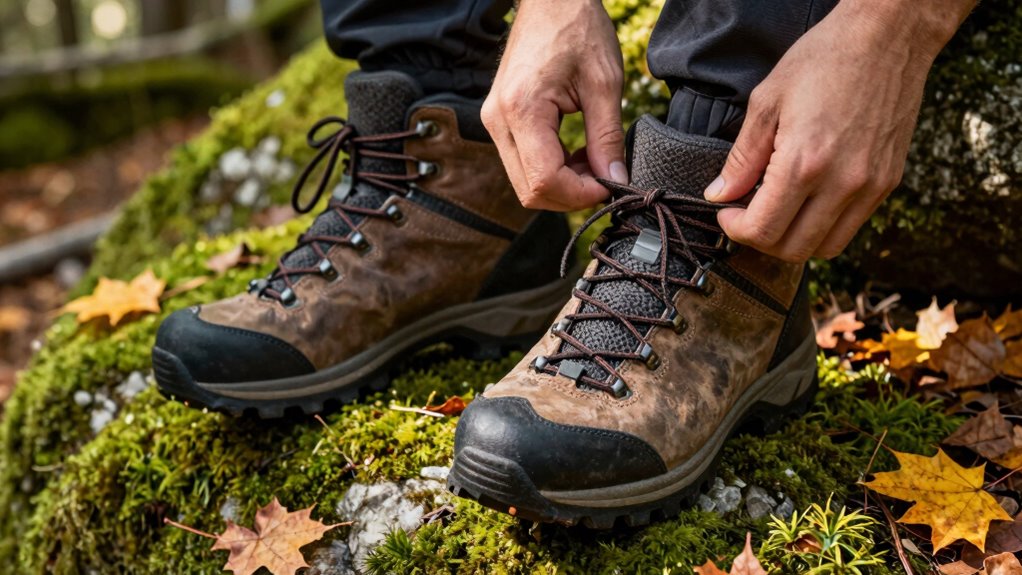
- Lace boots properly to ensure a snug fit, minimizing movement that can lead to friction and blisters.
- Take breaks during hikes to check for hotspots on your feet and adjust lacing as needed for comfort.

Dickies Women's Dri-Tech Advanced Moisture Wicking Mid-Crew Socks, Available in M-L (6,12 Pairs), Blue Assorted (6 Pairs), Medium
Mid-Crew length sits below the calf for non-restrictive, all day comfort.
As an affiliate, we earn on qualifying purchases.
As an affiliate, we earn on qualifying purchases.
Why Breaking In Your Boots Matters
When you hit the trails, you want your hiking boots to feel like a second skin rather than a source of discomfort. Breaking in your boots is essential for achieving that perfect fit. Boot flexibility plays a vital role in how well your footwear adapts to your foot anatomy. If your boots are too stiff, they can restrict movement and lead to blisters or soreness. By gradually wearing them, you allow the materials to soften and mold to your feet, ensuring better support and comfort on long hikes. This process not only enhances the boots’ flexibility but also helps you avoid potential injuries. So, take the time to break in your boots and enjoy a more pleasurable hiking experience.

Body Glide Foot Glide Anti Blister Balm | blister prevention for heels, shoes, cleats, boots, socks, and sandals | Use on toes, heel, ankle, arch, sole and ball of foot | 0.8oz
No More Blister Bandages for Feet | Blister prevention to avoid the need for treatment & first aid
As an affiliate, we earn on qualifying purchases.
As an affiliate, we earn on qualifying purchases.
Choosing the Right Hiking Boots for Breaking Them In
Choosing the right hiking boots can make all the difference in how smoothly the breaking-in process goes. Start by exploring different boot styles, like lightweight, mid-cut, or full-height boots, to find what suits your hiking needs best. Look for fit variations, ensuring your boots are snug but not tight, with enough room for your toes to wiggle. Pay attention to arch support and cushioning, as these features can prevent discomfort during your break-in period. Don’t forget to try on boots with the socks you plan to wear while hiking, as this can affect the overall fit. A well-chosen pair of boots will not only enhance your comfort but also reduce the likelihood of blisters while you break them in. Additionally, understanding environmental considerations, such as choosing boots suitable for different terrains and weather conditions, can improve your hiking experience and help maintain your footwear’s longevity.

Lock Laces for Boots (2 Pair) Premium Heavy Duty Elastic No Tie Boot Laces for Shoes (Black)
No-tie Lacing System: Turn any pair of lace-up tennis shoes into slip on sneakers.
As an affiliate, we earn on qualifying purchases.
As an affiliate, we earn on qualifying purchases.
Preparing Your Boots for a Successful Break-In
Before you start breaking in your hiking boots, make certain they fit properly. Check for the right size and verify the materials are suitable for your needs. A good fit and quality materials will set you up for a smoother break-in process.
Choose The Right Size
Finding the right size for your hiking boots is essential for a successful break-in process. Proper boot fitting can prevent blisters and discomfort. When trying on boots, make sure you have enough room for size adjustments, especially around your toes and heel.
| Feature | Importance | Tips |
|---|---|---|
| Toe Box | Prevents cramping | Make sure wiggle room |
| Heel Fit | Reduces slippage | Should feel snug |
| Width | Comfort during hikes | Avoid pinching |
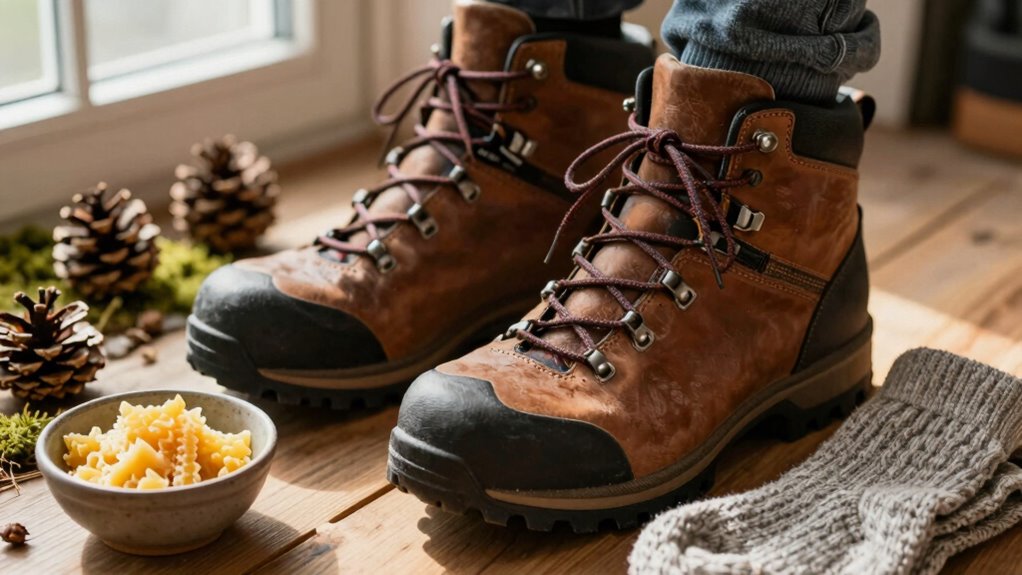
Inspect Boot Materials
To guarantee a successful break-in, it’s essential to inspect the materials used in your hiking boots. Look for high-quality leather, which offers excellent durability and support during long treks. This sturdy material can withstand rough terrains, providing the protection your feet need. However, don’t overlook synthetic materials, especially if breathability is a priority for you. Synthetic options often allow moisture to escape, keeping your feet dry and comfortable on hot days. When choosing your boots, consider how these materials will work together. A combination of leather and synthetic components can strike a balance between durability and breathability, ensuring your feet remain blister-free as you break them in. Make an informed choice, and your feet will thank you later.

SHULOOK Men's Waterproof Hiking Boots Non-Slip Lightweight Mid Top Ankle Boot Breathable Hiker Trekking Shoes
Mens hiking boots made of premium synthetic suede. SL-TEX waterproof membrane prevents water from entering and volatilizes water…
As an affiliate, we earn on qualifying purchases.
As an affiliate, we earn on qualifying purchases.
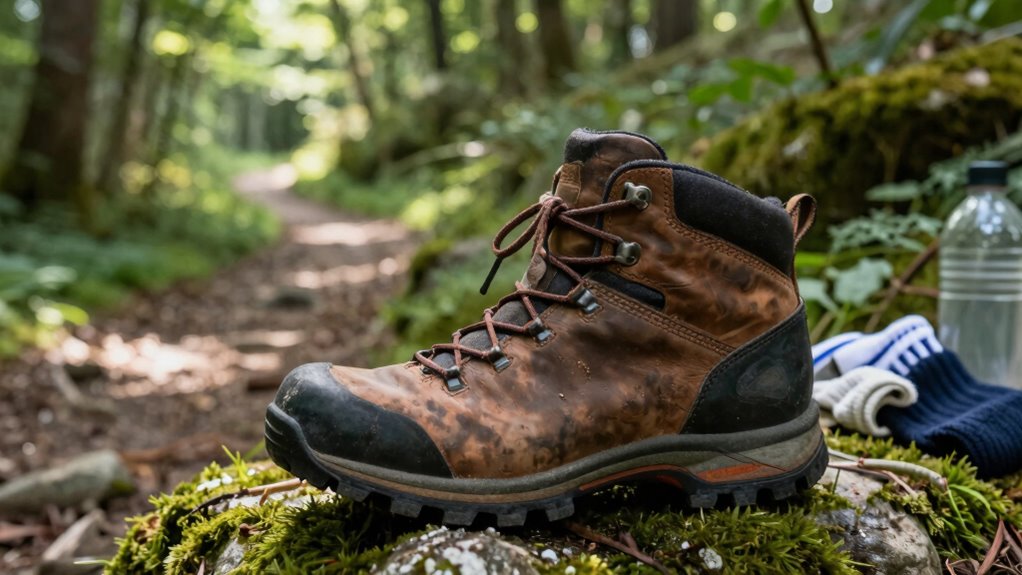
How to Gradually Wear In Your Boots Safely

To break in your hiking boots safely, start with short walks around your neighborhood or local trails. Gradually increase the duration of your hikes as your boots begin to feel more comfortable. This approach helps prevent blisters and allows your feet to adjust to the new footwear.
Start With Short Walks
As you begin to break in your new hiking boots, starting with short walks is essential for ensuring a comfortable fit. Choose local trails for your initial outings, aiming for short hikes that won’t overwhelm your feet. This gradual approach helps your boots conform to your foot shape while minimizing the risk of blisters.
| Walk Duration | Trail Type |
|---|---|
| 20-30 minutes | Local Parks |
| 30-45 minutes | Easy Local Trails |
| 45-60 minutes | Moderate Trails |
| 1 hour | Short Hikes |
| 1-1.5 hours | Familiar Paths |
Gradual Increase in Duration
Once you’ve completed a few short walks, it’s time to gradually increase the duration of your hikes to help your boots adapt even further. Start by setting achievable duration milestones, like adding 15 to 30 minutes to your walks. This approach allows your feet and the boots to adjust without overwhelming discomfort. Pay attention to your wear frequency—don’t wear them for long periods every day, as this can lead to blisters. Instead, space out your hikes and listen to your body. If you feel any pressure points, take a step back and reduce the duration. This gradual increase will guarantee your boots break in properly, making your hiking experience more enjoyable and blister-free in the long run.
Preventing Blisters While Hiking: Essential Techniques
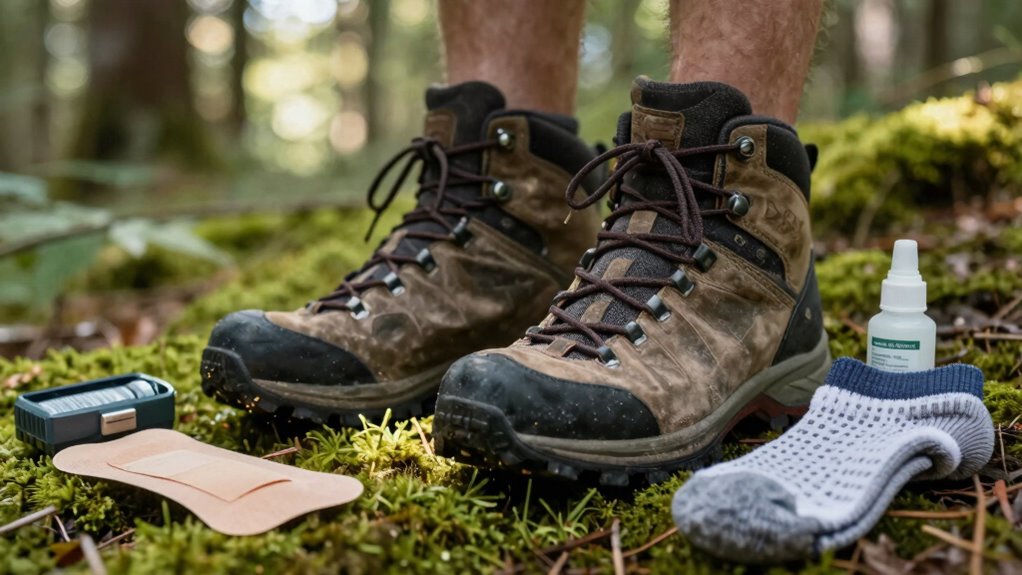
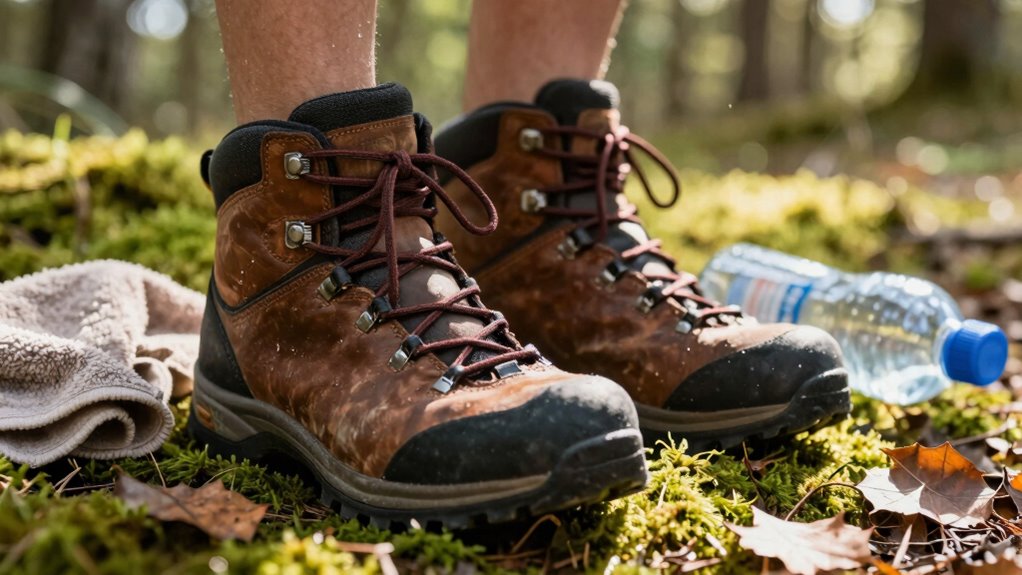
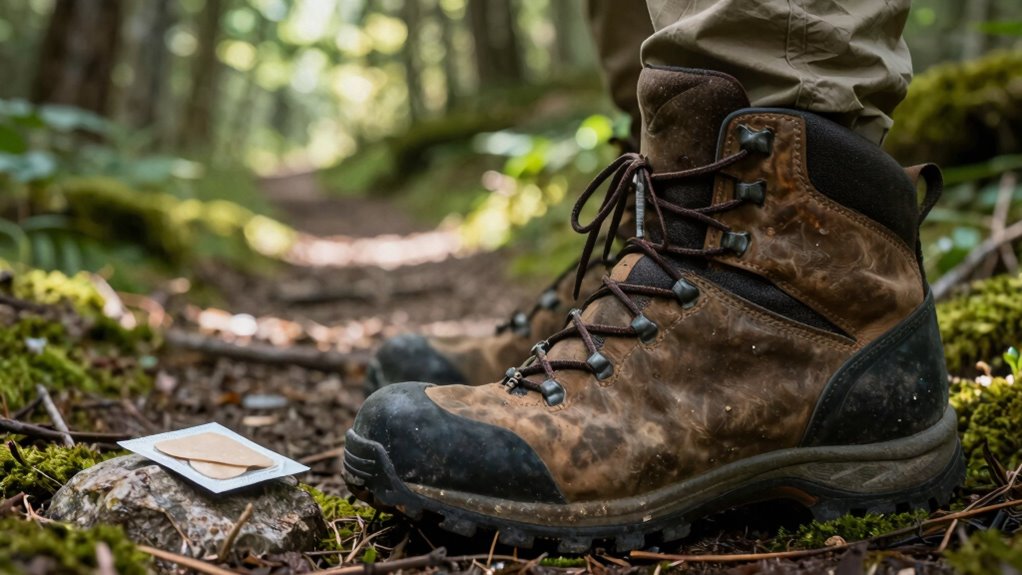
Blisters can ruin a great hike, but with the right techniques, you can keep your feet comfortable and protected. Start with proper blister prevention by choosing moisture-wicking socks that fit well. Avoid cotton, as it retains moisture and increases friction. Before heading out, apply blister prevention products like blister pads or anti-chafing creams to high-friction areas. Make sure your boots are laced properly, as this helps reduce movement and friction. During the hike, take breaks to check your feet; if you feel hotspots, address them immediately. Good foot care doesn’t stop at socks and boots; stay hydrated and maintain good overall body health to support your adventures. By following these tips, you’ll enjoy your hike without the pain of blisters.
How to Know When Your Boots Are Ready for Adventure?
How can you tell if your boots are primed for your next adventure? You need to assess their boot comfort and guarantee you’re ready to hit the trails without worry. Here are a few signs to check for adventure readiness:
- No pressure points: Walk around and make sure there are no uncomfortable spots that could lead to blisters.
- Flexibility: Your boots should bend naturally at the ball of your foot, allowing for easy movement.
- Proper fit: Guarantee your toes have enough room to wiggle without feeling cramped.
If your boots meet these criteria, you’re all set for your upcoming hikes! Trust your instincts, and don’t hesitate to take them out for a test run before setting off on your adventure.
Caring for Your Boots for Lasting Comfort

Caring for your hiking boots is essential if you want to maintain their comfort and performance on the trails. Regular boot maintenance can considerably extend their lifespan and guarantee they continue to support you during your adventures. Start by cleaning them after each hike; remove dirt and debris to prevent damage. Apply a suitable waterproofing treatment to keep them protected from moisture. Don’t forget to check the laces and insoles regularly, replacing them when needed for ideal comfort enhancements. Storing your boots in a cool, dry place will also help preserve their shape and materials. Additionally, understanding metal detecting etiquette can enhance your outdoor experience and ensure respectful interactions with fellow enthusiasts. By committing to these simple care routines, you’ll enjoy lasting comfort and performance, making every hike a memorable experience.
Frequently Asked Questions
Can I Use My Hiking Boots for Everyday Activities During Break-In?
Yes, you can definitely use your hiking boots for everyday activities during the break-in period. Wearing them for casual wear helps improve boot comfort while allowing your feet to adjust to the fit. Just remember to start with shorter outings to avoid discomfort. Gradually increasing the time you wear them will guarantee that they mold to your feet, making your future hikes much more enjoyable. Enjoy the process of breaking them in!
How Long Does It Typically Take to Break in Hiking Boots?
Breaking in hiking boots can feel like climbing Everest, but it usually takes a few days to a couple of weeks, depending on the boot materials. To speed up the process, try various break-in techniques like wearing them around the house or taking short walks. This gradual approach helps the boots mold to your feet, reducing the risk of blisters and ensuring comfort during your outdoor adventures. Just be patient!
Should I Wear Thick or Thin Socks While Breaking in My Boots?
You should wear thin socks while breaking in your boots. Thin socks provide better moisture management, reducing the chance of blisters as your feet adapt to the new boots. Thick socks can create unnecessary friction and make your boots feel tighter, leading to discomfort. Focus on finding a sock that fits snugly without bunching, allowing your feet to breathe and the boots to adjust comfortably during the break-in period.
Is It Normal for Boots to Feel Tight During the Break-In Period?
Yes, it’s normal for boots to feel tight during the break-in period. Don’t worry; your foot anatomy needs time to adjust to the new boot comfort. While it might feel uncomfortable at first, this snugness often eases as the materials soften and mold to your feet. Just make sure you’re not experiencing pain. If you’re cautious and give them time, your boots will soon feel like a second skin!
What Should I Do if My Boots Still Cause Blisters After Breaking Them In?
If your boots still cause blisters after breaking them in, try some blister prevention tips. First, guarantee your socks fit well; consider moisture-wicking materials or double-layer socks. You might also want to apply blister prevention products like moleskin or blister pads. For boot fitting advice, reassess the fit—make sure there’s enough toe room and that the heel isn’t slipping. Sometimes, a professional fitting can help you find the right boot for your feet.
Conclusion
In the dance between you and your hiking boots, patience is key. By taking the time to break them in, you’re not just avoiding blisters; you’re crafting a comfortable companion for your adventures ahead. As you lace up, feel the promise of trails yet to be explored and mountains waiting to be conquered. With care and attention, your boots will transform into reliable allies, ready to carry you through the wild with ease and grace.