Paint prep is the vital step everyone skips that directly impacts your paint job’s durability and beauty. Start by cleaning and repairing surfaces, then use the right primer for better adhesion and longevity. Gather essential tools like quality brushes and painter’s tape for clean lines. Protect your surroundings with drop cloths and guarantee good ventilation to minimize fumes. To avoid common mistakes, make certain to follow a thorough checklist. Discover even more tips to perfect your prep!
Key Takeaways
- Thoroughly clean surfaces to eliminate dust, grease, and grime, ensuring proper paint adhesion.
- Always patch holes and cracks for a smooth, uniform surface before painting.
- Sand rough areas to enhance paint adhesion and prevent future peeling.
- Use primer to improve coverage and durability, especially on tricky surfaces.
- Double-check ventilation to reduce fumes and speed up drying time.

Pro Grade Paint Brushes, 5-Piece Paint Brush Set, Flat & Angle Brushes for Walls, Trim, Cabinets, Interior & Exterior Latex and Oil Paints, Stains
COMPLETE 5-PIECE BRUSH SET FOR EVERY PAINTING TASK — Includes 1 Inch Flat, 1.5 Inch Angle, 2 Inch…
As an affiliate, we earn on qualifying purchases.
As an affiliate, we earn on qualifying purchases.
Why Paint Prep Matters for a Lasting Finish
Preparation is essential for achieving a lasting finish when it comes to painting. You need to focus on both paint durability and surface adhesion to guarantee your efforts pay off. Proper prep work, like cleaning, sanding, and priming, creates a solid foundation for your paint. When surfaces are contaminated with dirt or grease, the paint struggles to adhere, leading to peeling or chipping down the line. Skipping these vital steps can jeopardize the longevity of your work, making it important to invest time upfront. A well-prepped surface not only enhances adhesion but also boosts the overall durability of the paint. So, take the time to prep, and you’ll enjoy a beautiful, long-lasting finish.

ScotchBlue PROSharp Painter's Tape 2 Inch Wide (1.88 in x 60 yd) 1 Roll Blue Tape Protects Surfaces and Removes Easily, Edge-Lock Tape for Indoor and Outdoor Use (2093+-48EC)
MEDIUM ADHESIVE FOR SMOOTH OR LIGHTLY TEXTURED SURFACES: This blue paint tape has a medium-strength adhesive that sticks…
As an affiliate, we earn on qualifying purchases.
As an affiliate, we earn on qualifying purchases.
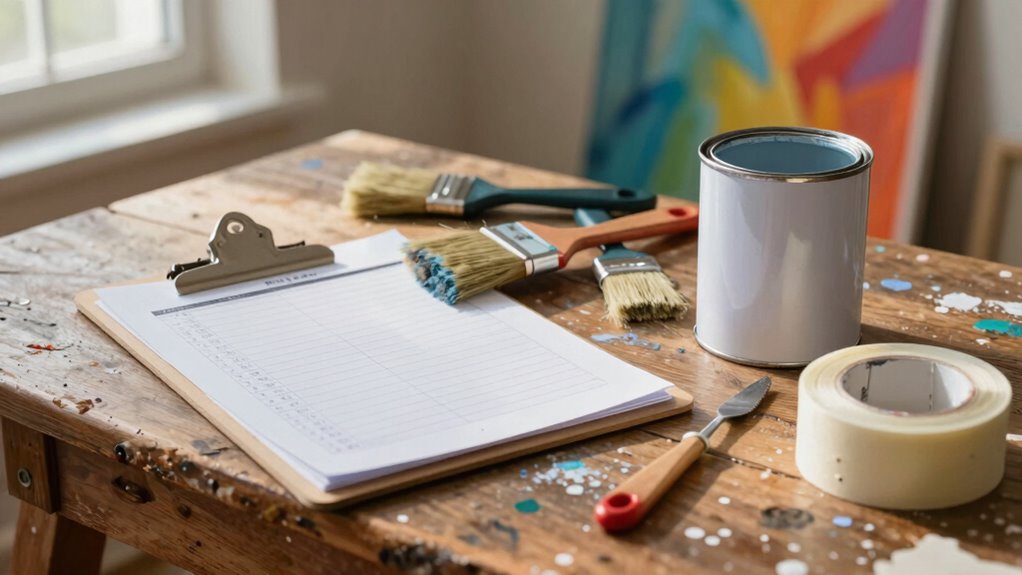
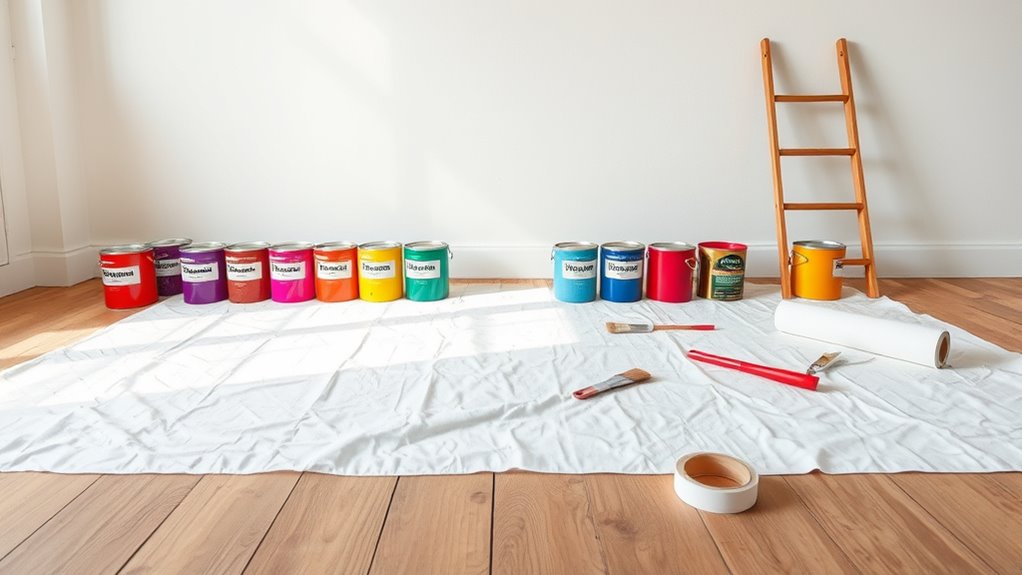
Gather Essential Tools for Paint Prep

A successful paint job starts with having the right tools at your disposal. Choosing the right paint types and brush selection can make all the difference in achieving that flawless finish. Here are four essential tools you need to gather for your paint prep:
- Quality Paint Brushes – Select brushes that suit your chosen paint types for smooth application.
- Rollers – Great for covering large areas quickly, especially with latex paints.
- Painter’s Tape – Protects edges and creates clean lines, minimizing touch-ups.
- Drop Cloths – Prevents spills and protects your floors and furniture from paint splatters.
Having these tools ready will set you up for success and streamline your painting process. Proper surface preparation and understanding pressure washers can also help ensure a clean, smooth surface before painting.

12 x 9 Ft Plastic Drop Cloths (6-Pack) – Disposable Painter's Sheeting & Tarps for Painting, Waterproof Furniture/Couch/Floor Protection
1. Versatile Floor and Furniture Protection: More than just for painting, these durable plastic sheet protect floors, furniture,…
As an affiliate, we earn on qualifying purchases.
As an affiliate, we earn on qualifying purchases.
Clean and Repair Surfaces Before You Paint
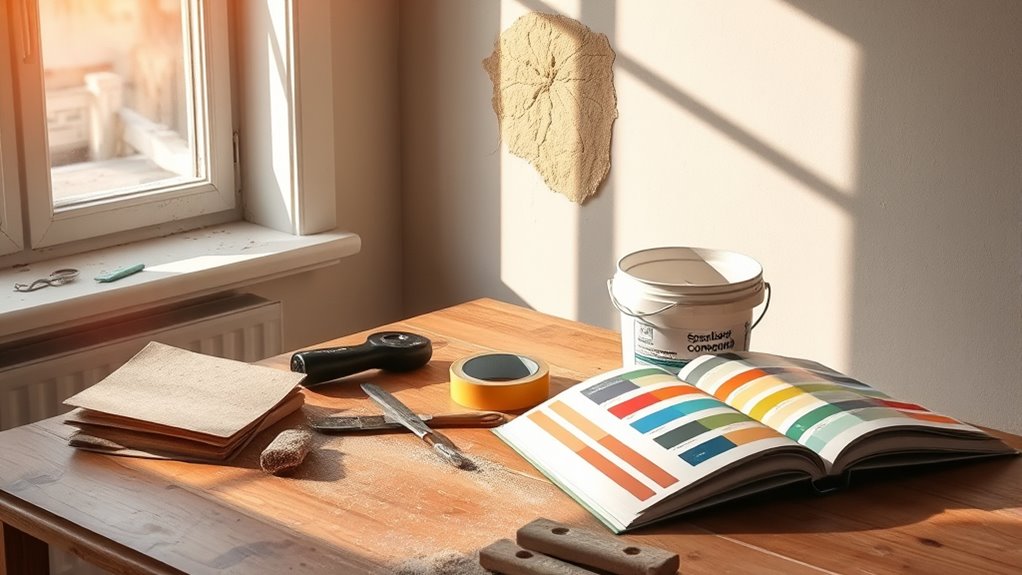
Before you start painting, it’s essential to clean and repair your surfaces. Remove any dirt and grime, patch holes and cracks, and sand down rough areas to guarantee a smooth finish. Taking these steps will help your paint job look professional and last longer. Additionally, inspecting and maintaining home surfaces can prevent future issues and ensure your repairs are effective. Incorporating proper cleaning techniques can further improve surface readiness and enhance the longevity of your paint job.
Remove Dirt and Grime
Cleaning and repairing surfaces is essential for achieving a smooth, long-lasting paint finish. Before you start painting, make certain to focus on surface cleaning and grime removal. Here’s a quick checklist to help you tackle this step effectively:
- Dust and Sweep: Remove loose dirt and debris from the surface.
- Wash with Soap: Use a mild detergent mixed with water to scrub away grime.
- Rinse Thoroughly: Verify all soap residue is washed off to prevent peeling.
- Dry Completely: Let the surface dry before applying any paint, as moisture can ruin your finish.
- Ensure Surface Readiness: Proper cleaning and repair are vital for home safety because they prevent issues like mold or structural damage that could compromise your painted surfaces.
Patch Holes and Cracks
Once you’ve tackled the dirt and grime, it’s time to focus on patching holes and cracks to guarantee a smooth surface for painting. Start by selecting the right patch materials, like spackle or joint compound, depending on the size of the damage. For small holes, a simple filling technique using a putty knife works well. Apply the material generously, ensuring it fills the hole completely. For larger cracks, consider using a mesh tape to reinforce your patch. Smooth it out, then let it dry fully before inspecting for any imperfections. If needed, apply a second layer. Taking the time to properly patch these areas will set you up for a flawless finish once you start painting. Always remember to use the proper DIY tools and safety equipment to ensure a safe and effective repair process. Additionally, understanding the proper drying techniques can prevent future issues with your patched surface.
Sand and Smooth Surfaces
As you prepare to paint, sanding and smoothing surfaces is essential for achieving a professional look. Properly prepped surfaces guarantee better paint adhesion and a flawless finish. Here’s a quick checklist to guide you through the process:
- Choose the Right Sanding Techniques: Use the appropriate grit for your surface—start with coarse and finish with finer grits.
- Utilize Smoothing Tools: Invest in quality tools like sanding blocks or electric sanders for efficiency.
- Clean the Surface: Remove dust and debris after sanding to prevent imperfections.
- Inspect for Imperfections: Check for any missed spots or rough areas to smooth out before painting.
- Ensure Surface Compatibility: Confirm that the surface is free of contaminants like grease or rust, which can affect adhesion and are important considerations in vehicle surface preparation.

1 Quart Bulls Eye 1-2-3 Primer Sealer Stain Killer
Designed for interior and exterior surfaces
As an affiliate, we earn on qualifying purchases.
As an affiliate, we earn on qualifying purchases.
Choose the Right Primer for Your Project
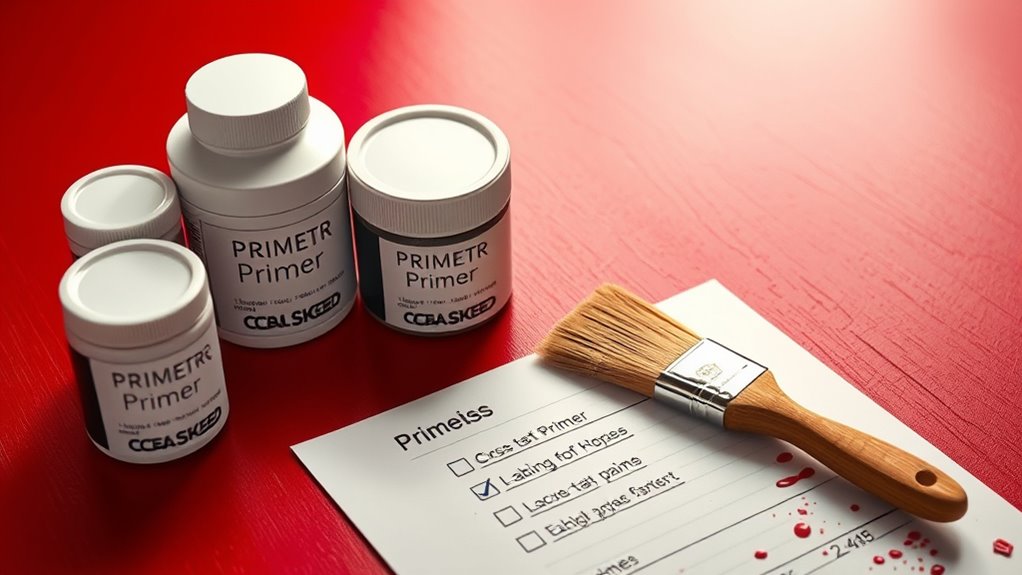
Choosing the right primer for your project can make all the difference in achieving a smooth, lasting finish. Start by considering the different primer types available, like oil-based, water-based, and shellac primers. Each type serves specific purposes and surfaces, so pick one that matches your needs. For instance, oil-based primers are great for wood, while water-based ones work well on drywall.
Next, focus on application techniques. Using a high-quality brush or roller can guarantee an even coat, while spray application may be ideal for intricate surfaces. Don’t forget to apply the primer in the right conditions, as temperature and humidity can affect adhesion. By choosing the right primer and application method, you’ll set the stage for a successful painting project.
Protect Your Surroundings During Paint Prep
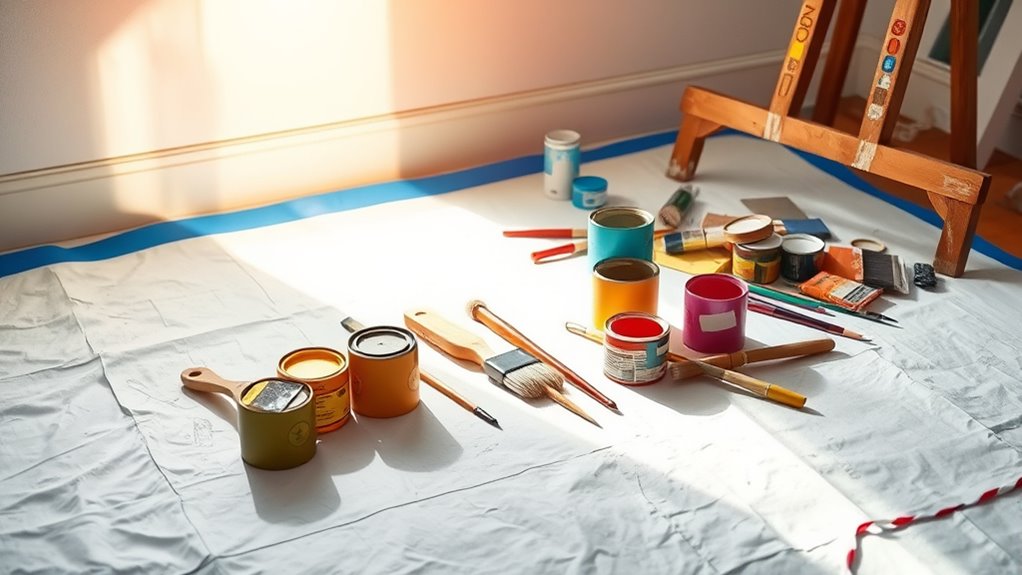
Protecting your surroundings during paint prep is essential to avoiding unwanted messes and damage. Taking a few simple steps can save you time and effort later. Here are four things you should do:
Protecting your space during paint prep is crucial for preventing messes and minimizing damage. Simple steps can make a big difference.
- Use drop cloths: Lay down drop cloths on the floor and any furniture to catch drips and spills.
- Mask off areas: Apply masking tape around windows, doorframes, and trim to protect them from paint splatter.
- Remove small items: Clear away any decor or small furniture that could get in the way or be damaged.
- Ventilate the area: Open windows and doors to guarantee proper airflow and reduce fumes. Proper ventilation also helps minimize paint fumes ventilation techniques that can linger in your home.
Taping Techniques for Crisp Edges
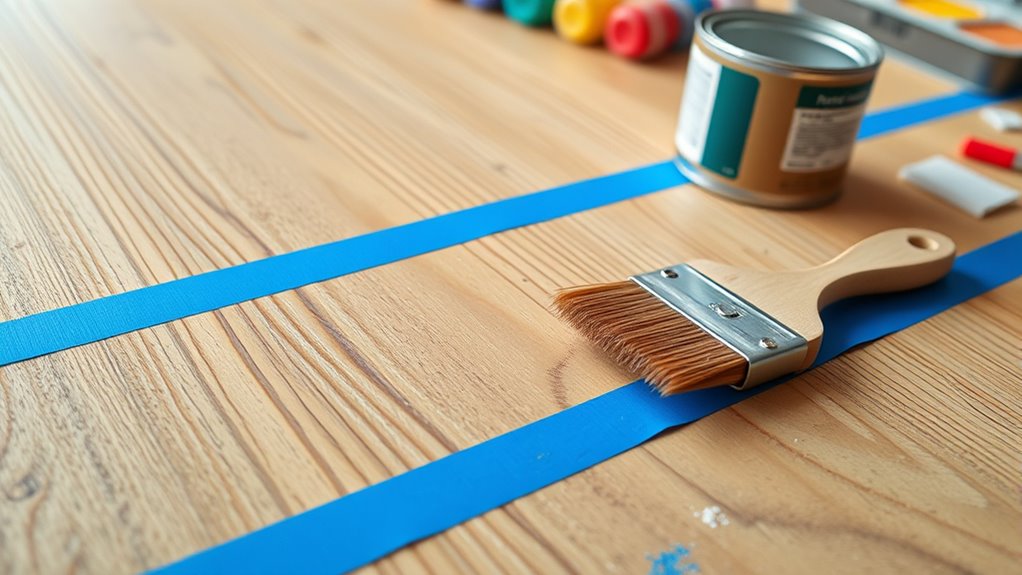
Achieving crisp edges when painting can transform the look of your project, and mastering the right taping techniques is key. Start by choosing the appropriate tape types for your surface; painter’s tape works well on walls, while masking tape is better for harder surfaces. Clean the area first to guarantee a strong bond. Apply the tape straight and press down firmly to prevent paint from seeping underneath. For added precision, consider using edge techniques like burnishing the tape edge with a putty knife to create a seal. When it’s time to remove the tape, do so slowly at a 45-degree angle to avoid any damage. Following these steps will give your project the professional finish it deserves.
Why Good Ventilation Matters While You Paint?
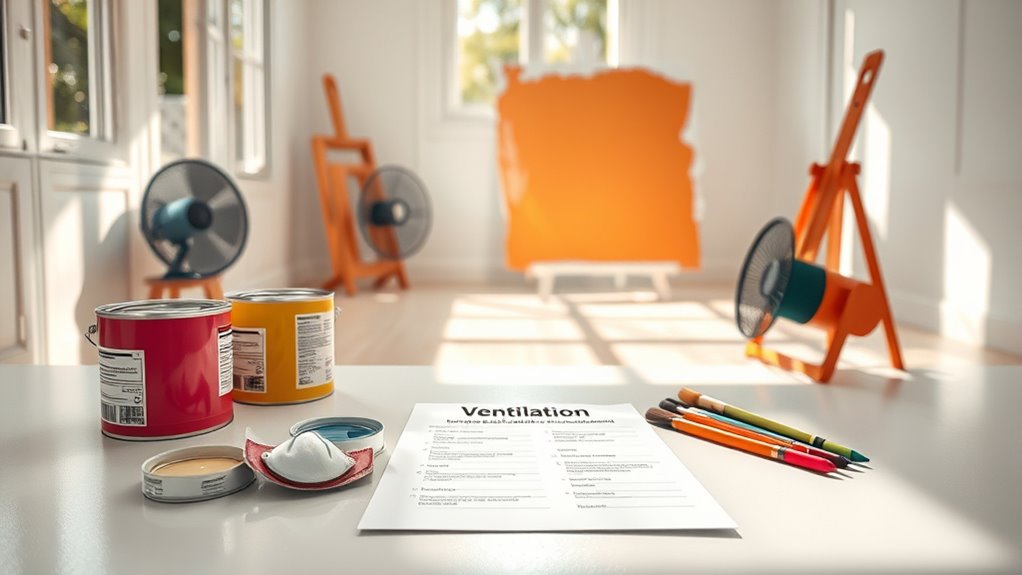
After ensuring crisp edges with your tape, it’s time to focus on another significant aspect of your painting project: ventilation. Good ventilation is essential for maintaining air quality and maximizing ventilation benefits while you paint. Here’s why you shouldn’t skip it:
Prioritize ventilation during your painting project to enhance air quality and ensure a safer, more comfortable workspace.
- Reduces Fumes: Proper airflow disperses harmful paint fumes, making your space safer.
- Speeds Drying: Adequate ventilation helps paint dry faster, so you can finish sooner.
- Prevents Mold Growth: Improved air circulation reduces humidity levels, inhibiting mold.
- Enhances Comfort: Fresh air keeps you comfortable, allowing you to work longer without feeling overwhelmed.
- Reduces Microplastics in Dust: Proper ventilation can help minimize indoor microplastics that may be released during painting, contributing to a healthier environment.
Avoid These Common Paint Prep Mistakes
When prepping to paint, skipping surface preparation steps can lead to a less-than-stellar finish. You might also find that ignoring the right tools can make the job harder than it needs to be. Let’s explore these common mistakes and how to avoid them for a smoother painting experience.
Skipping Surface Preparation Steps
While it might be tempting to skip surface preparation steps to save time, doing so can lead to disastrous results. Surface neglect can cause paint to peel, bubble, or wear unevenly. To avoid making these common mistakes, keep these points in mind:
- Clean the surface: Remove dust, grease, and grime for better adhesion.
- Repair imperfections: Fill holes and cracks to create a smooth finish.
- Sand the surface: This helps the paint adhere and provides a uniform texture.
- Use a primer: Don’t skip this step; it guarantees better coverage and longevity. Proper surface cleaning and preparation are essential for a durable paint job.
Preparation shortcuts may save time initially, but they’ll cost you in the long run. Take the time to prep properly for a flawless paint job!
Ignoring Proper Tools Usage
Using the right tools is essential for a successful paint job, yet many people underestimate their importance. Ignoring proper tool usage can lead to frustrating results. First, focus on proper tool selection; choosing the right brushes, rollers, and sprayers can make all the difference in your finish. Don’t just grab what’s handy—invest time in understanding which tools suit your project best. Additionally, neglecting tool maintenance is another common mistake. Dirty brushes and rollers can ruin your paint job, leading to uneven application and unwanted texture. Clean your tools after each use and store them properly. Proper tool handling techniques, such as pre-soaking pads and applying the right pressure, can significantly improve your results. By prioritizing proper tool selection and maintenance, you’ll set yourself up for a smooth, professional-looking paint application. Don’t overlook these critical steps!
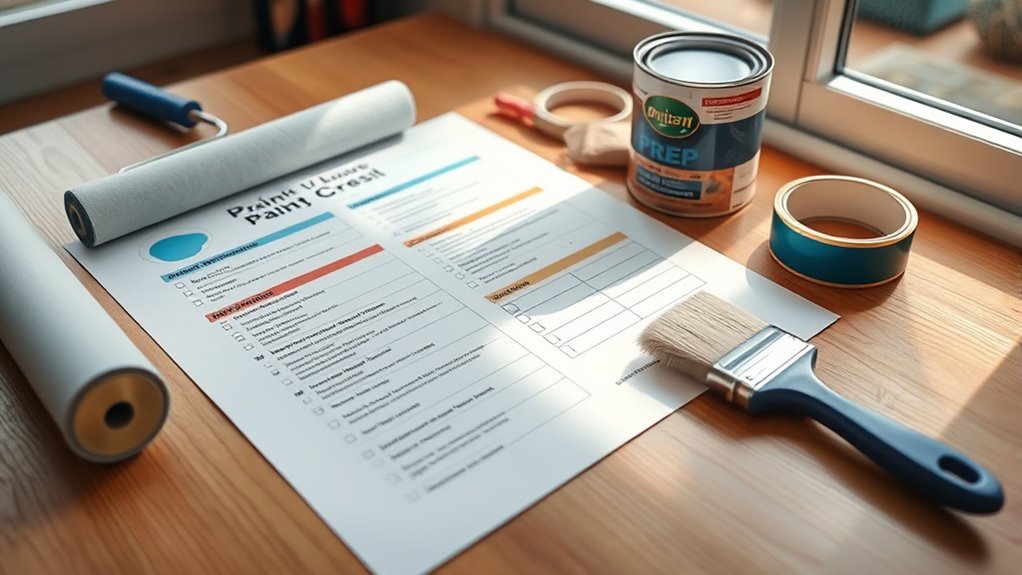
Final Checklist for Successful Paint Prep
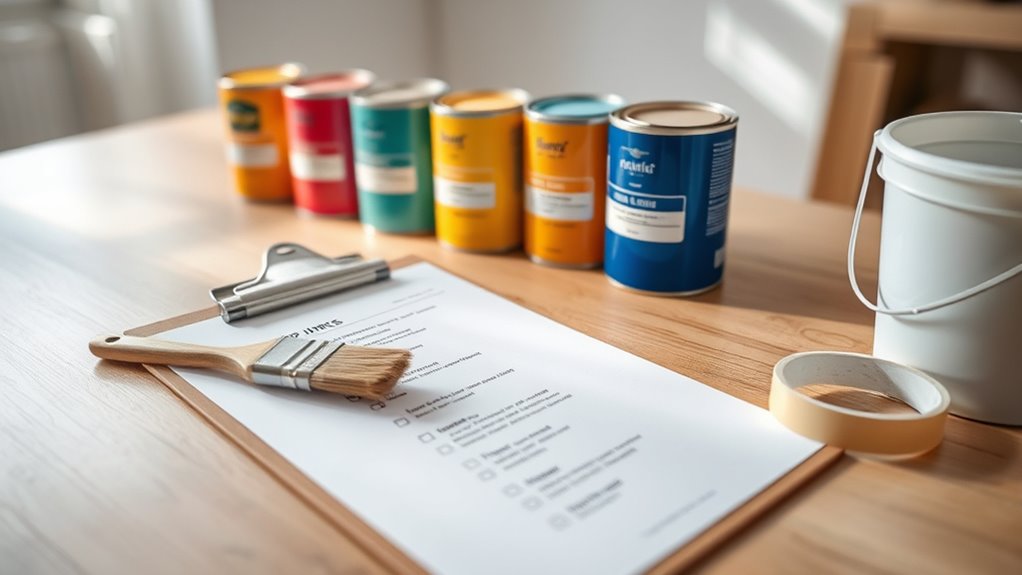
Before you explore painting, it’s essential to guarantee that every aspect of your prep work is in order. A thorough final checklist can make all the difference in achieving a flawless finish. Here’s what you need to confirm:
- Surface Compatibility Analysis: Verify the surface is clean, dry, and compatible with your chosen paint.
- Final Paint Inspection: Look for any imperfections or debris that could affect the finish.
- Tape and Edges: Double-check that your painter’s tape is applied correctly to avoid paint bleed.
- Ventilation: Confirm the area is well-ventilated to promote drying and reduce fumes.
- Surface Preparation Techniques: Ensure proper surface prep techniques are followed for optimal adhesion and durability.
Frequently Asked Questions
How Long Should I Wait Before Painting After Prep Work?
You should wait at least 24 hours after prep work before painting to guarantee everything’s fully dried. Drying time can vary based on humidity and temperature, so check the surface’s feel—if it’s tacky, it’s not ready. Align this waiting period with your painting schedule to avoid frustration later. Proper prep guarantees a smoother finish, so don’t rush it. Trust the process; good results are worth the wait!
Can I Skip Primer if Using High-Quality Paint?
You wouldn’t skip the foundation of a house, right? Similarly, you shouldn’t skip primer, even with high-quality paint. Primer alternatives might seem tempting, but without primer, you’re risking poor paint adhesion, leading to peeling or uneven colors. Think of primer as a strong handshake, ensuring your paint bonds well to the surface. For the best results, always prep properly; it’ll save you time and hassle in the long run!
What Type of Tape Is Best for Paint Prep?
For paint prep, painter’s tape is your best bet. It’s specifically designed for clean lines and prevents paint bleed, making your job easier. You might also consider masking tape, but it can sometimes leave residue or not stick as well. Make sure to choose a tape that suits your surface—some are better for delicate areas, while others are great for rough textures. Don’t skip this step; it really makes a difference!
How Do I Know if My Surface Is Properly Cleaned?
To know if your surface is properly cleaned, conduct a thorough surface inspection after using effective cleaning techniques. Look for any dust, grease, or residue; these can prevent paint from adhering. Run your hand over the surface—if it feels gritty or rough, it needs more cleaning. A clean, smooth surface will guarantee better paint application and longevity. Trust your instincts; if it doesn’t feel right, give it another wipe down.
What Should I Do if I Find Mold on Surfaces?
“A stitch in time saves nine.” If you find mold on surfaces, act quickly. Start by wearing protective gear, then scrub the affected area with a mixture of water and detergent, guaranteeing you remove all traces of mold. For stubborn spots, consider a commercial mold removal product. After cleaning, treat the surface with a mold-inhibiting solution to prevent future growth. Always make certain the area is well-ventilated during and after treatment.
Conclusion
By following this paint prep checklist, you’re setting the stage for a stunning finish that stands the test of time. Think of it as laying a strong foundation before building a beautiful house. Don’t skip these essential steps, or you might find your hard work peeling away like a forgotten mural in the rain. With the right preparation, your walls will shine bright, showcasing your effort and creativity for years to come. Happy painting!