
Faucet drips usually come from three main components: washers, cartridges, and O-rings. Worn washers fail to seal properly, leading to leaks. Cartridges may cause drips if they’re damaged or clogged with mineral buildup. O-rings can also wear out, causing leaks around the handle or spout. Each part plays a key role in keeping your faucet functioning well. Want to uncover more about identifying and fixing these common issues?
Key Takeaways
- Worn washers fail to seal properly, causing water drips from the faucet spout.
- Cartridge issues, such as wear or mineral buildup, can lead to leaks when the faucet is off.
- Damaged or worn O-rings create gaps, resulting in water pooling around the faucet base.
- Regular inspection and replacement of washers, cartridges, and O-rings prevent unnecessary leaks.
- Visible signs of wear, like cracks or corrosion, indicate the need for immediate component replacement.

XBVV 106 PCS Faucet Washer Assortment Kit with Assorted Flat and Beveled Rubber Washers for Outdoor Garden Faucet Stem Leak Worn Replacement Repair
Multiple sizes: 106 Pcs faucet washer kit with assorted different flat beveled common sizes: 3/8, 1/4L, 1/4, 1/4M…
As an affiliate, we earn on qualifying purchases.
As an affiliate, we earn on qualifying purchases.
How to Identify and Fix Faucet Drips
When you notice a faucet drip, it’s essential to act quickly, as even a small leak can waste significant water over time. Start by identifying the faucet type you have—compression, cartridge, ball, or ceramic disc. Each type has different components that could cause the drip. Check for visible leaks around the handle or spout.
To fix the drip, turn off the water supply and disassemble the faucet according to manufacturer instructions. Replace worn-out washers or seals, which are common culprits. Don’t forget to clean the parts before reassembling. Regular maintenance is key—tightening loose parts and checking for wear can prevent future drips. Following these maintenance tips will keep your faucet in great shape and save water.

Yejesiy 2 Pack RP25513 Faucet Stem Replacement for Delta Two Handle Faucet Repair Kit, Premium Faucet Cartridge Parts with RP4993 Rubber Seat and Spring
【PACKAGE INCLUDES】: RP25513 faucet cartridge *2, rubber seat *2, spring *2, 1/4 turn stop *2
As an affiliate, we earn on qualifying purchases.
As an affiliate, we earn on qualifying purchases.
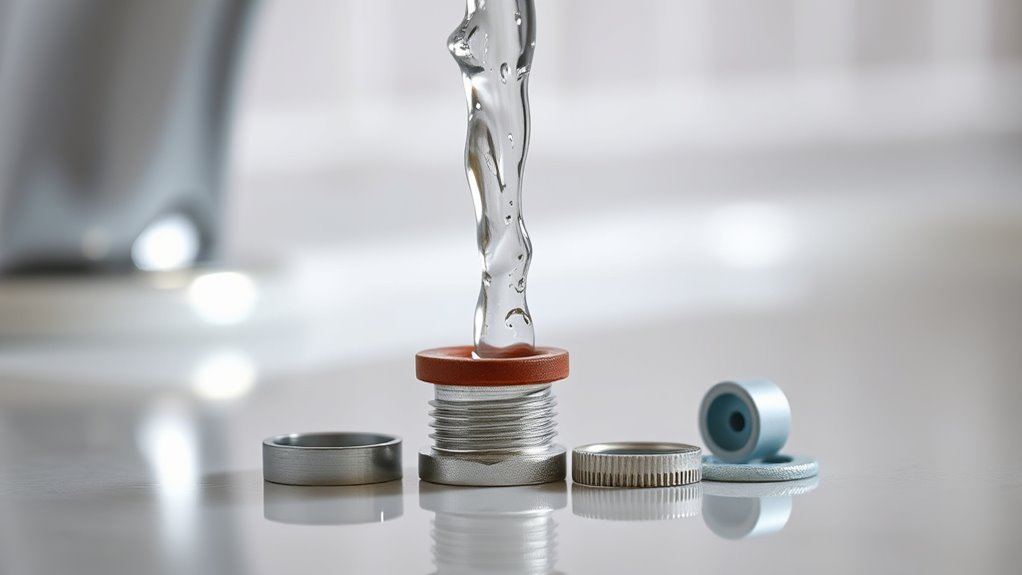
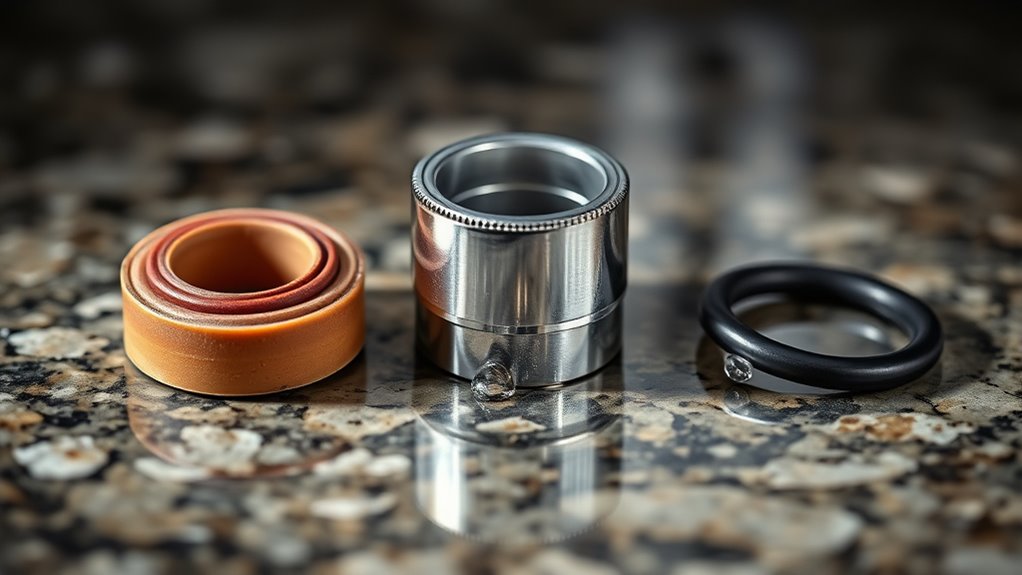
Understanding Faucet Washers

Understanding faucet washers is essential for maintaining a drip-free faucet, as these small components play a significant role in sealing the water flow. Washers come in various materials, including rubber, silicone, and foam, each offering different durability and resistance to wear. Choosing the right washer material can impact your faucet’s performance and longevity. Regular washer maintenance is key; inspect them for signs of wear or damage to prevent leaks. If you notice any issues, replacing the washer promptly can save you from bigger plumbing problems down the line. By keeping your washers in good condition, you not only guarantee a smooth operation but also conserve water and reduce your utility bills.

360 Pcs O Ring Assortment Kit,Rubber Washer Orings, Black 24 Sizes Pressure Washer O Ring Kit for Faucet, Hose, Automotive, Air Gas Plumbing Sealing Repair O Rings
Premium Material: These assorted o rings are made of outstanding rubber material with good air tightness and high…
As an affiliate, we earn on qualifying purchases.
As an affiliate, we earn on qualifying purchases.
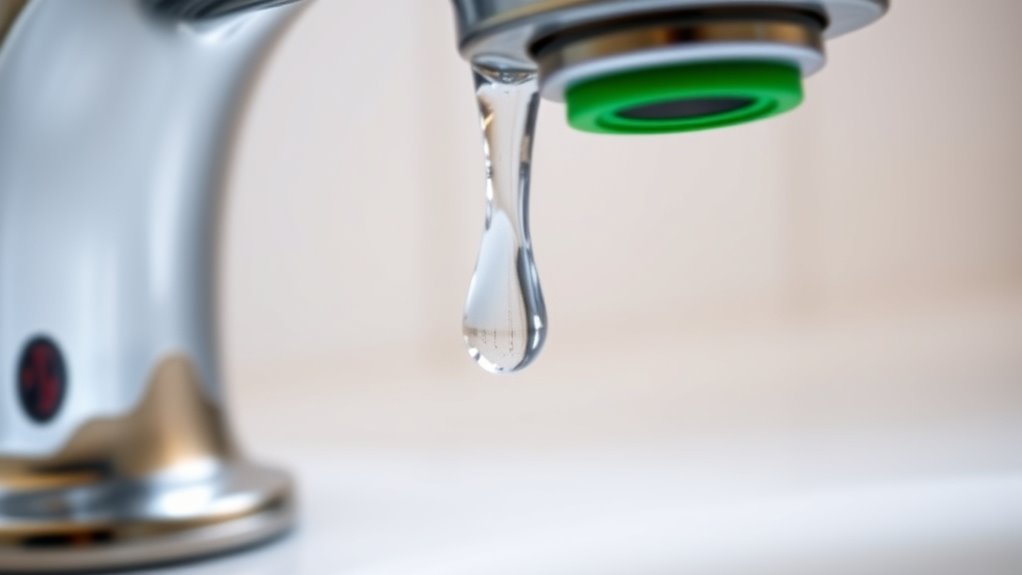
How Worn Washers Cause Faucet Drips
A worn washer can quickly lead to frustrating faucet drips, as it fails to create a proper seal against the water flow. Regular washer maintenance is essential for leak prevention, ensuring your faucet operates efficiently. If you notice drips, it’s time to check those washers.
Here’s a quick overview of washer conditions:
| Condition | Effect on Faucet | Maintenance Needed |
|---|---|---|
| Worn | Causes drips | Replace immediately |
| Cracked | Significant leaks | Replace and inspect |
| Dirty | Poor sealing | Clean or replace |
| Misaligned | Inconsistent flow | Adjust or replace |
| New | Proper seal | Regular checks |

Steelman Faucet Reseating Tool Kit, Includes 1/2", 9/16", and 5/8" Cutters, DIY Hose Bib and Spigot Valve Repair (61205)
DURABLE MATERIALS – Made of high-quality steel for long-lasting performance and cutting precision
As an affiliate, we earn on qualifying purchases.
As an affiliate, we earn on qualifying purchases.
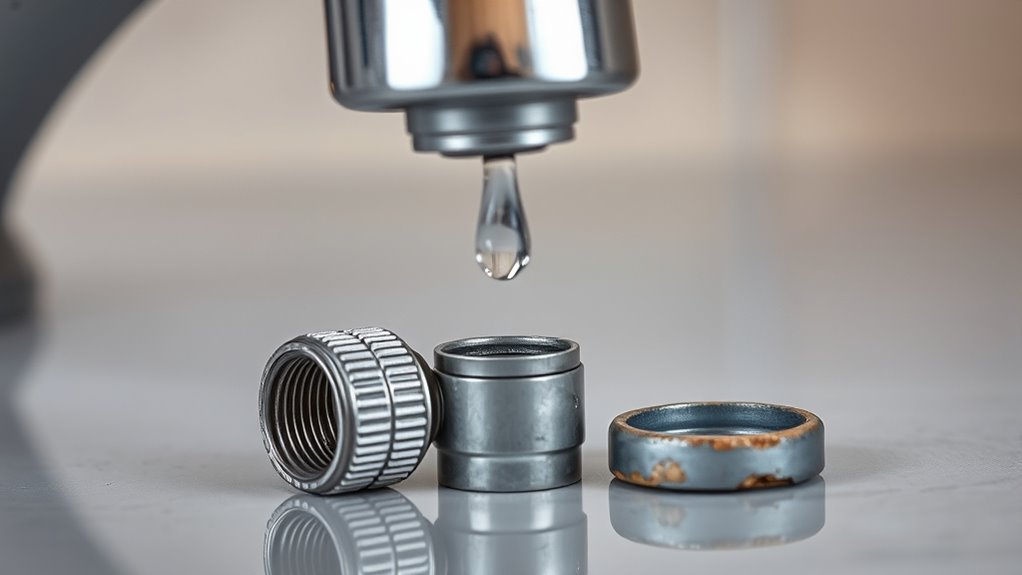
Symptoms of Faucet Cartridge Failures
Worn washers aren’t the only culprits behind faucet drips; faucet cartridge failures can also lead to frustrating leaks. If you notice water leaking from the spout even when the faucet is turned off, it’s a clear sign your cartridge might be failing. Additionally, you might experience reduced water flow or inconsistent temperature control. If your faucet is making strange noises or you see visible wear on the handle, these are other symptoms to watch for. To tackle these issues, consider some cartridge replacement tips, like turning off the water supply before starting repairs. Regular faucet maintenance advice can help prevent these problems from escalating, ensuring your faucet remains efficient and leak-free. Don’t ignore these signs; address them promptly!
How Cartridges Keep Your Faucet Working
Cartridges play an essential role in your faucet’s functionality by controlling water flow and temperature. Understanding the different types of cartridges and their signs of failure can help you maintain a properly working faucet. Let’s explore how these components keep your water running smoothly. Proper installation and maintenance of cartridges can extend their lifespan and prevent leaks.
Cartridge Functionality Explained
When you turn the handle of your faucet, the cartridge plays an essential role in regulating the flow and temperature of the water. It controls how much water flows through, guaranteeing you get the right pressure and heat every time. Regular maintenance is key to keeping it functioning well. Here are some cartridge maintenance tips to take into account:
| Maintenance Task | Frequency |
|---|---|
| Clean the cartridge | Every 6 months |
| Inspect for wear | Annually |
| Lubricate O-rings | Every 6 months |
| Replace if leaking | As needed |
| Follow replacement guide | When necessary |
If you notice any issues, refer to the cartridge replacement guide for a hassle-free fix. Keeping your cartridge in top shape guarantees a smooth faucet experience.
Types Of Faucet Cartridges
Understanding the types of faucet cartridges can make a significant difference in your faucet’s performance and longevity. There are mainly two types you’ll encounter: compression cartridges and ceramic cartridges.
Compression cartridges are simpler and rely on rubber washers to create a seal. When you turn the handle, these washers compress, stopping or allowing water flow. They’re often found in older faucets and may require more frequent replacements due to wear.
On the other hand, ceramic cartridges use a series of ceramic discs that slide over each other to control water flow. This design typically lasts longer and provides smoother handling. Knowing the differences between these cartridges helps you choose the right faucet and understand maintenance needs for peak performance.
Signs Of Cartridge Failure
Recognizing the signs of cartridge failure can save you from unexpected leaks and costly repairs. One of the first indicators is inconsistent water flow; if you notice a weak stream or irregular pressure, it might be time to check the cartridge. Additionally, if your faucet drips even when fully turned off, that’s a clear sign of cartridge issues. You should also watch for signs of leakage around the handle, which can indicate worn seals. Different cartridge types may exhibit varying signs of failure, so knowing what to look for is essential. Regular faucet maintenance can help prolong the life of your cartridge, ensuring that you catch issues early and avoid more extensive damage down the line.
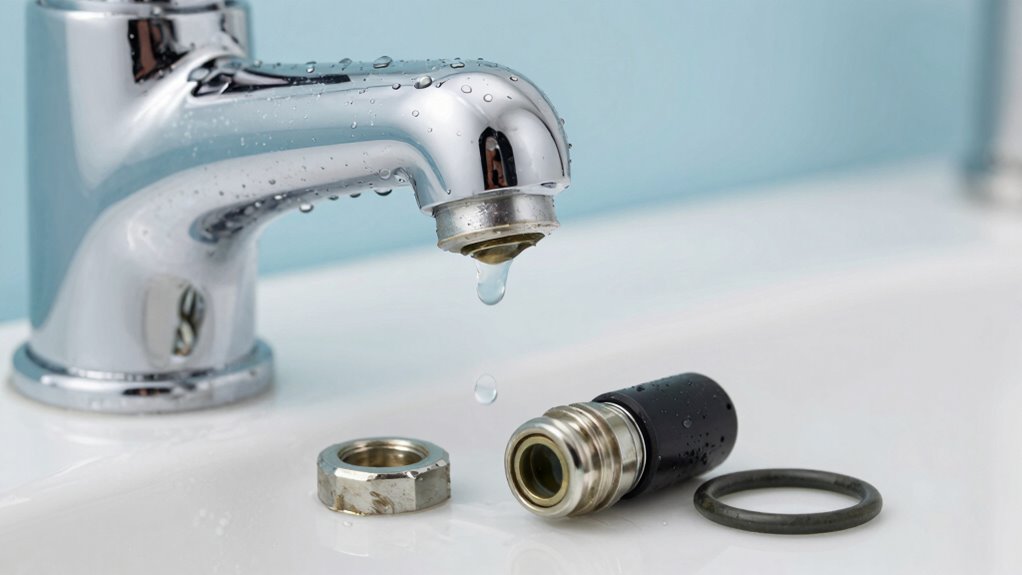
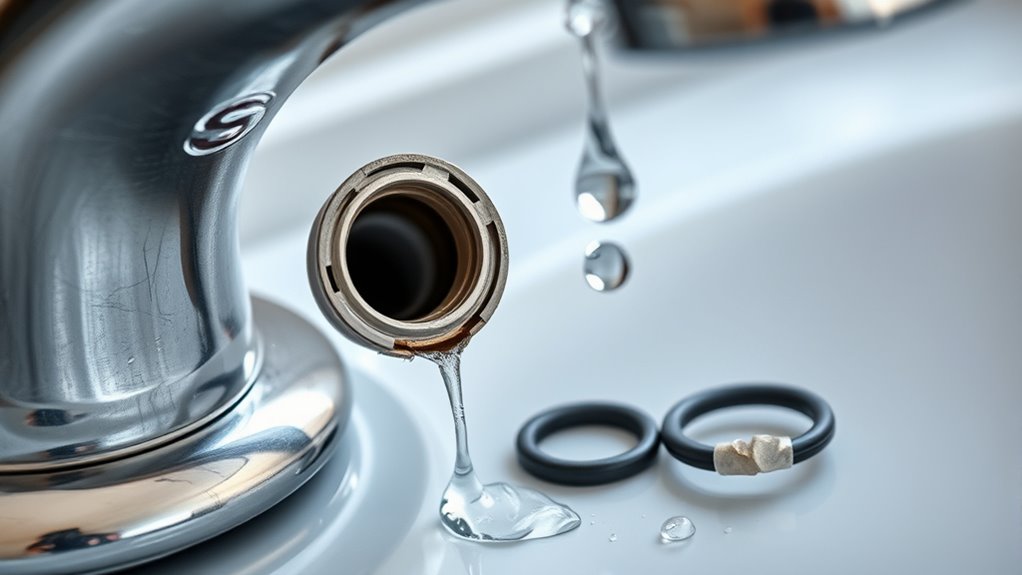
What Are O-Rings?
O-rings are vital components used in various plumbing fixtures, including faucets, to create a watertight seal. They’re typically made from different O ring materials like rubber, silicone, or polyurethane, each offering unique benefits. When you’re replacing an O-ring, it’s important to take into account the correct O ring sizes to guarantee a proper fit. If the O-ring is too small or too large, it won’t seal properly, leading to leaks. Understanding the right material and size can help you maintain your faucet effectively. Regular inspections and replacements of O-rings can prevent unnecessary water waste and keep your plumbing system in good shape. By paying attention to these details, you’ll enjoy a more efficient faucet for years to come.
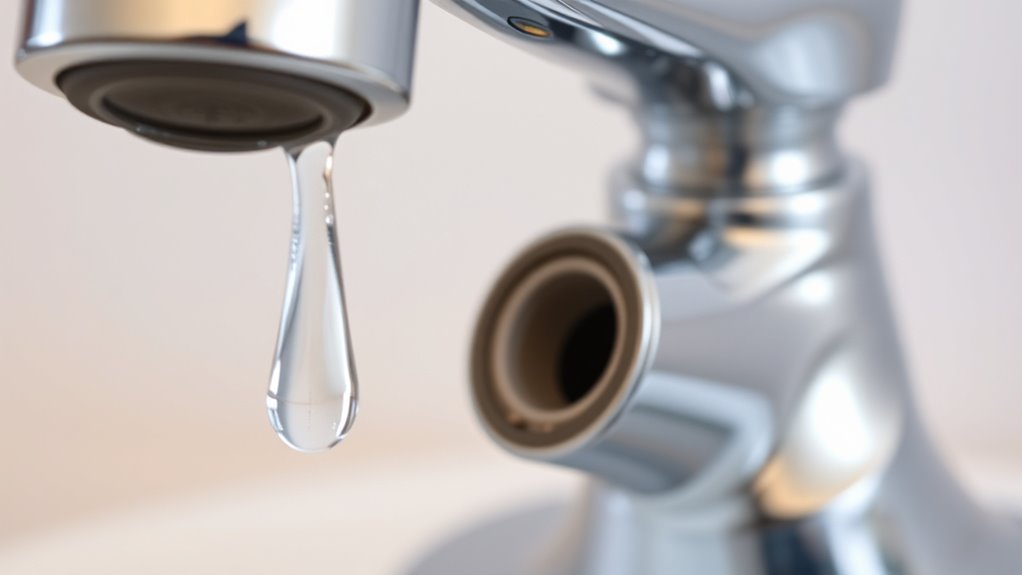
Signs of O-Ring Failures in Faucets?
If you notice water pooling around your faucet or a steady drip, it might be a sign of O-ring failure. Look closely for any visible wear or cracks on the O-ring itself. Recognizing these indicators early can save you from more extensive repairs down the line.
Common Leak Indicators
When you notice water pooling around your faucet’s base or dripping from the spout, it’s often a sign of O-ring failure. Effective leak detection is essential to maintaining your faucet and preventing further damage. If you see small droplets forming or constant moisture around the handle, these are clear indicators something’s wrong. You might also notice decreased water pressure, which can relate to the same issue. Addressing these signs promptly not only helps with drip prevention but also saves you from costly repairs in the future. Regularly checking your faucet for these common leak indicators can keep it in good working condition and extend its lifespan. Don’t ignore the signs; take action to resolve any leaks as soon as possible.
Visible Wear Signs
Visible wear signs on your faucet can reveal issues with the O-ring, essential for preventing leaks. If you notice visible damage like cracks or tears on the O-ring, it’s a clear indicator that it needs replacement. Look for abnormal wear patterns as well; these can include uneven surfaces or hardening that may compromise the seal. If water starts to pool around the base of the faucet or drips persistently, it’s often a result of a failing O-ring. Regularly inspecting these components can save you from more significant plumbing issues down the line. Don’t ignore these signs—addressing them promptly will keep your faucet functioning properly and prevent frustrating leaks.
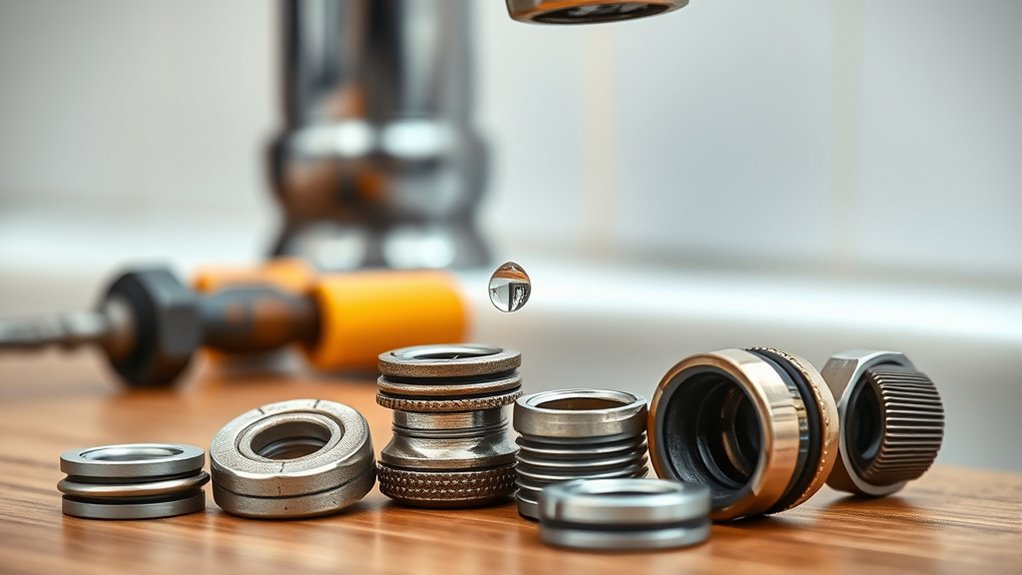
Comparing Washers, Cartridges, and O-Rings
Understanding the differences between washers, cartridges, and O-rings can help you diagnose and fix faucet drips more effectively. Each component plays a unique role, and knowing their characteristics is essential. Regular inspections and replacements can extend their lifespan and prevent leaks.
Knowing the unique roles of washers, cartridges, and O-rings is crucial for effectively diagnosing faucet drips.
- Washer types: Flat, rubber, or neoprene washers are common, often found in compression faucets.
- Cartridge materials: Cartridges are typically made from plastic or brass, offering durability against wear.
- O-rings: These are circular seals that prevent leaks, often used in cartridge faucets.
- Lifespan: Washers might wear out quicker, while cartridges and O-rings could last longer with proper maintenance.
Steps to Fix a Dripping Faucet: A DIY Guide
To fix a dripping faucet, you first need to identify where the drip is coming from. Once you’ve pinpointed the source, you can replace any faulty components like washers or O-rings. This DIY guide will walk you through the process step by step, making it easier than you think.
Identify The Drip Source
While a dripping faucet might seem like a minor annoyance, it can lead to larger plumbing issues if left unchecked. To tackle the problem effectively, you need to identify the drip source. Start by observing the drip patterns; this can help you pinpoint the issue.
Here are some steps for effective faucet maintenance:
- Check for loose handles or knobs that may cause leaks.
- Inspect the faucet body for cracks or corrosion.
- Look for water accumulation around the base, indicating a potential O-ring issue.
- Listen for unusual sounds that might suggest internal problems.
- Understanding filtration and suction basics can also help prevent future leaks caused by sediment buildup or pressure issues.
Replace Faulty Components
Once you’ve identified the drip source, it’s time to replace any faulty components causing the issue. Start with the washer replacement if your faucet uses one. Remove the handle and unscrew the packing nut to access the washer. Replace it with a new one that fits snugly. If your faucet has a cartridge, inspect it for wear and tear. For cartridge maintenance, remove the cartridge from the faucet body, clean any mineral buildup, and replace it if it’s damaged. Don’t forget to check O-rings as well; they can wear out and lead to leaks. Reassemble your faucet, turn the water back on, and test for leaks. Enjoy your drip-free faucet!
When to Call a Professional for Faucet Repairs
When should you consider calling a professional for faucet repairs? If you’re facing persistent drip issues, it might be time to get expert help. Here are some signs that indicate you shouldn’t tackle the repair alone:
- You’ve replaced components but the leak persists.
- You’re unsure about proper faucet installation techniques.
- The problem involves complex plumbing maintenance or your entire system.
- You notice water damage or mold around the faucet area.
Don’t underestimate the importance of professional assistance. They can quickly diagnose the issue and prevent further damage. Remember, tackling plumbing issues without the right expertise can lead to costly repairs down the line. Trust a professional to guarantee your faucet is fixed properly and efficiently.
Frequently Asked Questions
Can Faucet Drips Increase My Water Bill Significantly?
Yes, faucet drips can notably increase your water bill. Even a small drip can waste gallons of water over time, leading to higher costs. If you do a cost analysis, you’ll see that those seemingly harmless drops add up quickly. By fixing the faucet promptly, you not only reduce water waste but also save money in the long run. It’s a simple fix that can make a big difference on your bill.
How Often Should I Replace Faucet Washers or Cartridges?
You should replace faucet washers every 1-3 years, depending on their lifespan and usage. If you notice leaks or reduced water flow, it’s time for a replacement. For cartridges, you might need to replace them every 5-10 years, but this can vary based on water quality and frequency of use. Regular checks can help maintain your faucet’s performance and prevent those annoying drips that can lead to higher water bills.
Are There Eco-Friendly Options for Faucet Repairs?
Yes, there are eco-friendly options for faucet repairs! You can choose sustainable materials like bamboo or recycled plastics for components. Using these materials not only reduces waste but also supports water conservation efforts. Consider replacing old washers or cartridges with those made from eco-friendly materials to minimize your environmental impact. By making these choices, you help conserve precious water resources while keeping your faucet functional and efficient.
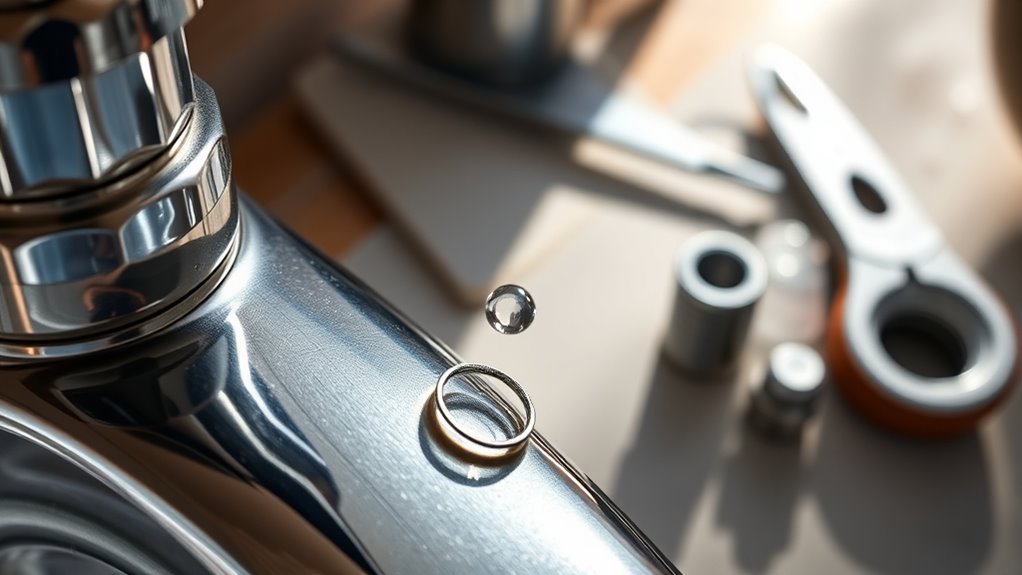
What Tools Do I Need for a Faucet Repair?
For a faucet repair, you’ll need some essential tools. Grab an adjustable wrench to loosen and tighten nuts, a screwdriver for removing handles, and pliers for gripping small parts. A basin wrench is handy if you’re working in tight spaces. Don’t forget a towel to catch any drips! Having these faucet repair tools on hand makes the process smoother and helps you tackle the job efficiently.
Can I Prevent Faucet Drips With Regular Maintenance?
Yes, you can definitely prevent faucet drips with regular maintenance! Imagine turning on your faucet and hearing only the soothing flow of water, not annoying drips. By taking simple preventative measures, like checking washers and O-rings regularly, you keep your faucet in top shape. Maintenance tips include cleaning aerators, inspecting for leaks, and tightening any loose parts. A little effort now saves you from those pesky drips later, letting you enjoy peace of mind.
Conclusion
To sum up, fixing a dripping faucet isn’t just about saving water; it can prevent a larger plumbing issue down the line. Did you know that a single dripping faucet can waste over 3,000 gallons of water a year? By identifying whether the problem lies with the washer, cartridge, or O-ring, you can easily tackle the issue yourself. If the repairs feel overwhelming, don’t hesitate to call a professional to help keep your home’s plumbing in top shape.