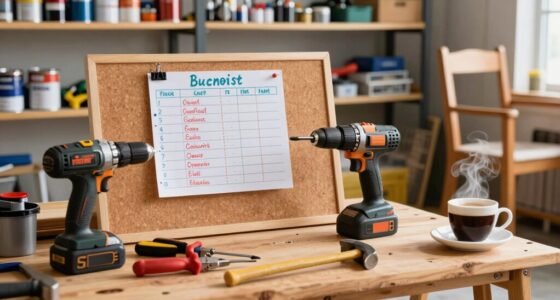

To choose a stud finder, start by understanding the types: magnetic for nails or screws, and electronic for accurate stud location. Assess your project needs and select a tool that works with your wall materials. Look for features like depth detection for various wall thicknesses. Set a budget based on how often you’ll use it. Finally, learn effective techniques for usage to avoid common mistakes. Keep going to uncover more tips and insights!
Key Takeaways
- Determine the tasks you plan to undertake to identify the necessary stud finder features required for accurate detection.
- Choose between magnetic and electronic stud finders based on the detection accuracy and material compatibility you need.
- Look for models that offer depth measurement capabilities for locating studs behind various wall thicknesses effectively.
- Set a budget considering your usage frequency and compare prices across local hardware stores and online retailers for the best deal.
- Ensure proper calibration and follow manufacturer instructions for optimal use, while maintaining the tool for longevity and performance.
Franklin Sensors Prosensor M210 Stud Finder With 13-Sensors, Wood & Metal Stud Detector/Wall Scanner, Live Wire Detection, Made in the USA
Higher accuracy, better technology: with 13 patented sensors, the M210 detects studs more accurately
As an affiliate, we earn on qualifying purchases.
As an affiliate, we earn on qualifying purchases.
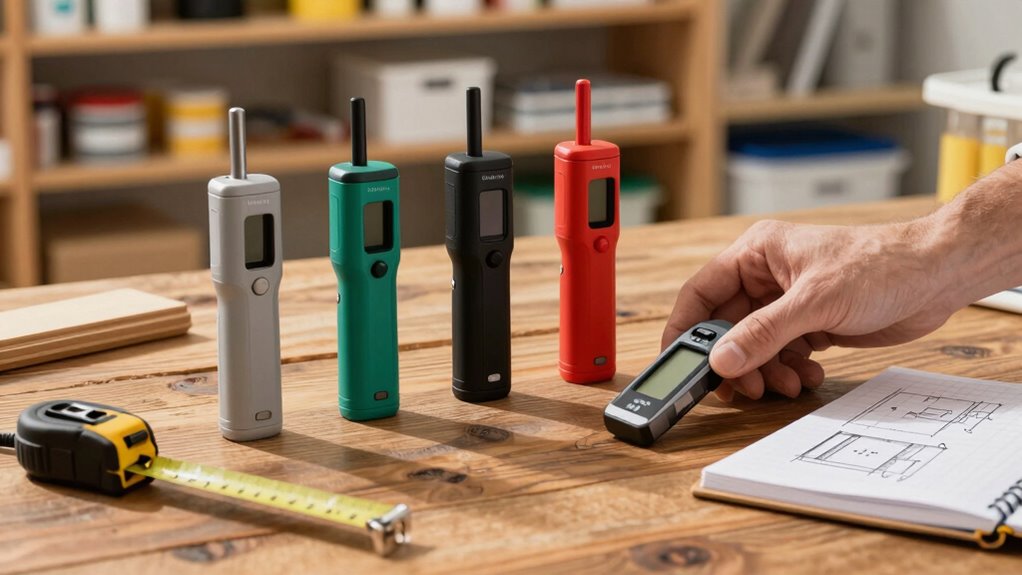
Understanding Different Types of Stud Finders
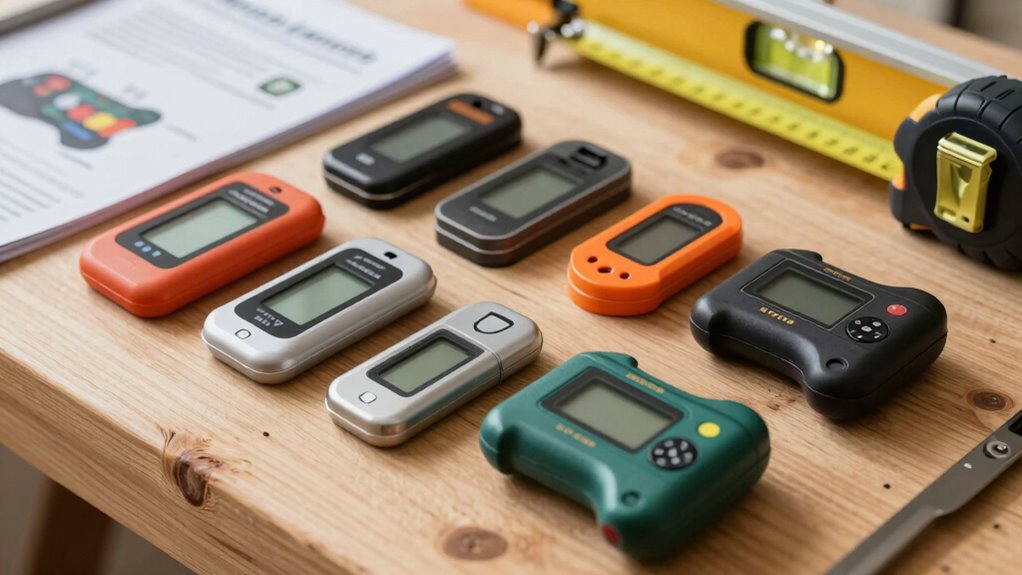
When you’re ready to hang shelves or mount a TV, understanding the different types of stud finders can make your task a lot easier. Magnetic stud finders are simple devices that locate nails or screws in the wall, helping you find the studs. They’re affordable and require no batteries, making them a great choice for quick jobs. On the other hand, electronic stud finders use sensors to detect changes in wall density, giving you a more precise location of the studs. They can identify both wooden and metal studs and often come with additional features, like depth detection. Knowing the pros and cons of each type helps you choose the right stud finder for your project, ensuring a smooth installation process.

CH Hanson 3040 – Magnetic Stud Finder
CH Hanson 3040
As an affiliate, we earn on qualifying purchases.
As an affiliate, we earn on qualifying purchases.
Assessing Your Project Requirements for Choosing a Stud Finder

What specific tasks are you planning to tackle? Understanding your project scope is essential when choosing a stud finder. If you’re hanging heavy shelves, you’ll need a tool that accurately detects studs behind drywall. For lighter items, a simpler model might suffice. Also, consider material considerations; different stud finders work better on various surfaces like plaster, concrete, or drywall. If you’re working with multiple materials, opt for a versatile stud finder that can handle them all. Assess your project’s requirements carefully, as this will help you select a stud finder that meets your needs efficiently. By aligning your tool choice with your tasks, you’ll guarantee a more efficient and successful project outcome.
Franklin Sensors Prosensor M210 Stud Finder With 13-Sensors, Wood & Metal Stud Detector/Wall Scanner, Live Wire Detection, Made in the USA
Higher accuracy, better technology: with 13 patented sensors, the M210 detects studs more accurately
As an affiliate, we earn on qualifying purchases.
As an affiliate, we earn on qualifying purchases.
Essential Features to Ensure Your Stud Finder Works Effectively
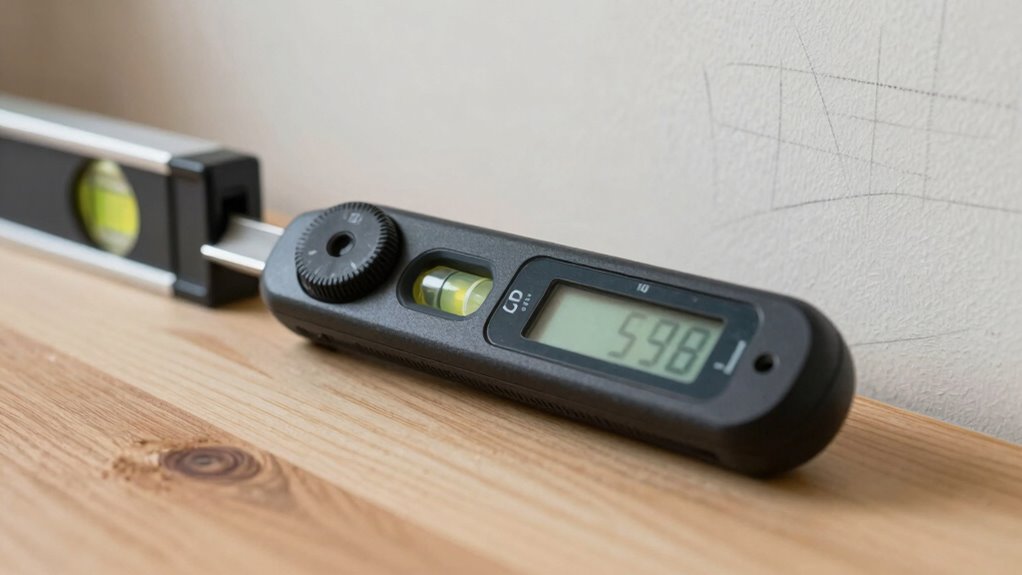
When choosing a stud finder, it’s important to take into account the detection modes available and the depth measurement capability. These features help you accurately locate studs behind walls, ensuring you avoid any surprises during your project. Let’s explore how these essential aspects can make your stud finder more effective.
Detection Modes Available
Understanding the different detection modes available in a stud finder can greatly enhance your DIY projects. Stud finders typically offer two primary detection modes: magnetic detection and electronic detection.
Magnetic detection uses magnets to locate screws or nails in the wall, making it simple and battery-free. This mode works well for finding metal fasteners but won’t detect the stud itself. On the other hand, electronic detection identifies changes in density within the wall, allowing you to locate both wooden and metal studs accurately.
Choosing the right mode depends on your project needs. If you’re looking for precision, electronic detection is your best bet, while magnetic detection serves well for quick, basic tasks. Knowing these modes guarantees you get the job done efficiently.
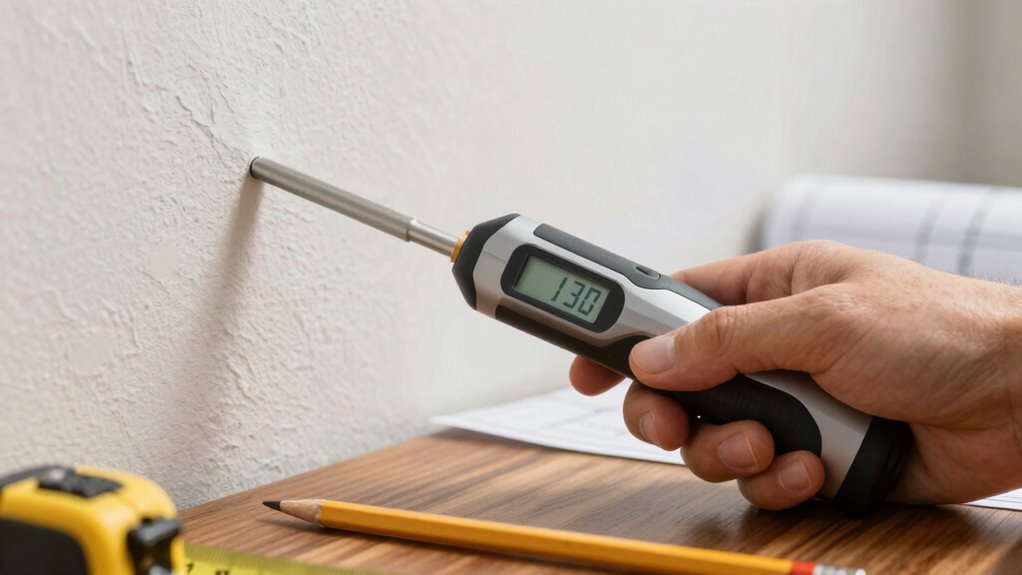
Depth Measurement Capability
Depth measurement capability is an essential feature in a stud finder that guarantees you can accurately locate studs behind different wall thicknesses. When choosing a stud finder, consider the depth measurement techniques it employs. Some models use advanced sensors that provide better depth measurement accuracy, allowing you to find studs in both drywall and thicker materials like plaster or concrete. This feature is particularly useful during renovations or when hanging heavy items, ensuring you securely anchor into the studs. Look for a stud finder that displays the depth of the stud, which helps you determine how far to drive screws or nails. With the right depth measurement capability, you’ll enhance your project’s success and avoid unnecessary damage to your walls.

Stud Finder Wall Scanner – 5 in 1 Stud Finder Tool w/Smart Chip and HD LCD Display, Stud Detector Beam Finders for the Center and Edge of Wood AC Wire Metal Studs Joist Pipe (Yellow Feathers)
Accurate and Rapid: The wall stud finder adopts an intelligent micro-sensor chip with the highest sensitivity which can…
As an affiliate, we earn on qualifying purchases.
As an affiliate, we earn on qualifying purchases.
Setting Your Budget for a Stud Finder
Setting a budget for a stud finder can save you time and money in the long run. Start by identifying your budget considerations based on how often you’ll use it. If you’re a DIY enthusiast, investing in a mid-range model may be worthwhile. For occasional use, a basic version will suffice. Next, do a price comparison among various brands and models. Prices can range from $10 to over $100, depending on features like depth detection and display type. Keep in mind that spending a little more might get you a more reliable tool that lasts longer. Ultimately, choose a stud finder that meets your needs without breaking the bank, so you can tackle your projects with confidence.
How to Use Your Stud Finder Like a Pro
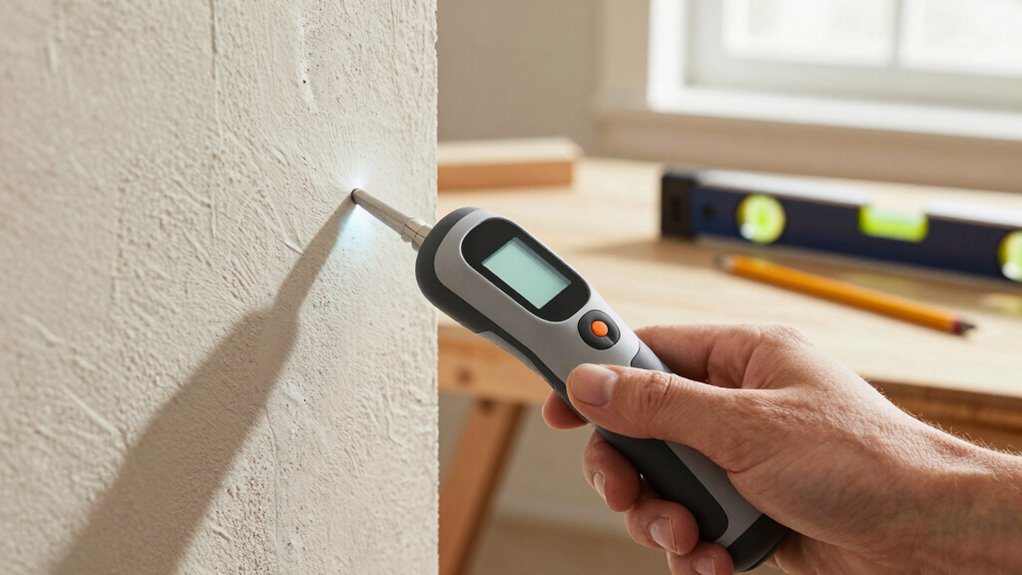
To use your stud finder effectively, you need to start with proper calibration. Mastering scanning techniques will help you locate studs with confidence, while accurately interpreting the results guarantees you avoid any surprises. Let’s explore these essential steps to make the most of your tool.
Calibration Before Use
Before you start locating studs, it’s essential to calibrate your stud finder properly for accurate results. Calibration techniques can vary by model, so read the manufacturer’s instructions closely. Generally, you’ll want to hold the stud finder flat against the wall and press the calibration button. This step sets the device to recognize the wall’s surface, eliminating false readings. The importance of calibration cannot be overstated; without it, you might miss the studs or detect other materials, leading to frustration during your project. Always double-check your calibration before scanning, especially if you’ve moved to a different wall type or surface. Taking these few moments now will save you time and hassle later on, ensuring a smooth and efficient stud-finding experience.
Scanning Techniques Explained
While you might think finding studs is straightforward, using your stud finder effectively requires some finesse. Start by holding the device flat against the wall and activating it according to the manufacturer’s instructions. Use slow, steady horizontal movements, as this helps in scanning techniques that reveal the stud’s location more accurately. Pay attention to the signal interpretation—most stud finders will indicate when they’ve detected a stud through lights or sounds. If you’re using a multi-sensor model, try different scanning modes to maximize accuracy. Keep in mind that walls may have irregularities, so scan multiple times to confirm your findings. Understanding wall composition can also improve your success rate, as different materials may affect the stud finder’s performance. Mastering these techniques will make you a pro at locating studs in no time!
Interpreting Results Accurately
Understanding how to interpret the results from your stud finder is key to ensuring you hit the mark every time. By effectively reading interfaces and interpreting signals, you can locate studs with confidence. Here are some tips to help you:
- Familiarize yourself with sound alerts: Different tones may indicate stud locations or edges.
- Watch for signal strength variations: A stronger signal often means you’re closer to the center of a stud.
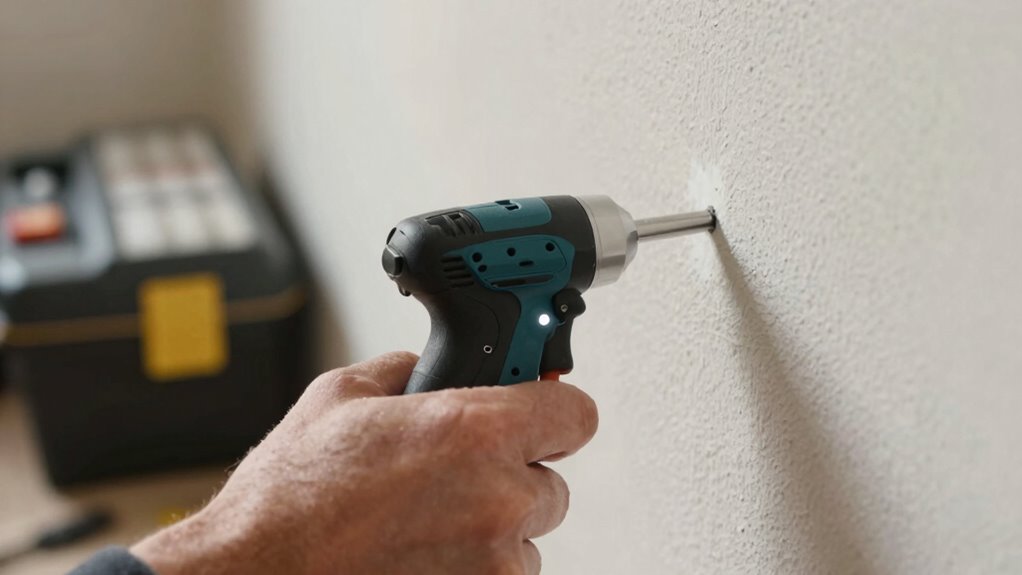
- Double-check your findings: After marking, drill a small test hole to confirm the stud’s location.
Common Mistakes When Using a Stud Finder and How to Avoid Them
How can you guarantee your stud finder works effectively? First, avoid common errors like using it on the wrong surface. Different materials can confuse the device, leading to inaccurate readings. Always calibrate your stud finder before use—this is essential for accurate results. Another mistake is moving the tool too quickly; a slow, steady motion is key to detecting studs properly. If you find yourself getting inconsistent readings, try troubleshooting tips like checking the battery or ensuring the device’s sensors are clean. Finally, don’t forget to mark your studs clearly after locating them, so you won’t lose your spot. By steering clear of these pitfalls, you’ll improve your stud-finding success rate markedly.
Stud Finder Maintenance Tips

To keep your stud finder performing at its best, regular maintenance is important. Following these cleaning tips guarantees longevity and accuracy. Always wipe the exterior with a soft, dry cloth to remove dust and debris. If your stud finder has a screen, use a microfiber cloth to prevent scratches.
When not in use, consider these storage solutions to protect your tool:
- Keep it in a dedicated case to prevent damage.
- Store it in a cool, dry place away from extreme temperatures.
- Make sure it’s placed out of reach of moisture to avoid corrosion.
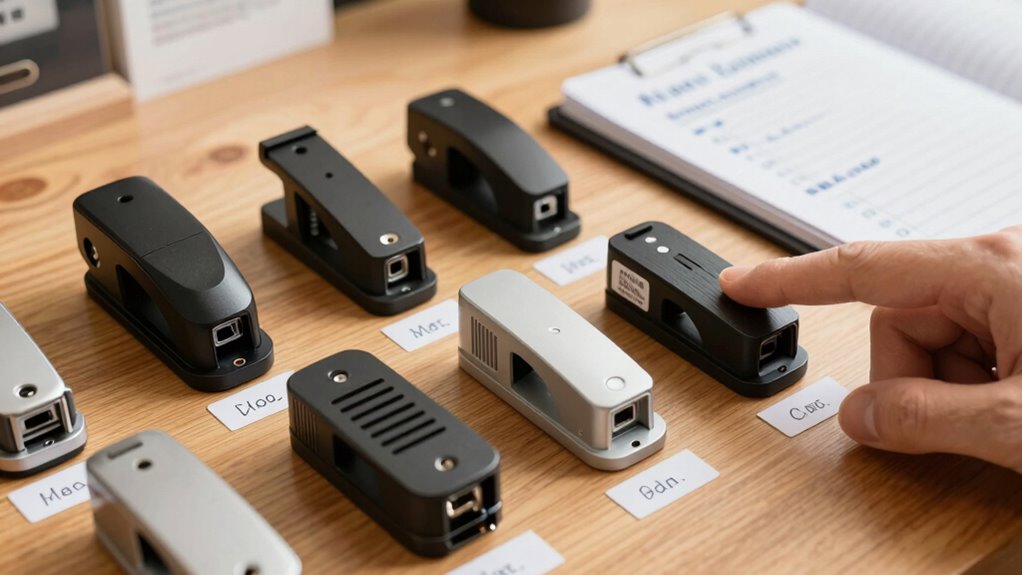
Where to Buy the Best Stud Finders
Ever wondered where to find the best stud finders for your projects? You’ve got a couple of great options. First, check out local hardware stores. They often carry a variety of stud finders, allowing you to see and feel the products before buying. Plus, knowledgeable staff can help answer your questions.
If you prefer shopping from home, online retailers are a fantastic choice. Websites like Amazon or specialized tool shops offer extensive selections, often with customer reviews to help you make a decision. You can easily compare prices and features, making it simpler to find the right tool for your needs. Whether you go local or online, you’ll find plenty of options to suit your project requirements.
Frequently Asked Questions
Can I Use a Stud Finder on Different Wall Materials?
Yes, you can use a stud finder on different wall materials, but wall material compatibility varies by stud finder types. For instance, magnetic stud finders work on all surfaces, while electronic models may struggle with thicker walls or dense materials like tile or concrete. Before starting your project, check the specifications of your stud finder to guarantee it’s suitable for the material you’re working with, and get accurate readings.
How Accurate Are Stud Finders in Detecting Wires?
Think of stud finders like your trusty GPS for home projects. When it comes to wire detection, their accuracy levels can vary. Most modern stud finders can locate live wires, but they aren’t foolproof. Some models might miss wires or give false positives, especially if they’re deep within the wall. Always double-check and consider using a dedicated wire detector for more peace of mind before you start drilling. It’s better to be safe than sorry!
Do Stud Finders Require Batteries or Charging?
Yes, most stud finders require batteries or charging. You’ll find different battery types, such as AA or 9V, depending on the model you choose. Some stud finders come with rechargeable options, allowing you to avoid the hassle of constantly replacing batteries. When selecting a stud finder, consider your preferences for battery life and charging options, as these factors can affect your overall experience during home projects.
What Is the Lifespan of a Typical Stud Finder?
A typical stud finder lasts around five to ten years, but you might be wondering how to make yours last even longer. Proper stud finder maintenance is key—keep it clean, store it in a safe place, and check the batteries often if yours requires them. You’ll want to avoid any accidental drops or exposure to moisture. Treat your tool right, and it’ll guide you to hidden studs for years to come!
Are There Stud Finders Suitable for Outdoor Use?
Yes, there are stud finders designed for outdoor use. These models typically feature outdoor durability and weather resistance, making them ideal for various conditions. When you’re selecting a stud finder for outdoor projects, look for one that can withstand moisture and temperature changes. Some options even come with protective casings to enhance their longevity. By choosing the right stud finder, you can confidently tackle your outdoor tasks without worrying about damage.
Conclusion
Now that you know how to choose a stud finder, you’re ready to tackle your next project with confidence. Whether you’re hanging a vintage record player or installing shelves for your favorite books, having the right stud finder makes all the difference. Remember to assess your needs, look for essential features, and avoid common mistakes. With your trusty stud finder in hand, you’ll be hitting the nail on the head every time—no more guesswork!