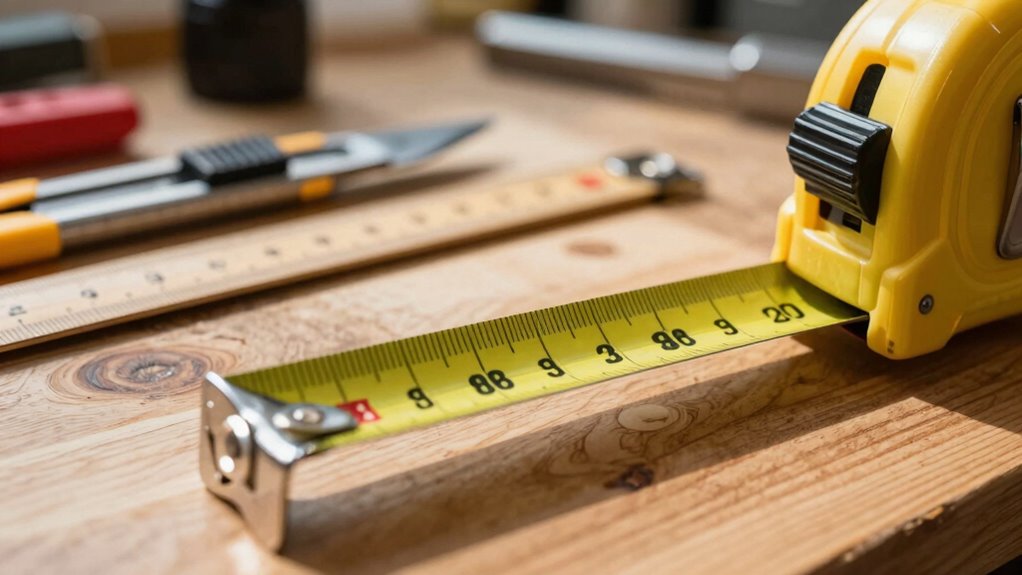

Master your measuring tape to make accurate cuts every time. Start by aligning the zero mark correctly and familiarizing yourself with the tape’s markings. Use the hook to anchor the tape and pull it taut for precise measurements. Avoid common mistakes like sagging and incorrect readings by stabilizing the tape against your surface. With practice, you can efficiently measure at various angles. Want to discover advanced techniques and tips tailored for different materials? Keep going to reveal more insights!
Key Takeaways
- Always start measuring from the zero mark and ensure the tape is taut to avoid sagging, which can lead to inaccurate cuts.
- Use the hook to anchor the tape securely, allowing for reliable extension and precise measurement marking with your free hand.
- Familiarize yourself with common measurement markings like 1/8, 1/4, and 1/2 inches to enhance your accuracy during cuts.
- Choose the appropriate tape type for your material; steel tape is best for metal, while cloth is suitable for flexible surfaces.
- Regularly inspect and maintain your measuring tape to prevent damage and ensure consistent precision in every project.

CRAFTSMAN 25-Ft Tape Measure with Fraction Marketing, Retractable, Manual-Locking Blade (CMHT37443S)
13 ft. Of reach*: allows for easy measurements when working alone (*based on maximum extension of average professional…
As an affiliate, we earn on qualifying purchases.
As an affiliate, we earn on qualifying purchases.
Getting to Know Your Measuring Tape
A measuring tape is one of the most essential tools in any toolbox, and getting to know it can make all the difference in your projects. Familiarizing yourself with the different tape features can help you choose the right tool for your needs. For instance, some tapes have a standout feature, allowing the blade to extend without collapsing, making it easier to take measurements solo. You’ll also encounter various tape types, like cloth, steel, and retractable options. Each type serves unique purposes, from sewing projects to construction tasks. Understanding these features and types guarantees you’ll select the best measuring tape for your specific application, ultimately enhancing your efficiency and accuracy in every project you tackle.
Tape Measure 25ft, Stainless Steel Retractable Tape Measure, Waterproof & Rustproof Steel Measuring Tape with Hollow Design for Renovation, Construction, Carpentry (25')
【Waterproof and Dustproof】Stainless steel retractable measuring tape adopts a hollow tape measure shell design to facilitate the discharge…
As an affiliate, we earn on qualifying purchases.
As an affiliate, we earn on qualifying purchases.
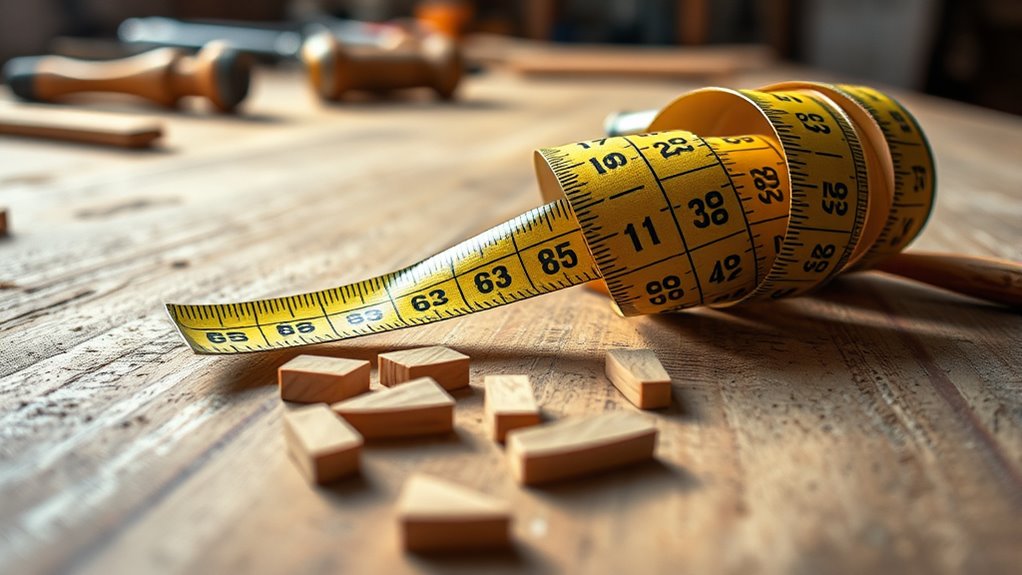
How Can You Read a Measuring Tape Accurately for Perfect Cuts?
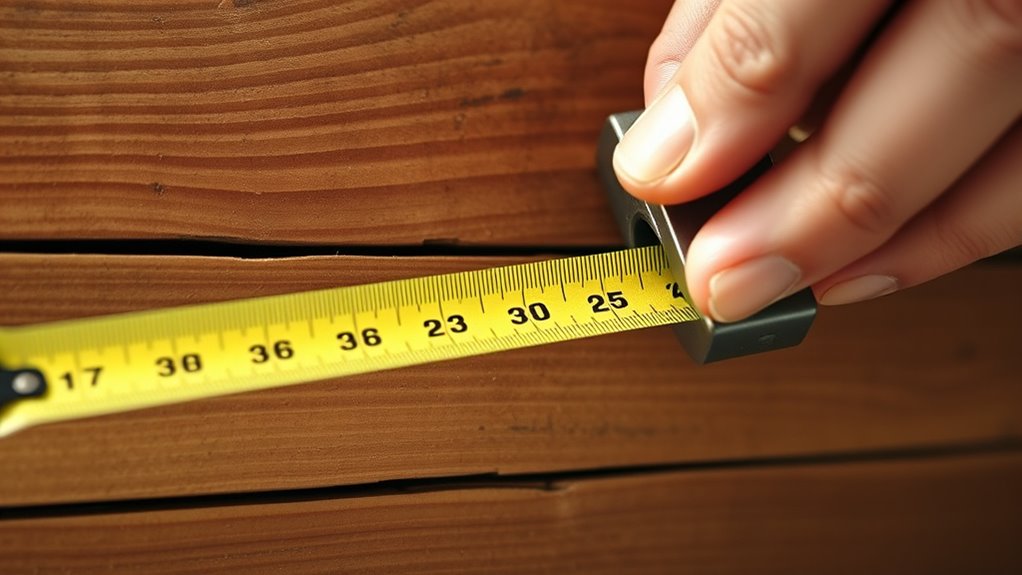
How can you guarantee that your measurements are spot on when using a measuring tape? Accurate tape reading is essential for achieving perfect cuts. Follow these tips to enhance your measurement accuracy:
- Align the tape properly: Start from the zero mark and make sure it’s straight for precise readings.
- Check fractions: Familiarize yourself with 1/8, 1/4, and 1/2-inch markings to avoid miscalculations.
- Use a level surface: Measure on a flat area to prevent distortions caused by angles or slopes.
- Double-check your measurements: Always measure twice to confirm precision before making cuts.
CRAFTSMAN 25-Ft Tape Measure with Fraction Marketing, Retractable, Manual-Locking Blade (CMHT37443S)
13 ft. Of reach*: allows for easy measurements when working alone (*based on maximum extension of average professional…
As an affiliate, we earn on qualifying purchases.
As an affiliate, we earn on qualifying purchases.
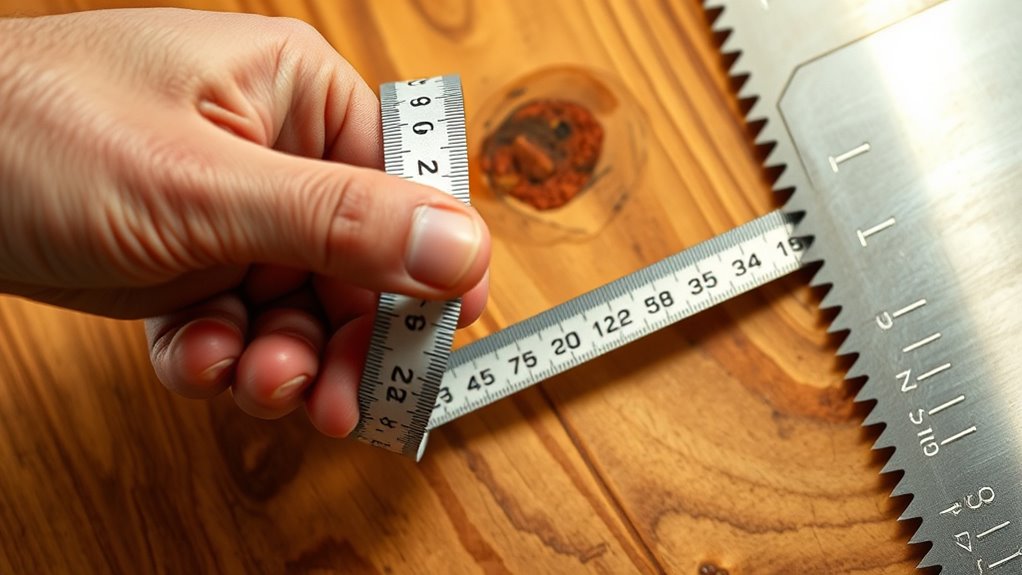
Mastering One-Handed Measurements With Your Tape
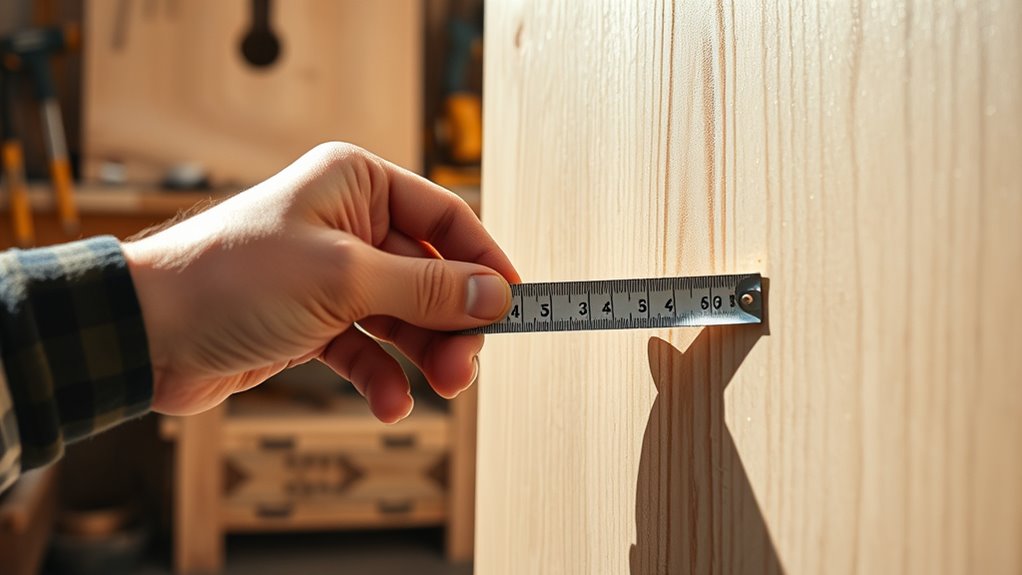
When you need to measure quickly with just one hand, using your body as support can make a big difference. Stabilizing the tape effectively allows for accurate readings without extra help. Let’s explore some handy techniques to master one-handed measurements.
Quick Measuring Techniques
Although measuring with both hands can provide stability, mastering one-handed techniques with your tape can greatly improve your efficiency on the job. Here are some quick measuring techniques that’ll help you make accurate cuts every time:
- Use the Hook: Anchor the hook at one end for reliable tape extension.
- Extend with Control: Pull the tape out slowly to avoid slack and guarantee precision.
- Mark with Your Free Hand: Use your fingers to mark the measurement while holding the tape.
- Practice Angles: Get comfortable measuring at various angles using just one hand.
With these quick measurements techniques, you’ll find yourself working faster and more confidently, making every cut count without needing extra hands.
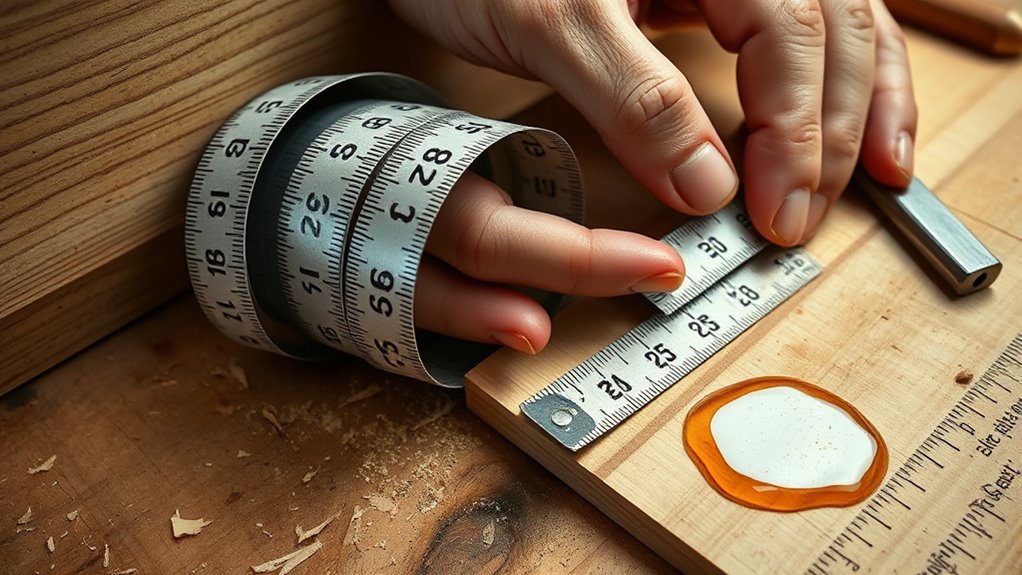
Stabilizing The Tape
Mastering one-handed measurements with your tape requires a solid grip and smart techniques to stabilize it effectively. To achieve proper tape tension, pull the tape taut against your measurement point; this prevents it from slipping or bending. Use your thumb to press down on the tape’s hook, guaranteeing it’s aligned with the edge of your material. This thumb technique also keeps the tape aligned, allowing you to maintain focus on your measurement. If you’re measuring a longer distance, consider using a lightweight object to hold the end of the tape in place. Additionally, understanding filtration and suction basics can help you keep your tools clean and functioning properly, ensuring accurate measurements are part of a well-maintained workspace. By mastering these simple techniques, you’ll guarantee accurate cuts every time while minimizing the need for extra hands.
Using Your Body
One effective way to enhance your one-handed measurements is by utilizing your body as an anchor. This approach not only helps with body alignment but also improves your measurement techniques. Here’s how to do it:
- Position Yourself: Stand with your feet shoulder-width apart for stability.
- Use Your Hip: Place the end of the tape against your hip or thigh to secure it.
- Extend the Tape: Pull the tape out with one hand while keeping the other hand free for marking.
- Align Your Body: Verify your body is straight and aligned with the tape for accurate measurements.
- To ensure consistent results, focus on maintaining ergonomic principles during your measurement process, which can help prevent errors and reduce fatigue. Additionally, paying attention to proper posture can further improve accuracy and comfort during measurements. Incorporating body awareness can enhance your control and precision when handling the tape.

Komelon 433IEHV High-Visibility Professional Tape Measure both Inch and Engineer Scale Printed 33-feet by 1-Inch, Chrome
Ergonomically designed chrome case
As an affiliate, we earn on qualifying purchases.
As an affiliate, we earn on qualifying purchases.
Avoid These Common Measuring Tape Mistakes
When you’re tackling a project that requires precise measurements, it’s easy to make common mistakes with your measuring tape. Here are some common errors to watch out for to avoid measurement misjudgments:
| Common Mistakes | Solutions |
|---|---|
| Not pulling the tape tight | Always guarantee the tape is taut to avoid sagging. |
| Reading the wrong side | Double-check if you’re reading the correct measurement side. |
| Not accounting for the hook | Remember the hook adds a slight variation; account for it. |
| Failing to mark accurately | Use a fine pencil or marker for clear, precise marking. |
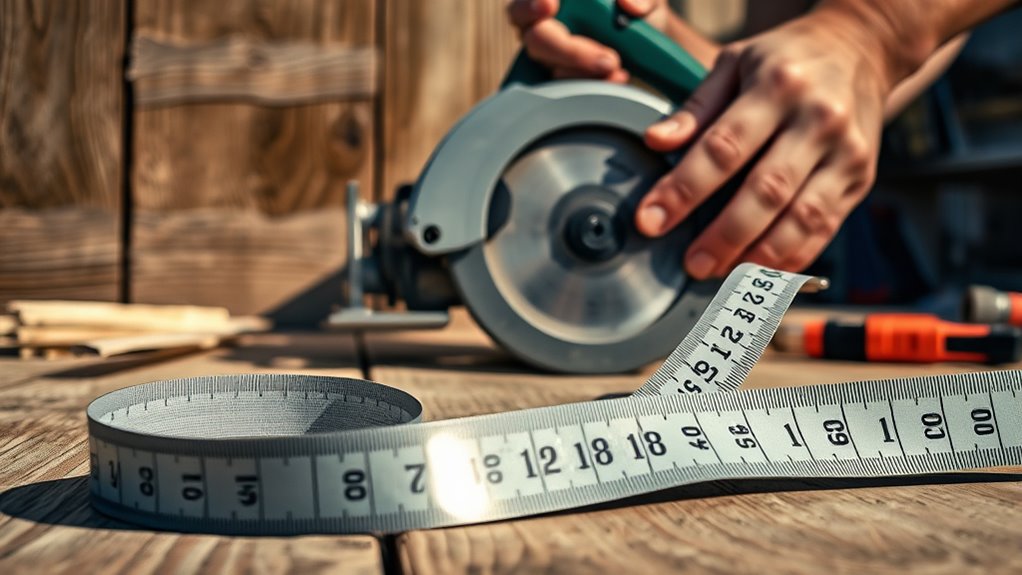
Techniques for Different Materials
When you’re working with different materials, your measuring techniques need to adapt. For wood, you might focus on precision cuts, while metal requires careful measuring to avoid errors. Let’s explore the best practices for both to guarantee your projects come out just right.
Wood Cutting Techniques
Cutting wood effectively requires understanding various techniques tailored for different materials. You’ll want to reflect on the wood grain and cut angles to achieve clean, precise cuts. Here are four essential techniques to keep in mind:
- Rip Cuts: These follow the wood grain, making long cuts along the length of the board.
- Cross Cuts: These cut across the grain, ideal for shortening pieces.
- Miter Cuts: Use these at an angle, perfect for corners or frames.
- Dado Cuts: These create grooves in the wood, allowing for better joint connections.
Metal Measuring Methods
Although measuring metal can seem intimidating due to its rigidity and precision requirements, mastering the right techniques can make the process straightforward. Using a metal tape is key for measuring accuracy in metalwork. Here are some effective methods to enhance your measuring skills:
| Method | Description |
|---|---|
| Direct Measurement | Use a metal tape for precise lengths. |
| Marking Techniques | Make small marks to avoid confusion. |
| Using a Square | Guarantee right angles for accuracy. |
| Clamp and Measure | Secure metal to prevent movement. |
Using Your Measuring Tape for Various Projects
Whether you’re tackling a home improvement project or a DIY craft, using your measuring tape effectively can make all the difference. Mastering custom project measurements and accurate cut calculations is essential for achieving professional results. Here are four tips to enhance your measuring skills:
- Always start from the same point: Consistency guarantees your measurements are reliable.
- Use the right units: Familiarize yourself with both metric and imperial measurements for versatility.
- Double-check your measurements: Measure twice to avoid costly mistakes.
- Mark your cuts clearly: Use a pencil or chalk for precise cutting lines.
Maintain Your Measuring Tape for Longevity
To guarantee your measuring tape lasts for years, it’s essential to adopt a few simple maintenance habits. Proper tape care and storage can greatly extend its lifespan. Always retract your tape slowly to avoid damaging the spring mechanism. Keep it clean by wiping off dust and debris after use. When storing, avoid leaving it in damp or extreme temperature environments, as this can warp the tape.
| Tape Care | Tape Storage | Tips |
|---|---|---|
| Clean regularly | Store in a drawer | Avoid moisture |
| Retract slowly | Use a protective case | Keep away from heat |
| Inspect for damage | Hang when possible | Organize with tools |
Frequently Asked Questions
What Are the Different Measuring Tape Types Available?
There are several types of measuring tapes available for your needs. You’ve got steel tape, which is durable and ideal for construction work. Fiberglass tape is flexible, perfect for measuring curves or rough surfaces. If you need convenience, magnetic tape can help you easily attach it to metal surfaces. Finally, digital tape offers precise measurements with an easy-to-read display, making it great for quick readings. Choose the one that fits your project best!
How Do I Choose the Right Tape Length for My Project?
To choose the right tape length for your project, start by evaluating your project requirements. If you’re tackling small tasks, a 16-foot tape might suffice, but for larger jobs, consider a 25-foot or longer tape. Think about the dimensions of the materials you’ll measure and any potential future projects. It’s better to have extra length than to fall short, so err on the side of choosing a longer tape if you’re unsure.
Can I Use a Measuring Tape for Curved Surfaces?
Absolutely, you can use a measuring tape for curved surfaces! Think of it as your trusty companion, bending and flexing to capture those curved measurements with ease. Flexible tapes are perfect for this, as they can conform to the shape of whatever you’re measuring. Just make sure to hold the tape snugly against the curve to get an accurate reading. With a little practice, you’ll master measuring those tricky contours in no time!
How Do I Clean and Care for My Measuring Tape?
To clean and care for your measuring tape, wipe it down with a damp cloth to remove dirt and debris. For measuring tape maintenance, avoid exposing it to extreme temperatures and moisture. Store it in a cool, dry place using tape storage solutions like a dedicated toolbox or a wall-mounted holder. Regularly check for wear and tear, and replace it if the casing or tape shows significant damage. This keeps your tool in top shape!
What Safety Tips Should I Consider When Using a Measuring Tape?
When using a measuring tape, always prioritize tape safety to prevent injuries. Keep your fingers clear of the blade when retracting, and guarantee the tape is securely anchored before measuring. Avoid standing on unstable surfaces while using it, and always be aware of your surroundings. Store the tape properly to prevent damage, and inspect it regularly for any wear. Following these tips will help you maintain safety and prevent injury during your projects.
Conclusion
By mastering these measuring tape tricks, you’ll find that perfect cuts become second nature. It’s funny how just a little practice can lead to big improvements in your projects. You might even discover that the more you measure, the more confident you feel in your skills. So, whether you’re a DIY novice or a seasoned pro, keep your tape handy and embrace the art of precision. With each cut, you’re not just building; you’re honing your craft.