
Spackle is ideal for quick fixes on small holes and surface imperfections, drying fast and easy to sand smooth. Joint compound is thicker and better suited for larger repairs, seams, and creating a smooth finish, but it takes longer to dry. Filler is a versatile product used for deeper or larger holes, often made of different materials like wood or plastic. Understanding these differences helps you choose the right material for each repair, and more details await to guide your project.
Key Takeaways
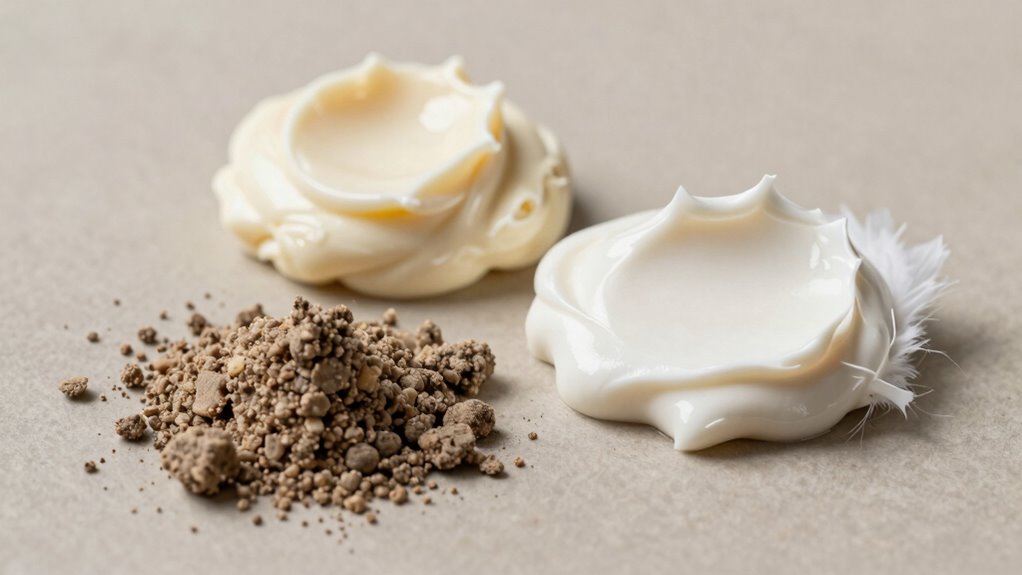
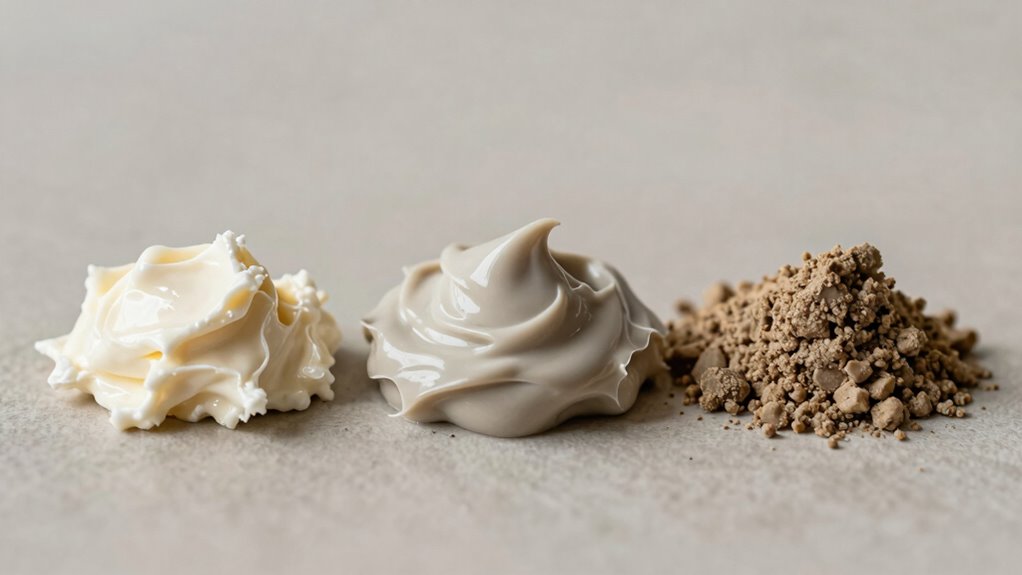
- Spackle is lightweight, dries quickly, and is ideal for small repairs, while joint compound is thicker, suitable for large repairs and finishing drywall seams.
- Filler generally refers to any substance used to fill gaps or holes, often including spackle or specialized compounds.
- Spackle is best for minor surface imperfections, whereas joint compound offers a smooth finish for larger areas and multiple coats.
- Joint compound takes longer to dry and requires feathering for seamless wall surfaces, unlike fast-drying spackle.
- Choosing between them depends on the repair size, surface type, and desired finish quality.
Are you confused about the differences between spackle, joint compound, and filler? When you’re tackling DIY wall repair projects, understanding these materials helps you choose the right product for each task and guarantees a smooth finish. Each one is designed for specific applications, and knowing how to use them properly can save you time and effort.
Spackle is your go-to for quick fixes on small holes and minor surface imperfections. It’s a lightweight, fast-drying material that’s easy to apply with a putty knife. Because of its consistency, spackle adheres well to surfaces like drywall, plaster, and wood. During DIY wall repair, you’ll want to apply it in thin layers, pressing it into the hole or crack, then smoothing out the excess. Once it dries, usually within a few hours, you can sand it lightly to blend it seamlessly with the wall. Spackle works best for small repairs that don’t require extensive filling or shaping, making it ideal for quick touch-ups.
Joint compound, on the other hand, is thicker and more versatile, commonly used for finishing drywall seams and large repairs. It’s also known as drywall mud and comes in premixed or powder form. During material application techniques, you’ll spread it over joints and screw holes with a taping knife, then feather the edges to create a smooth, even surface. Unlike spackle, joint compound takes longer to dry—sometimes 24 hours or more—so patience is key. It’s excellent for creating a flawless surface that’s ready for sanding and painting. You can also build up multiple layers for repairs that need extra reinforcement or shaping, making it a staple for larger DIY wall repair projects. Additionally, understanding the drying times of these materials ensures your project stays on schedule. Using the right technique and proper tools can make a significant difference in achieving a professional finish. Being aware of application techniques can help you avoid common mistakes and improve your repair results. Knowing the different types of joint compound can also help you select the best product for specific finishing needs.

3M Small Hole Repair High Strength, All in One Applicator Tool, 1-Pack, Quick and Easy Repair for Nicks and Nail Holes, Includes Putty Knife, Spackle, and Sanding Pad For Wall Repairs (SHR-3-AIO)
MAKES REPAIRS 3X FASTER than traditional vinyl spackling
As an affiliate, we earn on qualifying purchases.
As an affiliate, we earn on qualifying purchases.
Frequently Asked Questions
Can Spackle Be Painted Over Immediately After Application?
Yes, you can paint over spackle immediately after application if you follow proper surface preparation and application techniques. First, make sure the spackle dries completely, which usually takes a few hours or overnight. Lightly sand the area to smooth it out, removing any bumps or rough spots. Then, wipe away dust before applying primer and paint. This approach guarantees a seamless finish and proper adhesion, giving your repair a professional look.
Which Product Is Best for Outdoor Use?
Think of your outdoor project as a fortress facing the elements; you need a product that stands tall against weather’s wrath. For outdoor use, choose a filler or joint compound specifically designed for exterior durability and weather resistance. These products are formulated to withstand rain, sun, and temperature swings, ensuring your repairs last. Always check the label to confirm it’s rated for outdoor use, so your work remains resilient through seasons.
How Long Does Each Product Typically Take to Dry?
Drying times vary among these products. Spackle usually dries within 1-2 hours, making it quick for small repairs. Joint compound takes longer, around 24 hours, especially if applied in thick layers or multiple coats. Filler dries fast too, often within 20-60 minutes. For best results, always check the product labels for specific drying times, as conditions like humidity and temperature can influence the drying process.
Are There Health Risks Associated With Any of These Products?
You’re right to wonder about health concerns. While generally safe when used properly, these products can pose risks from chemical toxicity, especially during sanding or if inhaled in dust form. Prolonged exposure to fumes or dust may cause respiratory issues or skin irritation. Always work in a well-ventilated area, wear masks, and gloves. Staying cautious minimizes health risks, ensuring your DIY projects stay safe and your environment remains healthy.
Can These Products Be Used Interchangeably?
You can’t always use spackle, joint compound, and filler interchangeably for DIY repairs, as each is designed for specific tasks. Using the right product guarantees better adhesion and longer product longevity. For small holes or cracks, spackle works best, while joint compound is ideal for larger patches and drywall finishing. Filler suits wood repairs. Choosing the appropriate material ensures your repair holds up over time and looks professional.

DAP DryDex Dry Time Indicator Spackling, Pink/White, 32 Oz (7079812330)
DryDex is a latex polymer spackle for repairing interior or exterior surfaces like drywall, plaster, wood, brick and…
As an affiliate, we earn on qualifying purchases.
As an affiliate, we earn on qualifying purchases.
Conclusion
Now that you understand the differences between spackle, joint compound, and filler, you’re ready to tackle your project with confidence. But remember, choosing the right material is just the beginning—what you do with it can make all the difference. Will you use these tools to create a flawless finish or let small mistakes reveal your secret? The choice is yours—your next move could transform your space forever. Are you prepared to make it count?
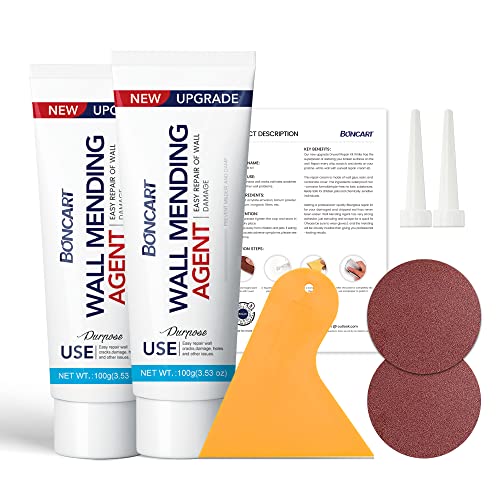
Drywall Repair Kit,2 Pack Wall Mending Agent,Wall Spackle with Scraper, Wall Surface Hole Fill Quick and Easy Solution
The drywall repair kit includes 2x Wall mending agent (100g), 2x Nozzle Extender, 1x Scrapers, and 2x Sandpaper.
As an affiliate, we earn on qualifying purchases.
As an affiliate, we earn on qualifying purchases.

Drywall Repair Kit Drywall Hole Repair Patch Kits Wall Spackle Repair Paste with 8.5OZ White Wall Repair Putty with Scraper, Wall Surface Hole Fill Quick and Easy Solution (1Pack)
Complete Repair Kit: Contains 1 pieces repair putty(8.5oz), 2 inch wall repair patches(2pcs), 4 inch wall repair patches(1pcs),…
As an affiliate, we earn on qualifying purchases.
As an affiliate, we earn on qualifying purchases.