TL;DR
A DIY featured by Blessings Craft Therapy turns an old six-cup muffin pan into wall decor using paint, wooden letters spelling “yum” and a decorative wooden spoon. The idea offers a way to reuse a pan that may be difficult to recycle through curbside programs, with other designs and display methods also suggested.
A DIY project featured by Blessings Craft Therapy turns an old six-cup muffin pan into kitchen wall decor with paint, wooden letters spelling “yum” and a decorative spoon. The project gives a worn baking tin a display purpose rather than sending it directly to disposal, and offers a way to reuse metal bakeware that may not be accepted in curbside recycling.

Get the little things that make your day delivered free with Prime
- Fast, free delivery on millions of items
- Prime Video, Amazon Music and more included
- Member-only deals all year
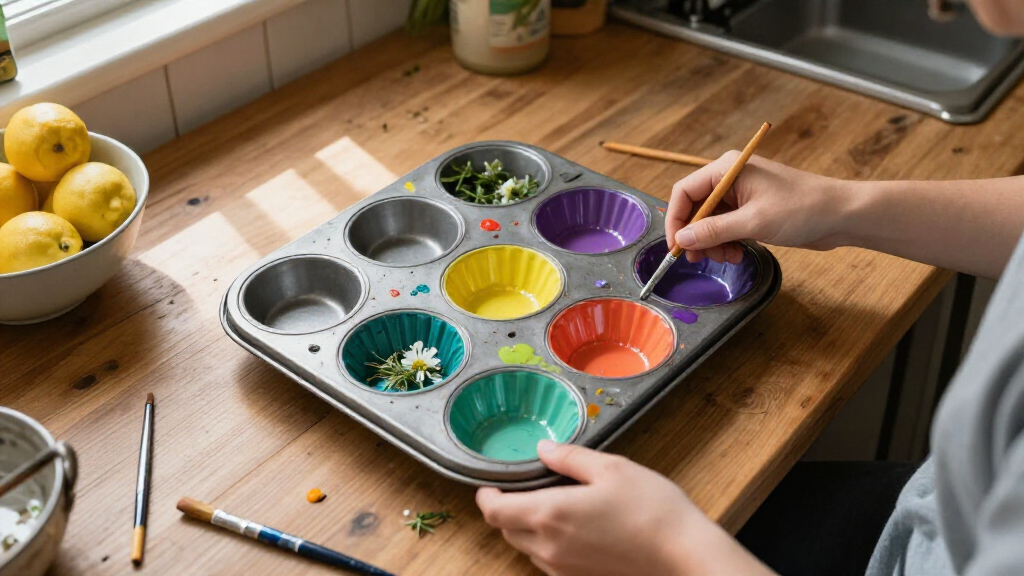
According to the project instructions from Blessings Craft Therapy, the design starts with a used muffin pan that has been cleaned and dried before decoration. Scrubbing away grease and baked-on food helps create a smoother surface for paint; the instructions suggest a scouring pad or baking soda paste to loosen residue. The pan may need more than one coat to achieve even coverage.
In the version described by Blessings Craft Therapy, different shades of brown provide color, while the three cups in one row of the six-cup pan hold the letters in “yum.” The letters can be painted or stained to stand out against the pan. A painted wooden spoon is glued to the front as an accent, positioned so it does not cover the lettering, and twine threaded through a hole at the pan’s edge serves as a hanger.
The project description also suggests changing the design to suit a kitchen’s colors or style. It recommends chalk paint as an option that adheres to metal without a special primer. White or cream can create a lighter background, while darker paint or Rub ’n Buff along the edges can suggest an aged finish. Other short words, including “eat,” can replace “yum”; larger pans may fit longer lettering.
Give an Old Muffin Pan A New Kitchen Role
Blessings Craft Therapy turns a used six-cup pan into wall decor with paint, wooden letters and a utensil accent. It offers a creative reuse idea for bakeware that may not be accepted in curbside recycling.
Prepare the pan
A clean, dry surface helps paint cover evenly.
Remove grease and baked-on food; use a scouring pad or baking soda paste if needed.
Apply coats as needed. Chalk paint is suggested as an option for metal.
Place “yum” across one row, then glue on a spoon without covering the letters.
Make the design yours
The pan’s cups and metal frame offer room for different colors and accents.
Match your kitchen
Try white or cream for a lighter look, or darker paint and Rub ’n Buff for an aged finish.
Choose a short word
“Eat” can replace “yum”; a larger pan may fit longer lettering.
Swap the utensil
Use a whisk or spatula, add trim, or fill the cups with small decorative objects.
Choose how to display it
- Thread twine through an existing hole.
- Wire or ribbon are other suggested hanger options.
- Let paint and glue dry as directed before hanging.
- Lean it against a wall on a shelf or countertop.
- A hidden hanger behind the pan is another option.
- Choose support suited to the pan and decorations.
A Second Use for Worn Bakeware
The project offers a practical reuse option for a household item whose baking life may be over but whose metal remains useful for decoration. Blessings Craft Therapy notes that muffin pans are not always accepted in curbside recycling, so owners may need to find a specialty program to recycle one. Turning a pan into decor can keep it in use, though it is a craft alternative rather than a substitute for checking local recycling rules.
The project description also presents the design as adaptable: the tin can be decorated to match a kitchen, given seasonal details or displayed without drilling. The main trade-off is that the finished pan is decorative, not food-safe bakeware. Because the project calls for paint and glue, the altered pan should be treated as wall or shelf decor rather than returned to cooking use.
Products Worth Considering

Philips Hue Play Floor Lamp, RGBWWIC LED, 53 Inch, Black

Roborock Qrevo 2 Pro Robot Vacuum and Mop

Sony BRAVIA XR8B 65-Inch OLED 4K HDR Smart Google TV (K-65XR8B)
As an affiliate, we earn on qualifying purchases.
How the Pan Becomes Wall Art
As described in the Blessings Craft Therapy project, the idea uses the shape of a muffin tin as part of the design: its individual cups can hold small decorations, while the flat metal frame provides space for paint, lettering and a hanger. In the featured example, a six-cup tin has two rows of three cups, with a three-letter word placed across one row.
The project description says people without an old pan can look at thrift stores for one, or buy a low-cost new pan; it cites a $1.25 Dollar Tree option. That price is a listed example, not a guarantee of current availability or local pricing. The DIY also suggests changing the cup decorations, adding trim around the rim or openings, and choosing a spoon, whisk or spatula as the utensil accent.
Recycling and Design Details Vary
The Blessings Craft Therapy project description does not identify which local recycling programs accept muffin pans, and rules vary by area. Readers will need to check with their municipality or a specialty metal recycler before deciding that an old pan cannot be recycled. The description also does not provide a full materials list, paint quantity, drying times or instructions for mounting the finished piece securely.
The $1.25 pan price is a specific retail example cited in the project and may change. The DIY description does not report testing, costs beyond that example, or how long the paint and glued decorations last. Results may depend on the pan’s condition, surface preparation and products used.
Choose a Finish and Display
For makers following the Blessings Craft Therapy project, the next steps are to clean and dry the pan, select a finish and plan where the letters and embellishments will go before gluing them in place. The project suggests hanging the pan using twine threaded through an existing hole, with a wire or ribbon loop as alternatives. For a less permanent display, it can simply be leaned against a wall on a shelf or countertop; a hanger can also be attached behind the pan to keep it out of sight.
The project description offers further variations, including filling the cups with small kitchen-themed objects or fabric muffins, adding rustic details for a farmhouse look, or creating seasonal displays with miniature eggs or trees. Before hanging, makers should allow paint and glue to dry according to their product directions and choose a support suited to the pan and added decorations. The source provides no specific mounting hardware or weight guidance.
Source: Hunker, featuring the Blessings Craft Therapy DIY
Key Questions
What supplies are suggested for the muffin-pan decor?
The Blessings Craft Therapy project uses an old muffin pan, paint, small wooden letters, a wooden spoon or other utensil, glue and twine or another hanger material. Ribbon, faux flowers and decorative trim are optional accents.
How should the pan be prepared before painting?
The project instructions say to scrub off grease and baked-on food, using a scouring pad or baking soda paste if needed, then dry the pan completely. They note that multiple coats of paint may be needed for full coverage.
Can a muffin pan go in curbside recycling?
Not necessarily. The project description says metal muffin pans may not be accepted in curbside recycling and that specialty recycling may be needed. Check local rules or contact a metal recycler for instructions.
What can replace the word “yum” or the wooden spoon?
The project suggests that a short word such as “eat” can replace “yum,” and that a larger pan may allow longer lettering. A whisk or spatula can stand in for the spoon, or the cups can hold small decorative items instead of letters.
Does the finished pan need to be hung on a wall?
No. The project says it can be leaned against a wall on a shelf or countertop. If hung, suggested options include twine, wire or ribbon, including a hanger attached behind the pan.
Source: hunker.com