
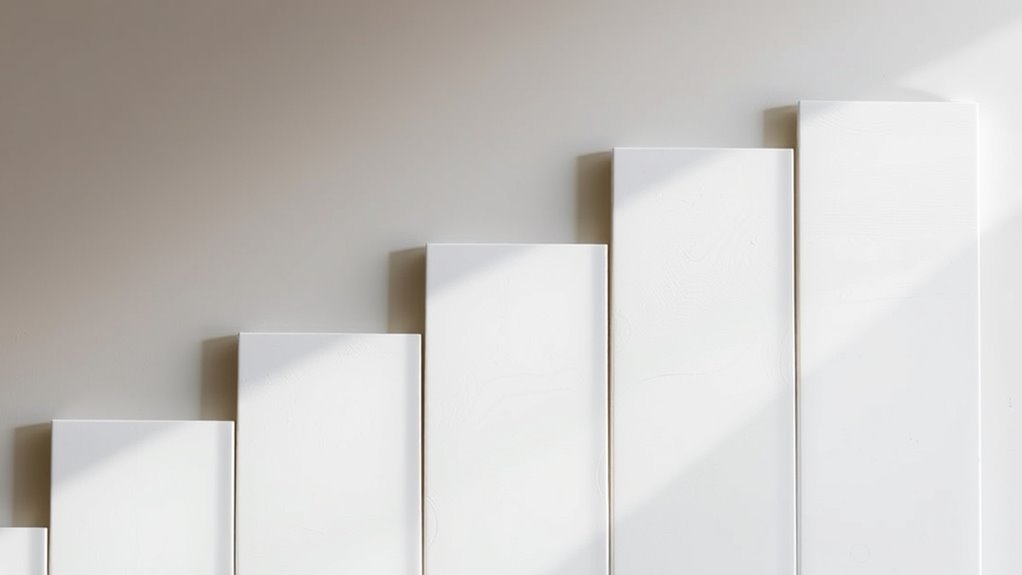
Drywall finishing levels range from 0 to 5, each indicating the smoothness and quality of your wall surface. Levels 0-1 are rough and suitable for temporary or back-of-wall applications. Levels 2-3 are moderate, often used for wall covering or less visible areas. Levels 4-5 deliver a highly smooth and professional finish, perfect for high-end paint or textures. Understanding these levels helps you choose the best finish for your project—keep reading to learn how to achieve each one effectively.
Key Takeaways
- Drywall finishing levels range from 0 (unfinished) to 5 (smooth, high-quality surface).
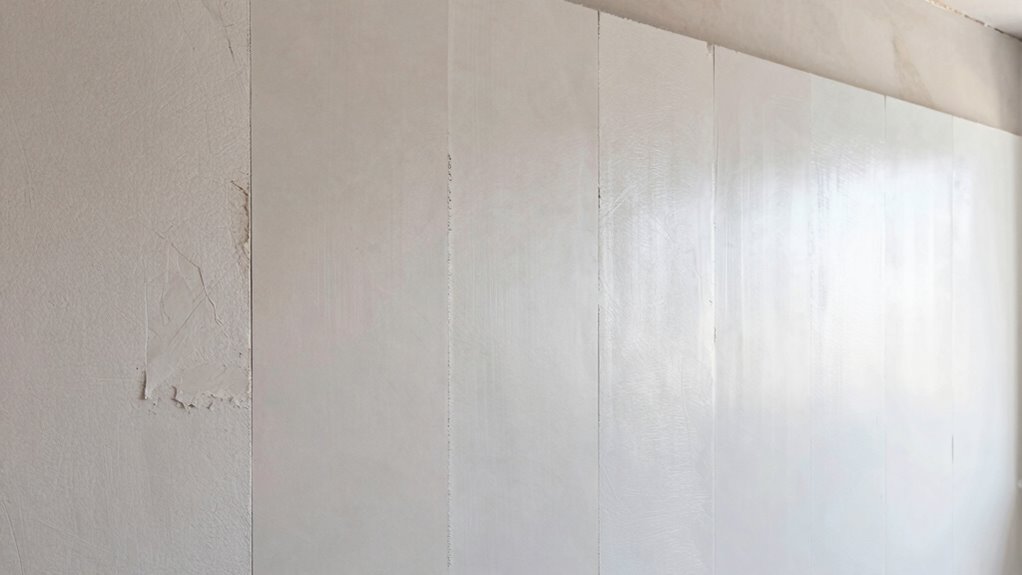
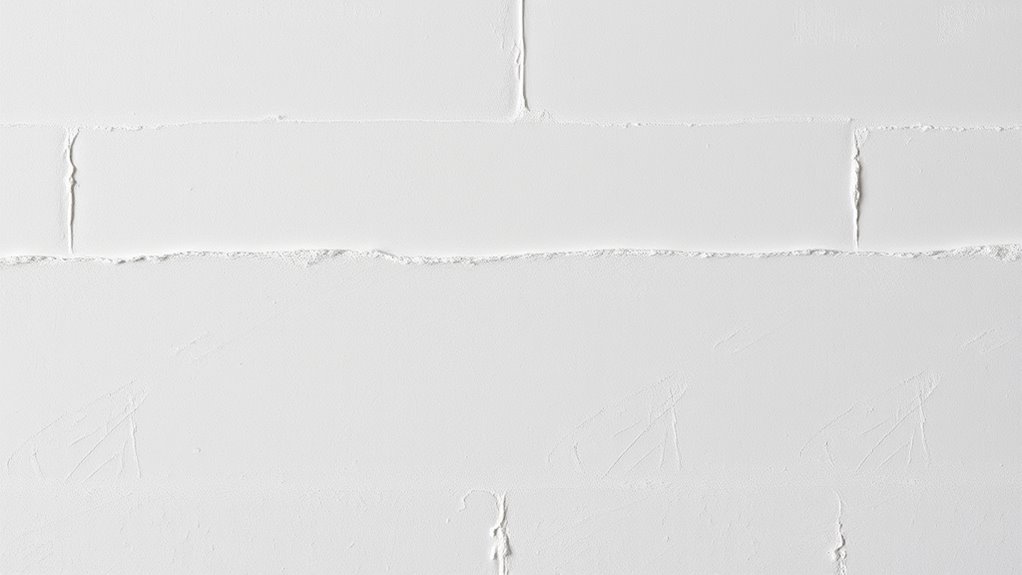
- Level 0 is basic or no finishing; Level 1 provides minimal taping; Level 2 adds joint compound.
- Level 3 involves additional taping and sanding for moderate smoothness, suitable for textured surfaces.
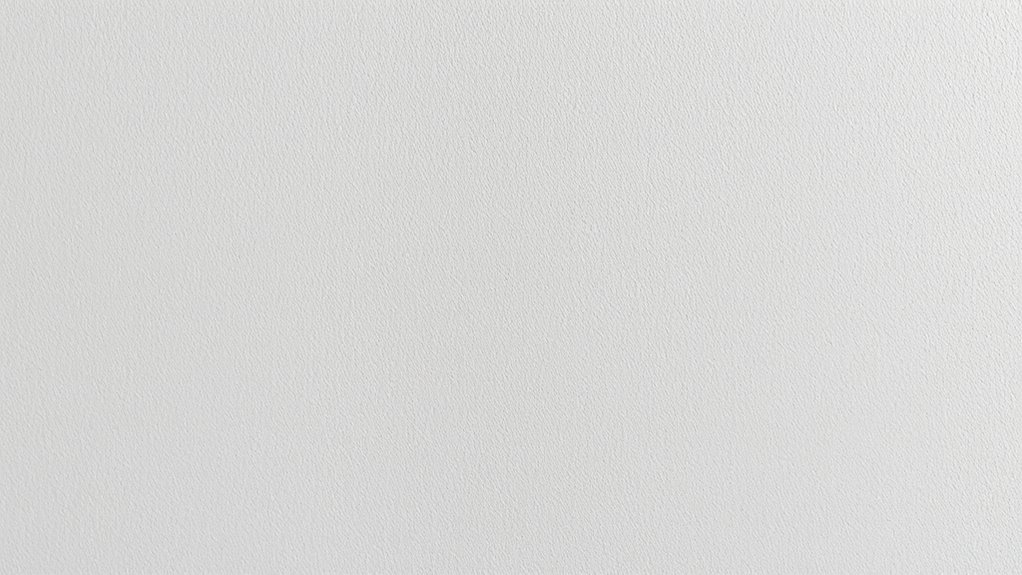
- Level 4 offers a nearly smooth surface ideal for painted walls with high visibility.
- Level 5 provides a flawless, ultra-smooth finish for high-end paint and aesthetic perfection.

Rhibak Drywall Hand Tools Kit, Putty Knife Set with Aluminum Hawk, Mud Pan, Flat Finishing Trowel, Multi-Fuctional Paniter Scraper
【13-Inch Aluminum Hawk】This lightweight 13×13-inch aluminum hawk significantly reduces plastering time while offering rust resistance and durability. Its…
As an affiliate, we earn on qualifying purchases.
As an affiliate, we earn on qualifying purchases.
Why Do Different Drywall Finishing Levels Matter?
Understanding why different drywall finishing levels matter is essential because they directly impact the appearance, quality, and durability of your walls. The level you choose affects texture consistency, ensuring your wall surface looks smooth or textured as desired. The proper finishing process enhances the material selection and application techniques, allowing you to select the right compounds and methods for the intended final look. For example, higher levels demand more precise application to create seamless surfaces, which prevents cracks and imperfections. Choosing the appropriate level guarantees that your walls can withstand daily wear and tear while matching your aesthetic preferences. Additionally, safety considerations should be taken into account during drywall finishing to prevent issues like dust inhalation or improper handling of materials. Using the correct tools and techniques, such as airless paint sprayers, can improve efficiency and achieve a more professional finish. In short, understanding these levels helps you achieve a professional finish that lasts, saving you time and money in the long run. Paying attention to finishing standards ensures the final result meets both safety and quality expectations. Proper training and adherence to industry guidelines can further enhance the quality and safety of your drywall finishing process. Recognizing these standards also helps in selecting suitable finishing products that align with industry best practices.

DAP Wallboard Joint Compound, White, 12 Lbs (7079810102)
Joint compound for interior surfaces provides a smooth, high quality finishing of gypsum panel joints
As an affiliate, we earn on qualifying purchases.
As an affiliate, we earn on qualifying purchases.
How to Choose the Right Drywall Finish Level for Your Project
Choosing the right drywall finish level depends on your project’s specific needs and final look. Consider how visible imperfections will be and whether you plan to add texture options or a smooth surface. For highly visible areas, opt for a higher finish level that minimizes seams and imperfections, making paint preparation easier. If you want a textured wall, lower finish levels might suffice, but ensure they match your desired aesthetic. Keep in mind that higher finish levels require more work but result in a flawless surface ready for a professional paint job. Think about these factors:
- The level of texture options you prefer
- The smoothness needed for your paint preparation
- The visibility of seams and imperfections
- The complexity of air systems and the effect they have on finishing techniques
Additionally, understanding how different finishing techniques impact the final appearance can help you select the best approach for your project. Proper surface preparation is essential to achieve a polished look, especially when working with higher finish levels. Being aware of finishing standards can also guide you in selecting the appropriate finish for your space. Recognizing the importance of quality materials can further ensure a durable and aesthetically pleasing result. Choosing wisely guarantees your project looks polished and meets your expectations.

Romeda 8-Pack Sanding Sponge, Four Grits Per Pack 60/80/120/220, Washable and Reusable Handmade Sandpaper Block, Drywall Sandpaper Blocks for Wooden Drywall Sheetrock and Metal Glazing
【ASSORTED GRIT SANDING BLOCKS】 8 sand blocks, 4 sizes from coarse to ultra-fine sand, 60/80/120/220 grit, 2 blocks…
As an affiliate, we earn on qualifying purchases.
As an affiliate, we earn on qualifying purchases.
How to Achieve Each Drywall Finish Level: A Step-by-Step Guide
Achieving each drywall finish level requires a specific sequence of techniques and attention to detail. Start with applying joint compound smoothly, then follow appropriate sanding techniques to smooth surfaces. For different texture options, use specialized tools or spray techniques to achieve the desired look. Ensuring proper safety tips during sanding and applying joint compounds is essential to protect yourself and achieve professional results. Additionally, understanding drywall finishing levels helps in selecting the right methods for each stage of the process. Incorporating proper equipment can also improve the consistency and quality of the finish. Being aware of filtration and suction basics can help maintain a cleaner workspace and reduce airborne dust during sanding. Using the right dust containment systems further enhances safety and cleanliness during drywall finishing.

Bates- Taping Knife Set, 2 Pack, 8 & 12 Inch, Blue Steel Drywall Taping Knife
Bates taping knife set includes 2 knives, providing versatility for drywall taping, finishing, and smoothing tasks.
As an affiliate, we earn on qualifying purchases.
As an affiliate, we earn on qualifying purchases.
Pros and Cons of Drywall Finishing Levels 0–5: Which Is Best for You?
Drywall finishing levels offer a range of options, each with its own advantages and drawbacks depending on your project needs. Level 0 and 1 are quick and budget-friendly but lack smoothness, suitable for temporary or hidden surfaces. Levels 2 and 3 provide moderate finishes, balancing cost considerations with improved texture options for visible areas. Level 4 and 5 deliver the smoothest surfaces, ideal for high-end finishes and paint, but come at a higher cost and more labor. Additionally, selecting the appropriate cabling solutions can impact the overall quality and durability of your installation. Just as auditory processing techniques are tailored to individual needs, choosing the right drywall level depends on your specific project requirements and desired outcome. Being aware of the finishing techniques involved can help ensure you achieve the best results for your space.
Furthermore, understanding the surface preparation process is crucial for achieving a professional finish at higher levels.
- Choose lower levels for cost savings and rougher textures
- Opt for higher levels if you need a flawless, paint-ready surface
- Consider your project’s final look and budget when selecting
Understanding these pros and cons helps you pick the best finishing level for your space.
Tips for Communicating Finishing Level Needs With Contractors and DIYERS
Clear communication is essential when discussing drywall finishing levels with contractors or DIYers to guarantee everyone is on the same page. Start by clearly describing the desired finishing level and explaining how surface preparation impacts the final look. Be specific about the level of smoothness and the appearance you expect, whether it’s a basic or high-gloss finish. Discuss material selection upfront, choosing joint compounds, taping techniques, and sanding methods that match your finishing goals. Encourage questions and confirm understanding to avoid misunderstandings. Providing visual references, like photos or samples, can help clarify your expectations. Regular check-ins during the project ensure surface preparation and material choices align with the desired finishing level, making communication smoother and results more predictable. Understanding drywall finishing levels can also help you better articulate your expectations and evaluate progress throughout the project. Additionally, knowing how different surface preparation techniques influence the final appearance can help set realistic expectations from the start. Being aware of proper material selection and application methods can also improve the overall quality of the finish.
Frequently Asked Questions
Can Drywall Finishing Levels Impact Room Insulation or Acoustics?
Drywall finishing levels don’t substantially impact room insulation or acoustics directly. However, smoother finishes, like Level 4 or 5, can improve sound absorption because they reduce surface irregularities that might reflect sound waves. For thermal insulation, the drywall’s finish level has minimal effect. To enhance soundproofing and insulation, focus on adding insulation materials and soundproofing products behind the drywall, rather than just the finish level.
Are There Specific Tools Required for Different Drywall Finishing Levels?
Think of drywall finishing tools as your paintbrushes for a masterpiece. For different finishing levels, you’ll need specific drywall tools like taping knives, sanding blocks, and joint knives. These tools support various finishing techniques, from smooth to highly detailed surfaces. Using the right drywall tools guarantees your work is flawless, matching the level of finish you aim for. So, choose your tools wisely to bring your project to life.
How Do Drywall Finishing Levels Affect Painting or Wallpapering?
Your drywall finishing level directly impacts your painting or wallpapering project by determining the smoothness and surface prep needed. A higher level provides a smoother texture, making it easier to achieve a flawless finish with paint or wallpaper. Lower levels may require additional sanding or priming to verify the surface is even and free of imperfections. Properly finishing your drywall ensures your final look is professional and long-lasting.
Can Homeowners Upgrade Drywall Finish Levels After Initial Installation?
Yes, you can upgrade drywall finish levels after installation through drywall repair and applying advanced finishing techniques. Start by patching any damage, then sand and smooth the surface. Using higher-level finishing techniques, like skim coating or additional taping, improves the surface quality. This process enhances the drywall’s appearance, making it suitable for painting or wallpapering, and guarantees a professional, flawless finish that meets your desired aesthetic.
What Are the Safety Considerations When Applying Advanced Drywall Finishes?
You might think advanced drywall finishing is straightforward, but safety’s vital. Always wear protective gear like masks, goggles, and gloves to guard against dust and chemicals. Guarantee proper ventilation safety by working in well-ventilated areas, reducing inhalation risks. Investigating these precautions reveals they considerably lower health hazards. Prioritize safety protocols, and you’ll protect yourself while achieving high-quality finishes.
Conclusion
Understanding drywall finishing levels helps you select the right smoothness, the perfect look, and the lasting quality for your space. Whether you’re aiming for a flawless wall or a quick finish, knowing the levels guides your choices, sets clear expectations, and builds confidence. It’s about matching your vision with your project, your needs with your skills, and your finish with your style. With this knowledge, you’re ready to create walls that speak your design language.