
To cut in paint cleanly without tape, start by choosing a 2- to 2.5-inch angled brush for better control. Prepare your surface by cleaning and fixing any imperfections. Dip your brush lightly and hold it at an angle, applying smooth strokes along the edges. Keep your hand steady and avoid overloading the brush to prevent drips. If you want to perfect your technique further, there are more tips and tricks to help you achieve those crisp lines.
Key Takeaways
- Use a high-quality 2- to 2.5-inch angled brush for better control and precision while cutting in.
- Prepare the surface by cleaning and repairing it to ensure smooth edges and better paint adhesion.
- Dip the brush lightly in paint, wiping excess off on the can rim to avoid drips and runs.
- Hold the brush at an angle and apply consistent, light pressure to follow the surface contour smoothly.
- Practice your technique regularly to enhance your skill and achieve clean, crisp lines without tape.

Vermeer Paint Brushes – 3-Pack – 2.5" Angle Sash Brushes for All Latex and Oil Paints & Stains – Home Improvement – Interior & Exterior Use
This 3-pack of 2.5" angle sash painting brushes is great for all your cut-in work on walls and…
As an affiliate, we earn on qualifying purchases.
As an affiliate, we earn on qualifying purchases.
Why Cutting In Is Essential for Professional-Looking Paint Jobs

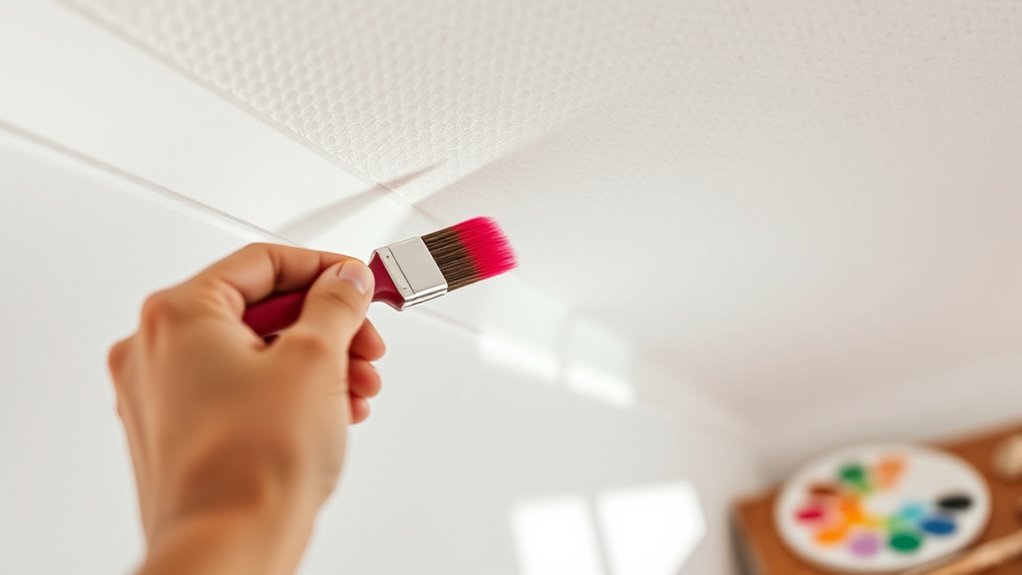
When you want your paint job to look sharp and professional, cutting in is an essential step you can’t overlook. The cut in benefits are numerous; it allows you to create clean, crisp edges along trim, corners, and ceilings. This technique helps prevent paint from bleeding onto surfaces you don’t want to change, ensuring a polished look. When you cut in, you gain better control over the application, which contributes to that professional finish you’re aiming for. Additionally, it sets the stage for rolling or brushing larger areas, making the entire process more efficient. By mastering this technique, you elevate your painting skills and achieve results that impress, leaving your space looking fresh and well-maintained.

Paint Edger Pro – 2024 New Painting Trimmer Edger Tools for Walls High Ceilings with Edger Paint Brush Kit, Bucket Edge Paint Roller Splatter Shield for Trim Corner Painting Cut in Tool (Handheld)
🔥💖 Greatly Reduces the Time Spent Applying Masking Tape, Paints 10-20 Times Faster Than a Sash Brush !!!…
As an affiliate, we earn on qualifying purchases.
As an affiliate, we earn on qualifying purchases.
Choosing the Right Tools for Cutting In
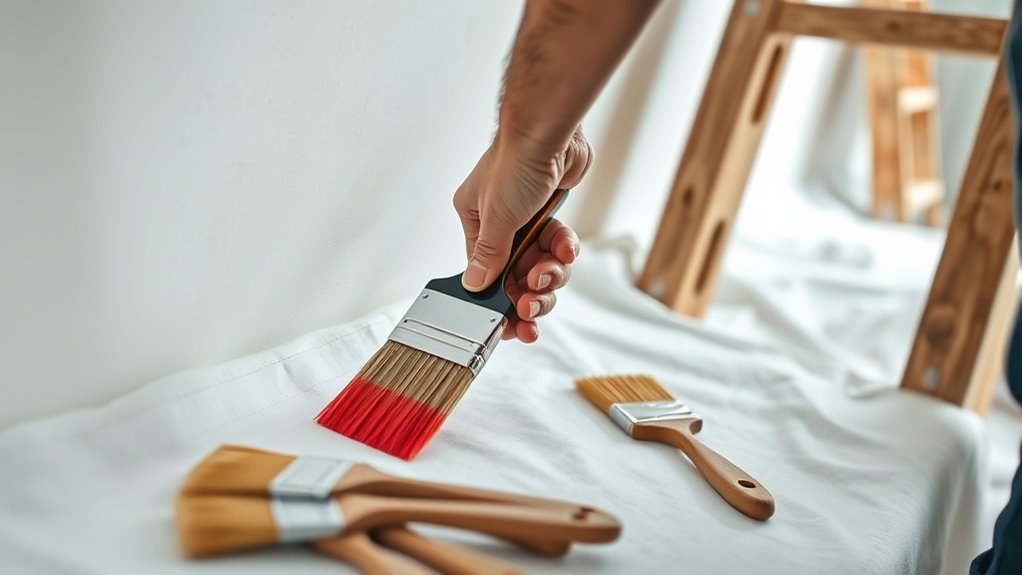
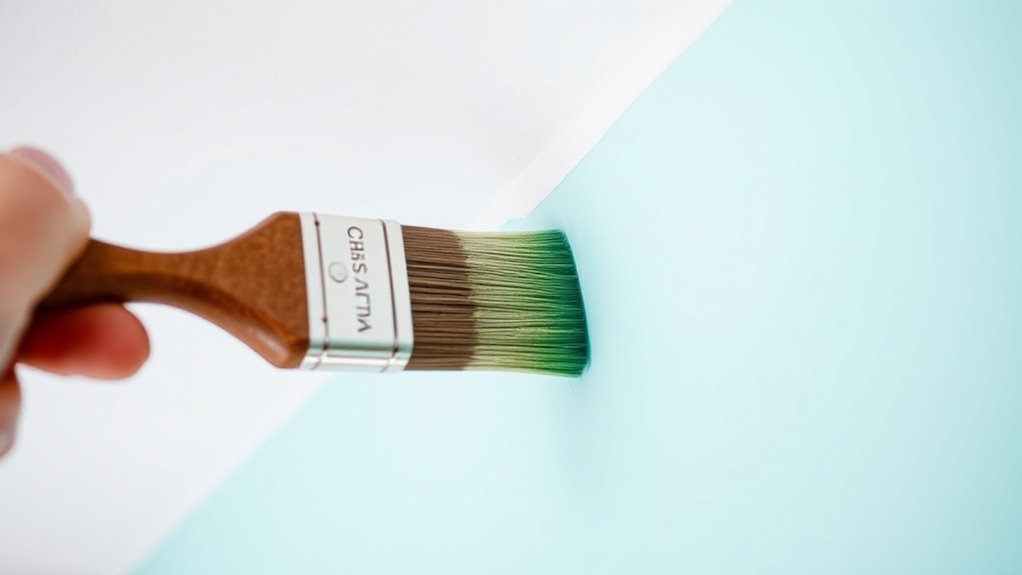
To achieve clean lines while cutting in, selecting the right tools is essential. Start by choosing the appropriate brush types; a 2- to 2.5-inch angled brush is ideal for precision along edges and corners. Synthetic brushes work well with water-based paint types, while natural bristles are better for oil-based paints. You might also consider a foam brush for smooth finishes in tight areas. Pair your brush with high-quality paint, ensuring it’s suitable for your surface. Thinner paints require a different technique, so adjust your cutting-in approach accordingly. Always keep a damp cloth nearby for quick cleanups. With the right tools, you’ll make cutting in effortless and achieve those crisp, professional lines you’re aiming for.
Paint Edger Pro – 2024 New Painting Trimmer Edger Tools for Walls High Ceilings with Edger Paint Brush Kit, Bucket Edge Paint Roller Splatter Shield for Trim Corner Painting Cut in Tool (Handheld)
🔥💖 Greatly Reduces the Time Spent Applying Masking Tape, Paints 10-20 Times Faster Than a Sash Brush !!!…
As an affiliate, we earn on qualifying purchases.
As an affiliate, we earn on qualifying purchases.
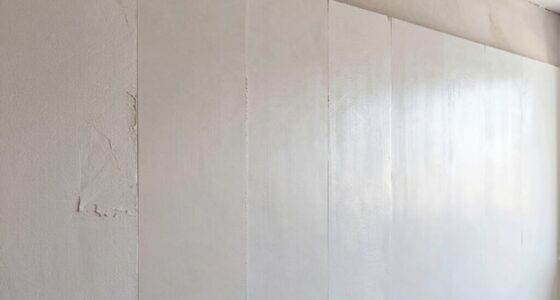
Preparing Your Surface for Clean Edges
Before you start painting, preparing your surface is essential for achieving those clean edges you desire. Proper surface preparation sets the foundation for a smooth finish and minimizes the chances of paint bleed. Begin by cleaning the area to remove dust and grease. Next, inspect for any imperfections and repair them. Finally, apply edge priming to enhance paint adhesion.
Here’s a quick reference table to guide your surface preparation:
| Step | Action | Purpose |
|---|---|---|
| Clean the Surface | Wipe down with a cloth | Remove dust and debris |
| Inspect for Damage | Look for cracks or holes | Identify repairs needed |
| Repair Imperfections | Fill holes or sand surfaces | Guarantee a smooth base |
| Apply Edge Priming | Use a primer on edges | Improve paint adhesion |

Pro Grade Paint Brushes, 5-Piece Paint Brush Set, Flat & Angle Brushes for Walls, Trim, Cabinets, Interior & Exterior Latex and Oil Paints, Stains
COMPLETE 5-PIECE BRUSH SET FOR EVERY PAINTING TASK — Includes 1 Inch Flat, 1.5 Inch Angle, 2 Inch…
As an affiliate, we earn on qualifying purchases.
As an affiliate, we earn on qualifying purchases.
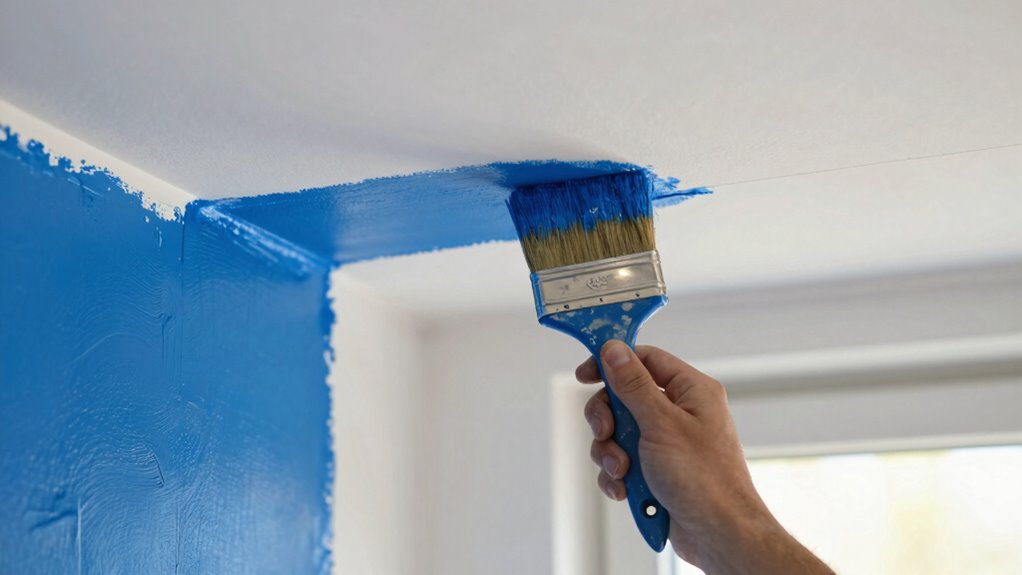
Mastering the Cutting-In Technique: Your Step-by-Step Guide
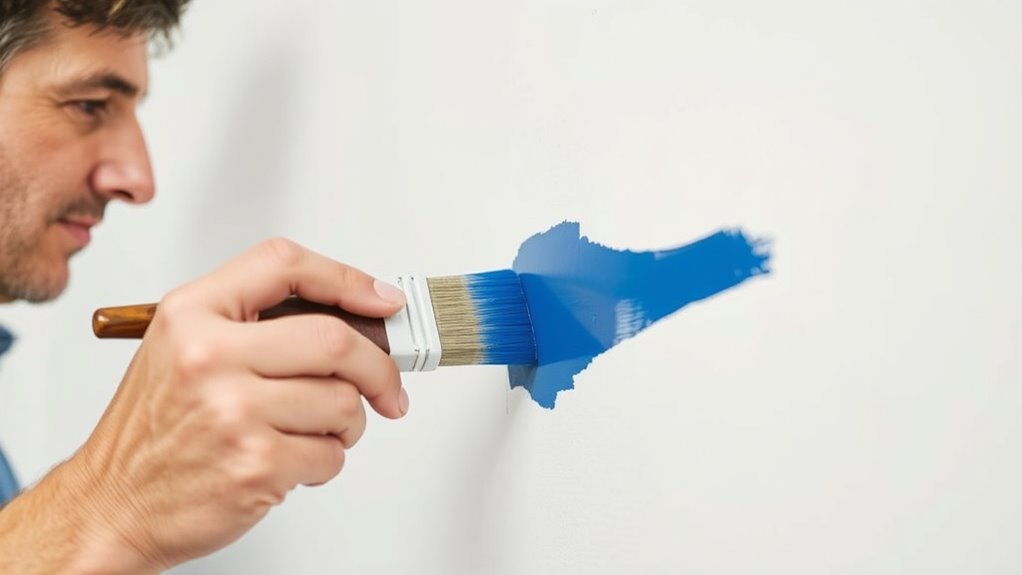
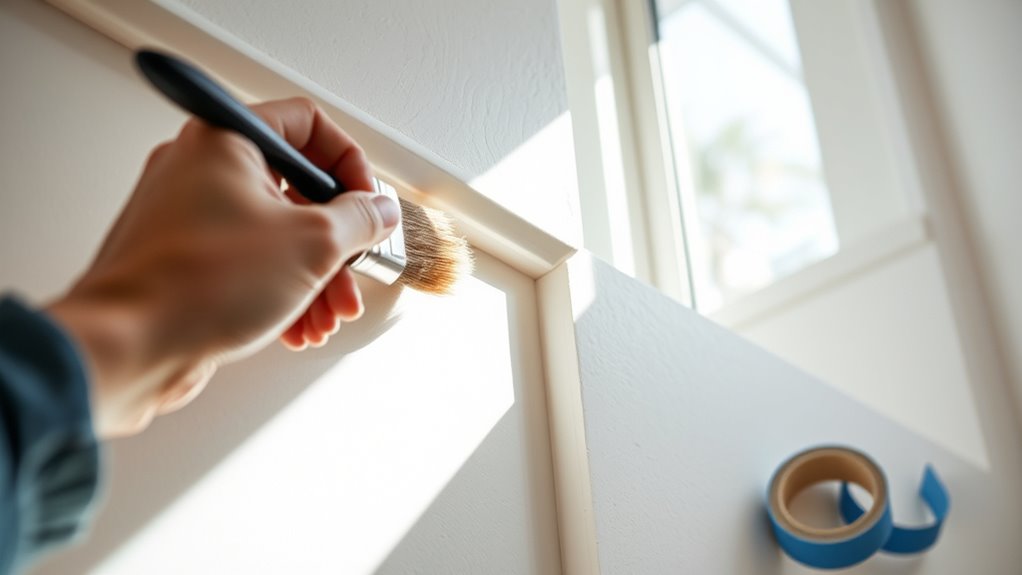
With your surface prepared and primed, it’s time to tackle the cutting-in technique. Start by choosing the right brush for your project; a 2- to 3-inch angled brush is ideal for precision and control. Dip the brush into the paint, ensuring you don’t overload it. Wipe off any excess on the rim of the can. Now, using your chosen cutting techniques, begin at the edge where the wall meets the trim or ceiling. Hold the brush at an angle, applying light pressure to create a clean line. Move smoothly along the edge, following the contour of the surface. Remember, practice makes perfect, so don’t rush. Proper tool selection and safety are essential for achieving sharp, professional-looking edges without tape.
How to Maintain Steady Control While Cutting In
To maintain steady control while cutting in, focus on your brush technique and hand positioning. Keep your hand steady and use smooth, even strokes for a clean line. Practicing this combination will help you achieve that professional finish you’re aiming for.
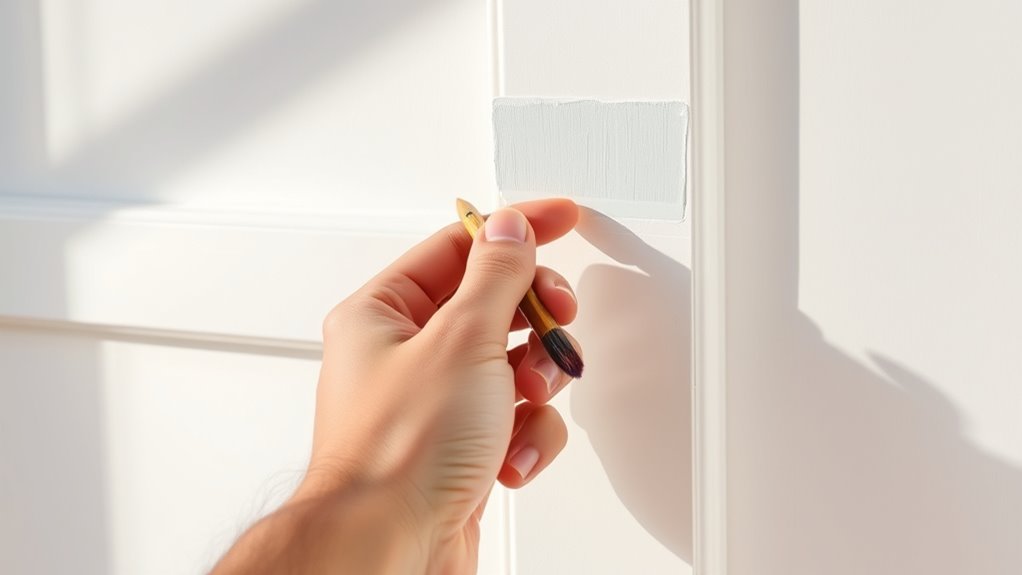
Proper Brush Technique
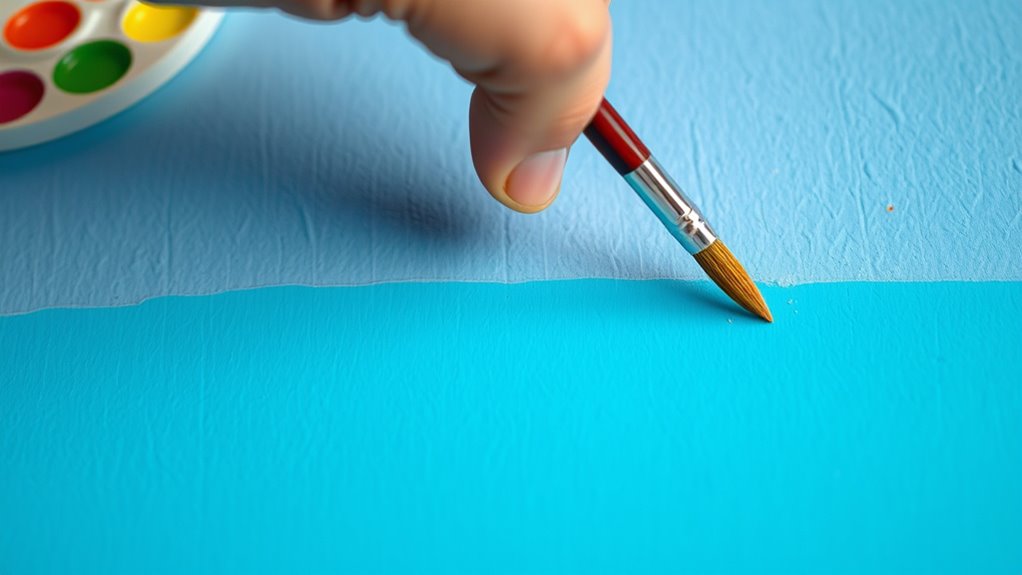
Mastering proper brush technique is essential for achieving clean lines while cutting in. Start by holding the brush at a slight angle, which helps you create defined edges. Experiment with different brush angles to find the one that gives you the most control. As you paint, maintain consistent stroke pressure; too much pressure can cause paint to bleed, while too little can result in uneven coverage. Use long, smooth strokes to glide along edges, and don’t rush—patience is key. If you encounter a tricky spot, simply adjust your angle or pressure instead of panicking. By focusing on these techniques, you’ll greatly improve your ability to cut in cleanly and confidently without the need for tape.
Steady Hand Positioning
Achieving clean lines while cutting in relies heavily on steady hand positioning. To maintain control and precision, you can use effective grip techniques. Here are some tips to help you:
- Relax your wrist: A tense wrist can lead to shaky lines.
- Use your fingers: Instead of moving your whole arm, let your fingers guide the brush for more control.
- Anchor your hand: Rest your hand on the surface for added stability.
- Practice slow strokes: Take your time and make deliberate movements, which helps prevent mistakes.
What Mistakes Should You Watch Out for When Cutting In?
What common pitfalls should you be aware of when cutting in? One of the most frequent mistakes is using too much paint on your brush. This can lead to paint drips, which are tough to fix later. Instead, dip your brush lightly and remove any excess paint. Another common cutting mistake is rushing the process. Take your time and maintain a steady hand to guarantee clean lines. Also, be cautious when shifting between different surfaces; not all materials absorb paint the same way. Finally, don’t forget to check your brush for debris before starting. This can prevent unwanted textures in your finish. By keeping these tips in mind, you’ll greatly improve your cutting-in technique.
Final Touches for Perfect Edges
Once you’ve finished cutting in, refining those edges is essential for a polished look. To achieve edge perfection, focus on these final touch ups:
- Inspect your lines for any drips or uneven spots.
- Use a small artist’s brush to correct minor imperfections.
- Blend any harsh lines with a damp brush or sponge for a smoother change.
- Allow the paint to dry completely before touching up again, if needed.
These steps will guarantee you achieve a clean, professional finish. Remember, it’s the little details that make a big difference. By dedicating time to these final touches, you’ll enhance your work and enjoy the satisfaction of a job well done. Your painted space will look stunning without the fuss of tape!
When Tape Is Necessary: Tackling Difficult Areas
Sometimes, even the most skilled painters encounter areas that challenge their cutting-in abilities. When you’re faced with difficult corners or intricate trim, it might be time to reach for the painter’s tape. Here’s a quick reference to help you decide when tape is necessary:
| Area Type | When to Use Tape | Benefits |
|---|---|---|
| Difficult Corners | Sharp angles and tight spaces | Clean lines without fuss |
| Intricate Trim | Decorative moldings and detailed edges | Prevents paint bleed on fine details |
| Ceilings | Overhead edges | Reduces drips on walls |
| Baseboards | Floor-to-wall junctions | Guarantees even coverage |
Using tape in these scenarios can save you time and frustration, guaranteeing a polished final result.
Frequently Asked Questions
Can I Use Regular Brushes for Cutting In?
Yes, you can use regular brushes for cutting in, but choosing the right brush types makes a difference. A tapered or angled brush helps you achieve cleaner edges. When applying paint, use brush techniques like feathering and light strokes to control the paint flow. Make sure to load the brush properly and maintain a steady hand for the best results. With practice, you’ll get the hang of cutting in effortlessly!
How Do I Fix Mistakes After Cutting In?
To fix mistakes after cutting in, use touch up techniques like feathering. Grab a small brush and gently apply a bit of paint to the mistake, then blend the colors by lightly brushing the edges. This helps create a seamless changeover. If the paint’s still wet, you can use a damp cloth to wipe away excess. Don’t stress—these small fixes can make a huge difference in your finished project!
What Paint Finish Is Best for Cutting In?
For cutting in, a satin or semi-gloss paint sheen works best. These finishes provide a smooth surface that enhances your cutting technique, allowing for cleaner lines. They’re more durable and easier to clean, which is essential for maintaining that sharp edge. Using a brush with high-quality bristles will also help you achieve precision. So, pick a paint sheen that complements your overall project and get ready for some sharp, professional-looking results!
How Long Should I Wait Before Cutting In?
You’ll want to let your first coat of paint settle into a gentle slumber for about two to four hours before you plunge into your cutting techniques. This waiting game guarantees the paint’s dried enough to embrace the second layer without causing a messy reunion. Keep an eye on the drying times; they can vary based on humidity and temperature. Once it’s ready, you can confidently create those crisp, clean lines.
Can I Cut in With a Roller Instead of a Brush?
You can definitely cut in with a roller instead of a brush! Using the roller technique can save you time and create a smooth finish. To achieve clean edges, load the roller lightly and work with cutting tips like keeping the roller just inside the trim. Make sure to apply even pressure and control your movement. If you’re careful, you’ll get great results without the fuss of a brush and tape!
Conclusion
Cutting in without tape might seem intimidating, but with practice, you can achieve sharp, professional edges. Did you know that nearly 70% of DIY painters struggle with clean lines? By mastering your technique and using the right tools, you can join the ranks of those who paint with confidence. Remember, the key is steady control and preparation. So, grab your brush, take a deep breath, and transform your space with those flawless edges!