
To get smooth walls, you need to know about sandpaper grits. Coarse grits (40-60) are for heavy material removal, while medium grits (80-120) help smooth imperfections. Use fine grits (180-220) for that polished finish. Always sand in the direction of the grain and apply even pressure to avoid uneven surfaces. Keep dust at bay for a cleaner workspace. Stick around to uncover more expert tips for achieving the perfect finish on your walls.
Key Takeaways
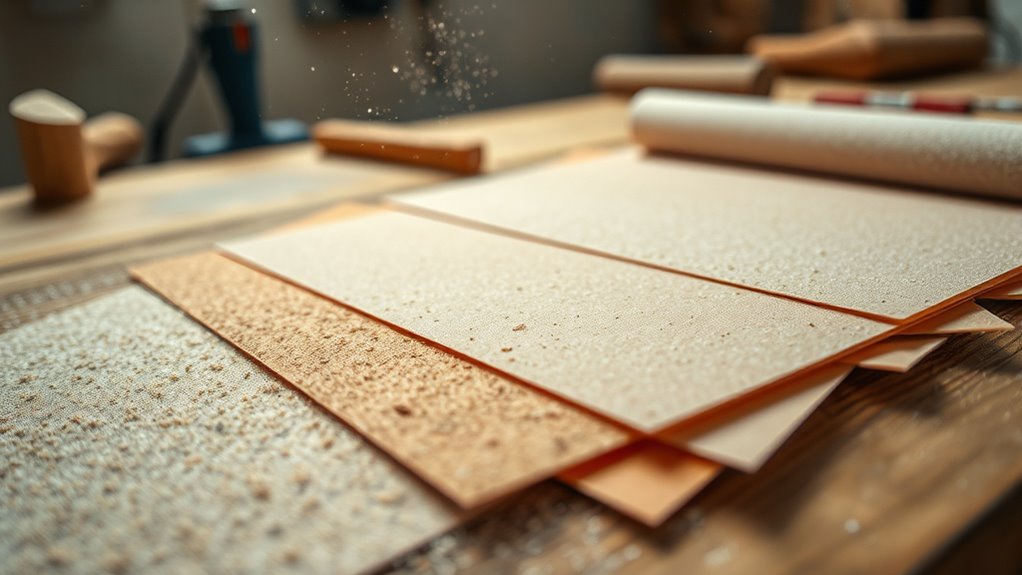
- Start with coarse grits (40-60) for heavy material removal and addressing imperfections on walls.
- Use medium grits (80-120) to refine surfaces and prepare for a smooth finish.
- Transition to fine grits (180-220) for polishing and achieving a refined wall surface.
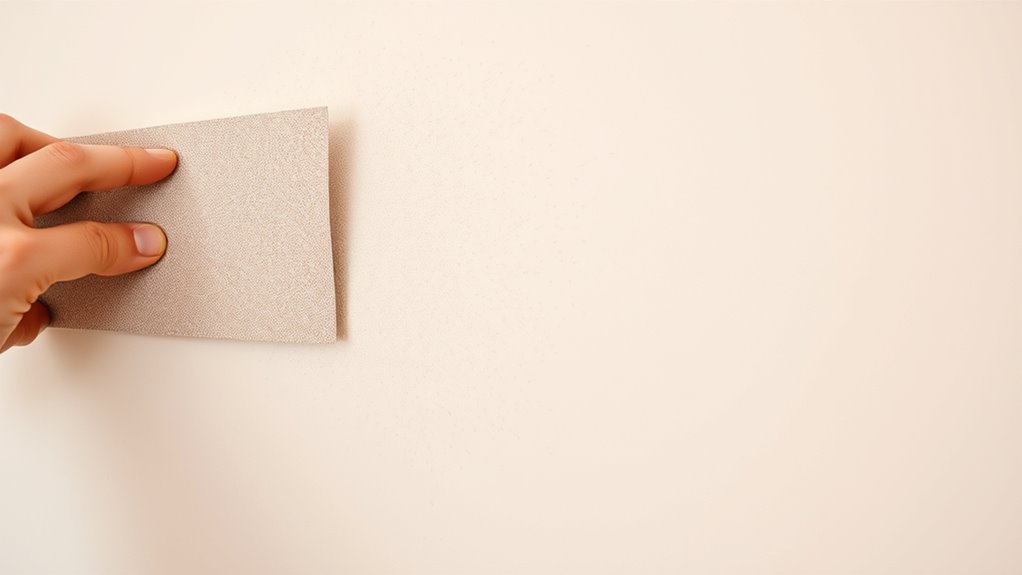
- Always sand in the direction of the grain to avoid scratches and achieve even results.
- Maintain a clean workspace and use proper safety gear to protect from dust and debris.

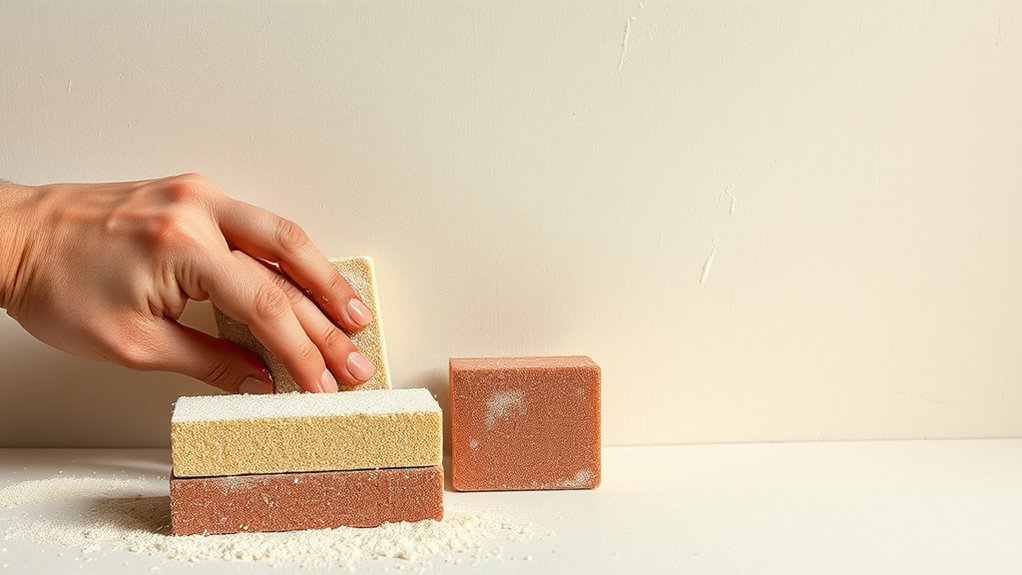
Romeda 8-Pack Sanding Sponge, Four Grits Per Pack 60/80/120/220, Washable and Reusable Handmade Sandpaper Block, Drywall Sandpaper Blocks for Wooden Drywall Sheetrock and Metal Glazing
【ASSORTED GRIT SANDING BLOCKS】 8 sand blocks, 4 sizes from coarse to ultra-fine sand, 60/80/120/220 grit, 2 blocks…
As an affiliate, we earn on qualifying purchases.
As an affiliate, we earn on qualifying purchases.
Understanding Sandpaper Grits: What They Are and Why They Matter
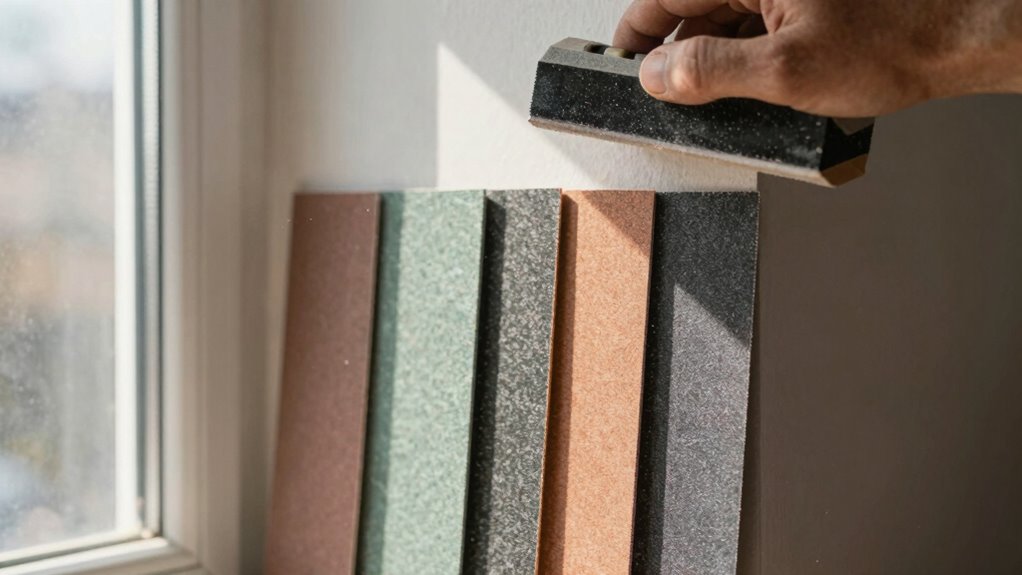
When it comes to achieving smooth walls, understanding sandpaper grits is crucial. Grit types determine how effectively you can prepare surfaces for painting or finishing. Coarse grits, like 40 or 60, are ideal for heavy material removal, while medium grits, such as 80 or 120, smooth out imperfections. Fine grits, ranging from 180 to 220, polish the surface for a refined finish.
The choice of sandpaper materials also plays a role; aluminum oxide is durable and versatile, while garnet is great for wood. Knowing which grit to use and when can make all the difference in your project. So, familiarize yourself with these grit types to guarantee your walls end up looking flawless.

Sand Paper, 48 PCS Sandpaper, 120 to 5000 Assorted Grit Sandpaper Sheets, 9 x 3.6 Inch Premium Wet Dry Sandpaper for Wood Furniture Finishing, Metal Sanding, Automotive Polishing
Meets All Your Needs: 48 pcs sand paper kit, 16 grits sandpaper assortment, including 3 sheets of each…
As an affiliate, we earn on qualifying purchases.
As an affiliate, we earn on qualifying purchases.
How to Choose the Right Sandpaper Grit for Your Project
Choosing the right sandpaper grit is vital for achieving a smooth finish on your walls. You need to understand grit numbers and how they relate to your specific project. By matching the right grit to your task, you’ll get the best results every time.
Understanding Grit Numbers
Understanding grit numbers is essential for achieving smooth walls in your projects. Grit types refer to the size of the abrasive particles on the sandpaper, which impacts how it performs. Lower grit numbers (40-80) are more aggressive and suitable for heavy material removal, while higher numbers (120-220) are great for finishing touches.
Here’s a quick reference table for grit applications:
| Grit Range | Application | Best For |
|---|---|---|
| 40-80 | Coarse sanding | Removing paint or rough areas |
| 120-150 | Medium sanding | Smoothing surfaces |
| 220+ | Fine sanding | Final finishes |
Choosing the right grit will make all the difference in your wall preparation.
Project-Specific Grit Recommendations
Selecting the right sandpaper grit for your project hinges on the specific task at hand. Different project types require different approaches; for instance, if you’re smoothing rough wood, start with a lower grit around 60-80 to tackle the imperfections. As you progress, switch to a higher grit, like 120-220, for a smooth finish. If you’re working with drywall, begin with a 120 grit to remove any texture before moving to a finer 220 grit for a seamless look. Material differences also play a role; metal surfaces may need a coarser grit, while delicate finishes like veneer require finer options. Always match your grit choice to the material and desired outcome for the best results.

SKIL 5” Random Orbital Sander with Cyclonic Dust Box & 3pc Sanding Sheet – SR211601, Multicolor
POWERFUL – With a 2.8 amp motor and 13,000 orbits per minute, it's able to deliver a smooth…
As an affiliate, we earn on qualifying purchases.
As an affiliate, we earn on qualifying purchases.
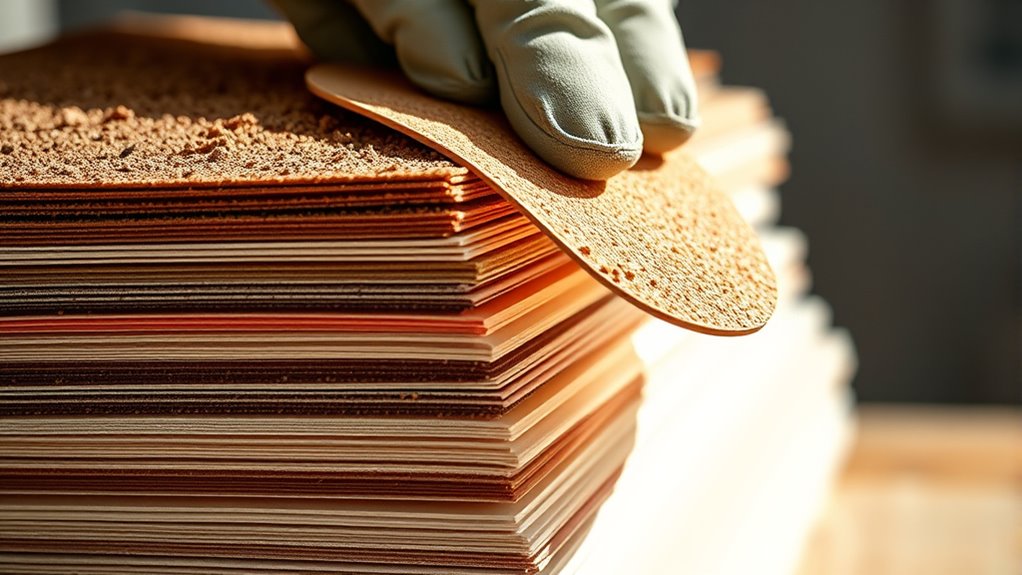
Using Coarse Grits: Best Practices for Effective Sanding
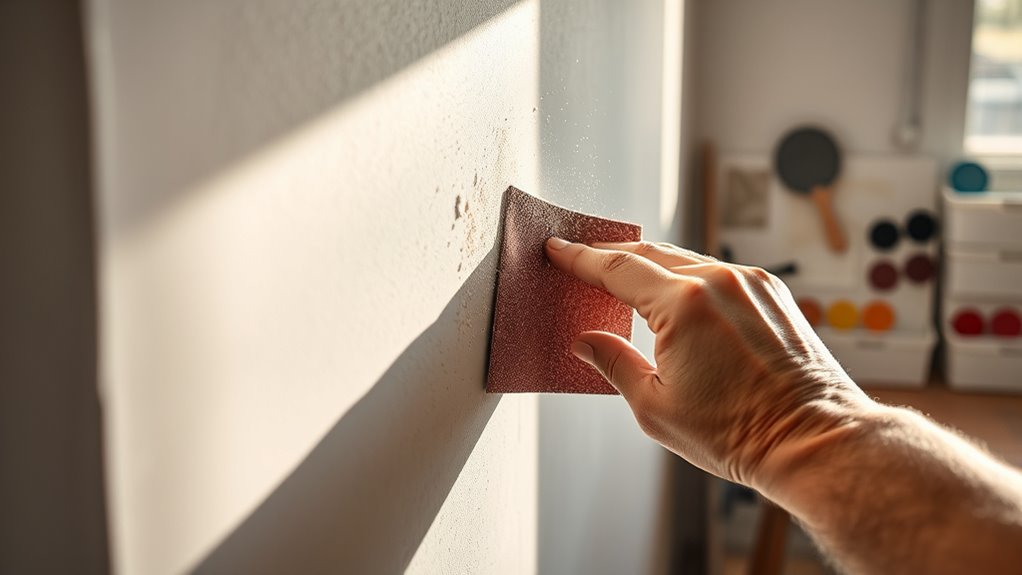
When you’re ready to tackle sanding, starting with a coarse grit can make a significant difference in achieving a smooth finish. Using coarse grit techniques effectively requires the right approach and tools. Here are some best practices to keep in mind:
- Choose a sanding tool that fits the job, like a belt sander or a block sander.
- Always sand in the direction of the grain to avoid scratches.
- Apply consistent pressure to achieve an even surface.
- Use a vacuum or cloth to remove dust as you go for better visibility.
- Don’t rush—allow the coarse grit to work its magic before shifting to finer grits.

24PCS Sandpaper Assortment 12 Grits Wet Dry Sandpaper Sheets,Silicon Carbide Sanding Paper 120 to 3000 Grit Fine Sandpapers and Coarse Sand Paper for Metal, Wood Furniture and Automotive (9×3.6 Inch)
Package Contents: 24 pcs sand paper kit measuring 9 inch(L) x 3.6 inch(W),12 grit wet dry sand paper…
As an affiliate, we earn on qualifying purchases.
As an affiliate, we earn on qualifying purchases.
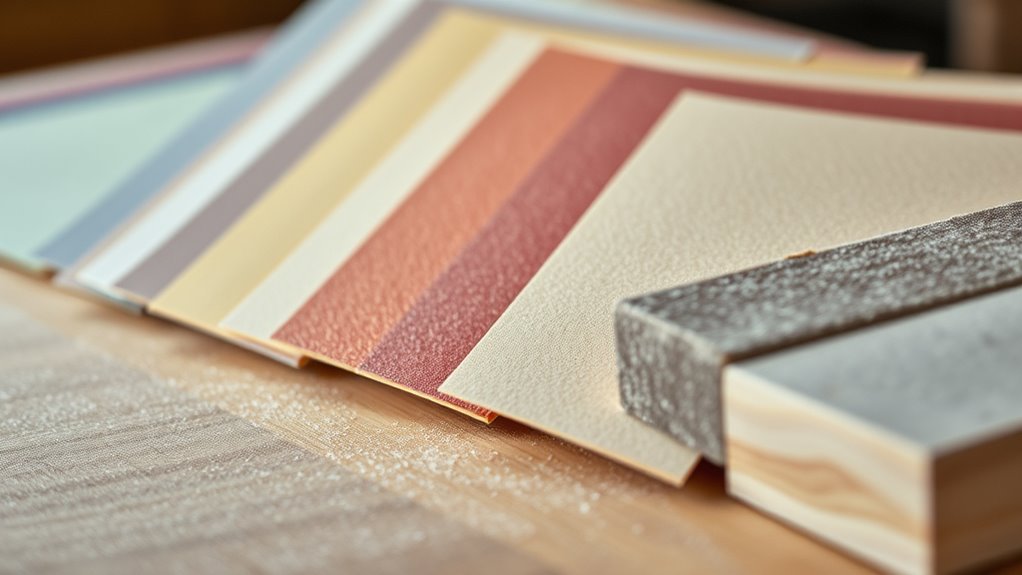
Medium Sandpaper Grits: Striking the Balance for Smooth Surfaces
To achieve a smooth surface, medium sandpaper grits serve as the ideal bridge between coarse and fine options. These grits typically range from 80 to 150, making them perfect for various medium grit applications, like sanding drywall or preparing wood surfaces. When you’re choosing sandpaper types, consider the specific task at hand. For example, if you’re smoothing out imperfections left by coarse sanding, a medium grit will help refine those areas without overdoing it. It’s essential to maintain an even touch and to sand in the direction of the grain to avoid scratches. By effectively utilizing medium sandpaper, you’ll get closer to that flawless finish you desire, setting the stage for the final touches ahead.
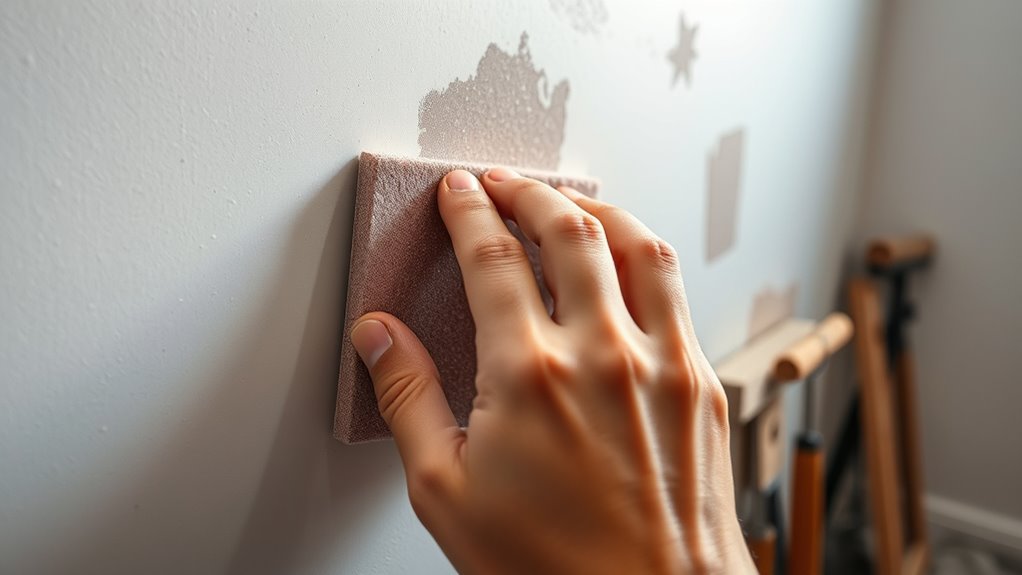
How to Use Fine Sandpaper Grits for a Flawless Finish

After mastering medium sandpaper grits, fine sandpaper becomes your go-to for achieving that flawless finish. Using fine grit techniques guarantees you smooth out imperfections without damaging your surfaces. Here’s how to get the best results:
- Choose the right sanding tools, like a sanding block or electric sander.
- Start with a light touch to avoid over-sanding.
- Sand in a circular motion or along the grain for uniformity.
- Frequently check your progress to maintain an even surface.
- Clean the area between grits to prevent dust contamination.
- Remember to properly maintain your tools to ensure consistent performance and a professional-looking finish.
Exploring Specialty Sandpapers for Unique Projects
While fine sandpaper is essential for a smooth finish, exploring specialty sandpapers can take your projects to the next level. Specialty sandpapers are designed for specific applications and allow you to achieve unique textures that standard sandpaper can’t provide. For instance, if you’re working on detailed woodwork, consider using a foam-backed sandpaper for better contouring. If you want to create a distressed finish, opt for sandpaper with a coarser grit that can help you achieve that worn look. Additionally, there are sandpapers made for drywall, metal, and automotive projects, each tailored to their specific needs. By selecting the right specialty sandpaper, you’ll elevate your craftsmanship and guarantee outstanding results on diverse surfaces. Proper grit selection is crucial for achieving the desired texture and finish in your projects.
Top 5 Common Sanding Mistakes and How to Avoid Them
When sanding, it’s easy to make mistakes that can ruin your project. Over-sanding surfaces and ignoring dust control are two common pitfalls that can lead to costly fixes. Let’s look at how you can avoid these errors and achieve that smooth finish you want.
Over-Sanding Surfaces
Over-sanding surfaces can be just as problematic as under-sanding, leading to uneven textures and damage to your walls. To avoid the negative over sanding effects, keep these tips in mind for preventing damage during your sanding project:
- Use the right grit for the task.
- Sand in a consistent, circular motion.
- Check your work frequently to gauge progress.
- Don’t apply too much pressure—let the sandpaper do the work.
- Take breaks to prevent overheating the surface.
Ignoring Dust Control
Dust control is essential during sanding projects, and neglecting it can lead to a messy environment and health risks. When you sand, fine dust particles can scatter, making your workspace unsafe and difficult to clean. To prevent this, invest in effective dust collection systems that capture debris as you work. Additionally, consider using air filtration systems to improve air quality and protect your lungs. These systems help minimize the inhalation of harmful particles, ensuring a safer experience. Proper indoor air quality management is vital for maintaining a healthy environment during and after projects. Using dust masks specifically designed for fine particles can further reduce health risks. Incorporating dust containment methods can significantly reduce the spread of dust throughout your workspace. Being aware of microplastics in dust can help you understand potential long-term health effects of airborne particles. Don’t overlook this vital step in your sanding projects!
Tips and Techniques for Professional-Level Sanding
Achieving a professional finish on your walls often hinges on mastering a few key sanding techniques. Start with proper surface preparation to guarantee the best results. Here are some tips to elevate your sanding game:
- Use a sanding block for even pressure.
- Sand in a circular motion to avoid flat spots.
- Progress through grits gradually for a smoother finish.
- Keep your workspace clean to prevent dust from settling.
- Always wear a mask and goggles for safety.
Frequently Asked Questions
Can I Reuse Sandpaper After Sanding a Wall?
Yes, you can reuse sandpaper after sanding a wall, but its lifespan depends on how much material you’ve removed. Curiously, studies show that well-maintained sandpaper can last up to three times longer than poorly cared for types. To maximize your sanding efficiency, clean the sandpaper between uses, knocking off dust and debris. This way, you’ll maintain its effectiveness and save money on replacements, making your project smoother and more cost-efficient.
How Do I Know When to Switch Sandpaper Grits?
You’ll know it’s time to switch sandpaper grits when you see the surface becoming smoother or when the sandpaper starts to clog. Start with a coarser grit to remove imperfections and switch to a finer grit for finishing touches. Pay attention to the feel of the surface as you sand; if it’s no longer rough, you’re ready for a finer grit. Using proper sanding techniques and grit selection will guarantee a smooth finish.
What Safety Gear Should I Wear While Sanding?
Did you know that nearly 30% of DIY injuries come from inadequate safety gear? While sanding, you should definitely wear safety goggles to protect your eyes from dust and debris. Also, a dust mask is essential to prevent inhaling harmful particles. These simple precautions can greatly reduce your risk of respiratory issues and eye injuries, helping you stay safe while you create that smooth finish you desire. Don’t skip this vital step!
Can I Sand Wet Walls, or Should They Be Dry?
You shouldn’t sand wet walls; they need to be dry for effective wall preparation. Wet sanding can cause issues like uneven surfaces and damage to your tools. Instead, let the walls dry completely before starting the sanding process. Once they’re dry, you can use the appropriate grit to achieve a smooth finish. Remember, proper wall preparation sets the foundation for a flawless paint job, so take your time and make sure everything’s dry!
What Is the Best Sanding Technique for Corners and Edges?
When it comes to sanding corners and edges, you’ll want to master a couple of key techniques. Start with corner sanding techniques like using a sanding sponge or a corner sanding tool for precision. For edge blending methods, employ a fine-grit sandpaper at an angle to create a smooth shift. Remember, taking your time pays off; those sharp edges can make or break your final finish. Happy sanding!
Conclusion
So there you have it—sanding isn’t just for masochists with a thing for dust clouds; it’s an art! With the right grit, you can transform your walls from rough to radiant. Just remember, if you think you can skip the sanding, you might as well embrace the rustic “charm” of a bumpy finish. After all, who doesn’t want their walls to look like they’ve survived a minor earthquake? Happy sanding, and may your walls be smoother than your excuses!