To avoid the “oops” hole, guarantee your wall is clean, smooth, and free of dust or loose paint before using your stud finder. Properly calibrate the device on a flat surface, and verify signals by marking multiple points at regular intervals, checking with a magnet or tapping for confirmation. Use small pilot holes for accurate drilling, and double-check your markings. Keep practicing these tips, and you’ll find it easier to prevent unintended holes and wall damage.
Key Takeaways
- Properly calibrate your stud finder on a flat, clean wall surface before use.
- Cross-verify signals with a magnet, tapping, or measuring for accuracy.
- Mark multiple points at regular intervals to confirm stud presence before drilling.
- Consider wall material and texture to reduce false signals and choose appropriate tools.
- Start with a small pilot hole to verify stud location before making larger holes.

Stud Finder – 5 in 1 Electronic Stud Finder Wall Scanner, Stud Sensor with Digital LCD Display & Intelligent Smart Chip, Beam Finders Wall Detector for Wood AC Wire Metal Studs Joist (Peacock Blue)
Most Accurate and Effectively: USTUDCHY stud finder is designed with the latest advanced sensor chip which accurately and…
As an affiliate, we earn on qualifying purchases.
As an affiliate, we earn on qualifying purchases.
Why Using Your Stud Finder Correctly Is Key to Avoid Holes

Using your stud finder correctly is essential to prevent unnecessary holes in your walls. Understanding wall thickness helps you determine where studs are likely located, reducing guesswork. If your wall is thicker or thinner than standard, it may affect how the stud finder detects studs, so adjusting your technique is vital. Knowing the typical stud spacing—usually 16 or 24 inches apart—guides you in narrowing down your search area. Proper use of the device ensures you mark the right spots, avoiding multiple holes and unnecessary damage. When you follow the correct method, you’ll save time and effort, making your project smoother. Accurate detection based on wall thickness and stud spacing keeps your walls intact and your project on track. wall thickness can vary significantly, so understanding this factor helps improve your detection accuracy.

moonoom 2 Pcs Stud Finder Magnet, Powerful Magnetic Stud Detector, Compact Wall Metal Finder Tool for Drywall Construction Marking and Mounting
What You Get: You will receive 2 magnetic stud finders, specifically designed to locate screws and nail heads…
As an affiliate, we earn on qualifying purchases.
As an affiliate, we earn on qualifying purchases.
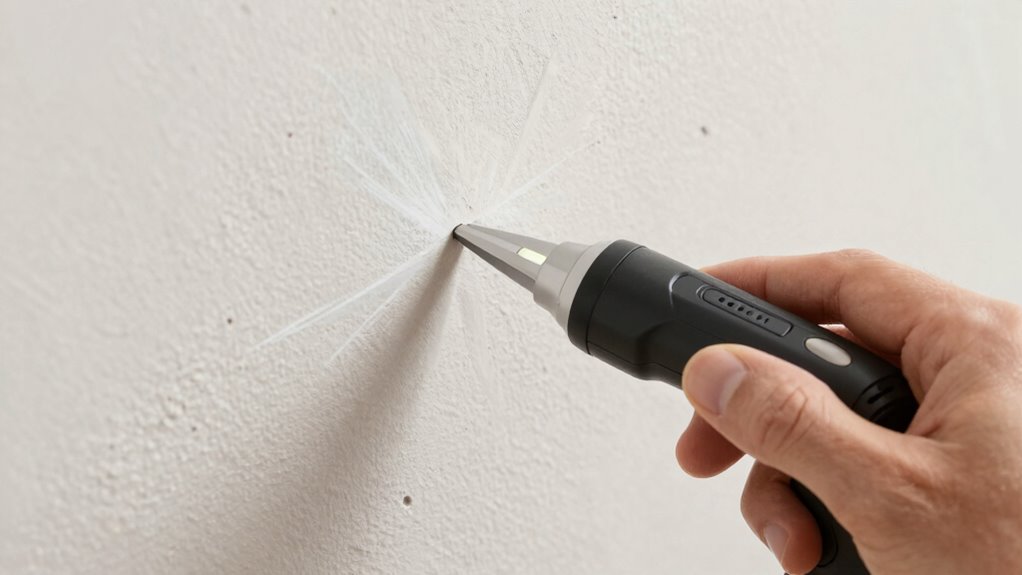
Preparing Your Wall and Stud Finder for Accurate Detection
Before using your stud finder, make sure the wall surface is clean and free of dust or debris, which can interfere with detection. Next, calibrate your device according to the manufacturer’s instructions to guarantee accurate readings. Taking these steps helps you locate studs precisely and avoid unnecessary holes. Additionally, understanding kitchen gear can help you identify the best tools for mounting items securely on your walls.
Clean Wall Surface
Have you ever struggled with inaccurate stud detection? A key step is guaranteeing your wall surface is clean and smooth. Wall texture, such as bumps or uneven patches, can interfere with your stud finder’s sensors, leading to false readings. Before using the device, remove any loose paint or wallpaper, as paint buildup can mask the studs behind it. If necessary, do a gentle paint removal to expose a clean surface. Dust and debris can also cause errors, so wipe down the wall thoroughly. A smooth, clean surface helps your stud finder work accurately by allowing it to better detect the underlying studs. Additionally, understanding digital content concepts can improve your use of electronic tools for home projects. Taking these steps ensures reliable readings and prevents those frustrating “oops” holes caused by misidentification.
Calibrate Stud Finder
To guarantee your stud finder provides accurate readings, it’s essential to calibrate both the device and the wall surface properly. Begin by ensuring the wall is clean and free of dust, grease, or loose paint, which can affect detection. Take note of the wall’s texture—rough or uneven surfaces may require slower, more deliberate scanning to avoid errors caused by wall texture variations. Before starting, turn on your stud finder and calibrate it according to the manufacturer’s instructions, usually by placing it flat against the wall and pressing a button. Be mindful of electrical wiring, as it can interfere with readings; avoid scanning over outlets or switches during calibration. Proper calibration ensures reliable detection of studs and helps you avoid accidentally drilling into electrical wiring or missing studs behind textured walls. Additionally, understanding media literacy can help you interpret your device’s signals more accurately and avoid misreading false positives.
Zircon MultiScanner A200 – Electronic Wall Scanner Stud Finder & Metal Detector with Live AC Wire Detection, SpotLite Pointer, ACT Auto-Correcting Technology
ADVANCED MULTI-SURFACE SCANNING – Detect with Confidence: Accurately detects wood and metal studs, rebar, and live AC wires…
As an affiliate, we earn on qualifying purchases.
As an affiliate, we earn on qualifying purchases.
Calibrate Your Stud Finder for Best Results
Calibrating your stud finder guarantees it provides accurate readings every time you use it. Proper calibration is essential for maintaining stud finder accuracy, so you get reliable results. To do this effectively, follow specific calibration techniques outlined in your device’s manual. Typically, you’ll need to turn the device on, place it flat against a clean section of the wall, and initiate calibration by pressing a button or adjusting a dial. Move the finder slowly across the surface, ensuring consistent contact. Repeat the process if necessary, especially if you notice inconsistent readings. Regular calibration ensures your stud finder stays precise, reducing false alarms or missed studs. By dedicating a few moments to proper calibration, you’ll improve your overall accuracy and avoid unnecessary holes or mistakes.

Drywall Repair Kit Drywall Hole Repair Patch Kits Wall Spackle Repair Paste with 8.5OZ White Wall Repair Putty with Scraper, Wall Surface Hole Fill Quick and Easy Solution (1Pack)
Complete Repair Kit: Contains 1 pieces repair putty(8.5oz), 2 inch wall repair patches(2pcs), 4 inch wall repair patches(1pcs),…
As an affiliate, we earn on qualifying purchases.
As an affiliate, we earn on qualifying purchases.
Find Wall Studs Without False Alarms
Accurate wall stud detection requires more than just using your stud finder; it also involves minimizing false alarms that can lead to unnecessary drilling or missed studs. Different wall materials, like drywall, plaster, or paneling, can cause false signals. To avoid this, pay attention to the consistency of the readings and look for multiple signals at regular intervals. Knowing typical stud spacing—usually 16 or 24 inches—helps you identify legitimate studs and ignore false positives. Mark several points along the wall at these intervals, then verify each spot by tapping or measuring. This approach reduces errors, prevents unnecessary holes, and guarantees you find the actual studs without getting sidetracked by material-induced false alarms. Additionally, understanding stud spacing patterns can further improve accuracy and help you distinguish between real studs and false signals.
Check and Confirm You’ve Found the Right Spot
Once you think you’ve found a stud, it’s smart to verify your spot with multiple methods. Using a magnet can help confirm the presence of a nail or screw, ensuring you’re in the right place. Doing these checks increases your confidence before drilling or nailing. Additionally, understanding best woods for farmhouse tables can help you choose appropriate materials if you’re planning to reinforce or attach fixtures to wall studs.
Use Multiple Methods
To guarantee you’ve pinpointed the right spot, it’s important to use multiple methods to check and confirm. Relying solely on one tool can lead to mistakes, especially with different wall materials. Incorporate alternative tools like a small hammer or a pencil to tap or mark the wall, listening for a solid sound that indicates a stud. Also, examine the wall for clues such as electrical outlets or baseboards that often align with studs. Using different methods helps verify your findings. Additionally, understanding wall material characteristics can improve your accuracy in locating studs, as different materials conduct sound and support fixtures differently. This approach ensures your spot is accurate regardless of wall materials.
Confirm With a Magnet
Using a magnet is a simple yet effective way to confirm you’ve found a stud. Magnetic detection helps verify the spot by attracting metal objects, like nails or screws, embedded in the wall. If your magnet sticks firmly, you’re likely on a stud. To avoid confusion, check for other metal objects that might be hiding behind the wall surface. Here’s a quick reference:
| Metal Object | Magnetic Behavior |
|---|---|
| Nail/Screw | Magnet strongly sticks |
| Pipe | Magnet may or may not stick |
| Electrical wire | Magnet usually doesn’t stick |
| Metal bracket | Magnet sticks firmly |
| Hidden metal | No magnetic detection |
This quick test confirms the spot before drilling, saving you from unnecessary holes and mishaps. Additionally, understanding Wall Structure can help you better interpret what the magnet detects and avoid false positives.
Avoid Common Mistakes When Using a Stud Finder
Many beginners make the mistake of assuming their stud finder will automatically locate studs without proper preparation. To avoid this, you need to understand wall material considerations and maintain your device properly. Here are three tips:
- Regularly check stud finder maintenance—batteries and sensors—to guarantee accurate readings.
- Consider wall material variations, like drywall or plaster, which may require different detection settings.
- Always calibrate your stud finder on a flat, known surface before scanning a new wall section.
- Being aware of wall material considerations helps prevent false readings and improves detection accuracy.
Skipping these steps can lead to false readings or missed studs. Proper preparation and awareness of wall types improve detection accuracy, helping you avoid oops holes. Being attentive to your tool’s condition and the wall material ensures safer, more precise results.
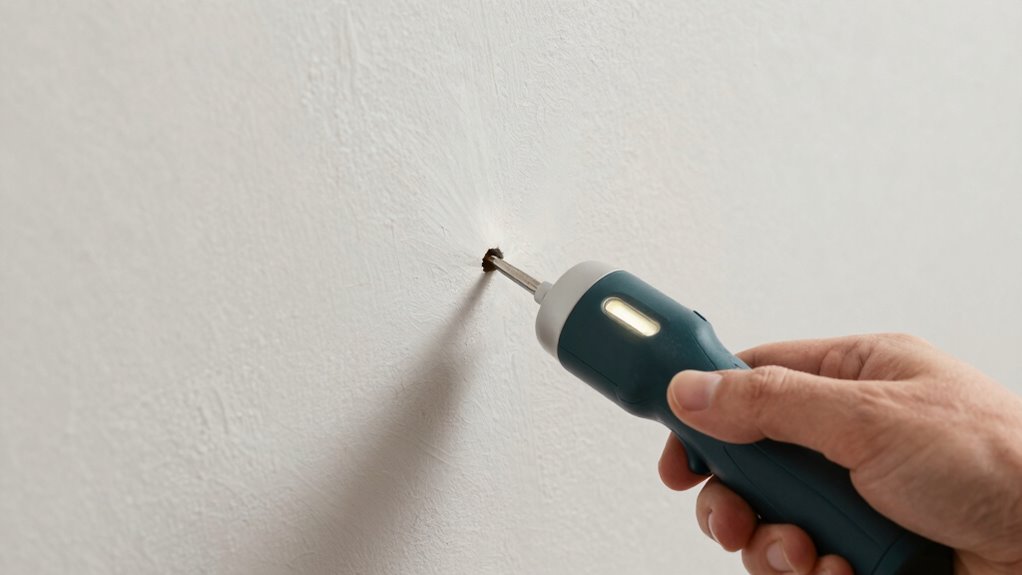
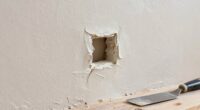
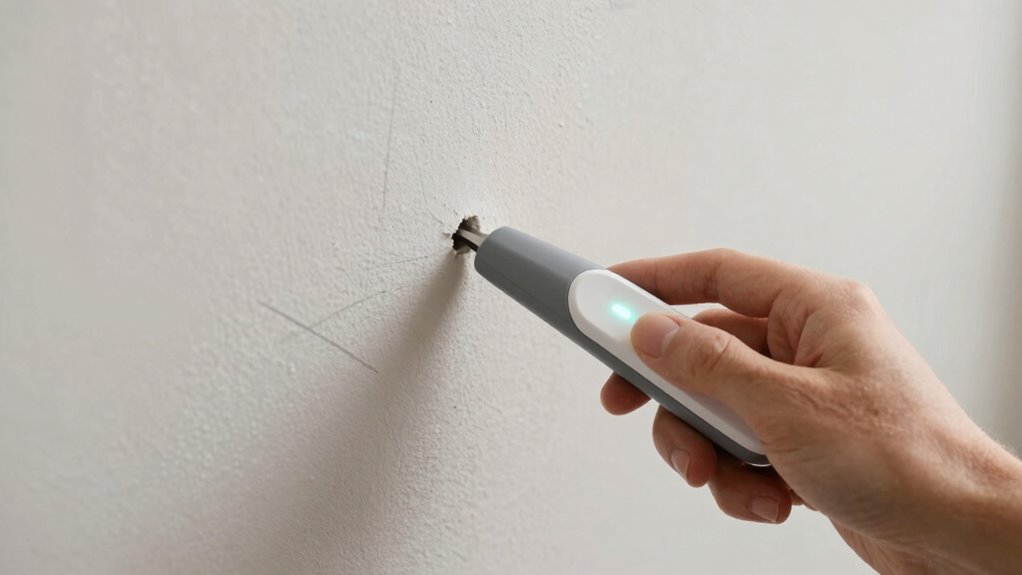
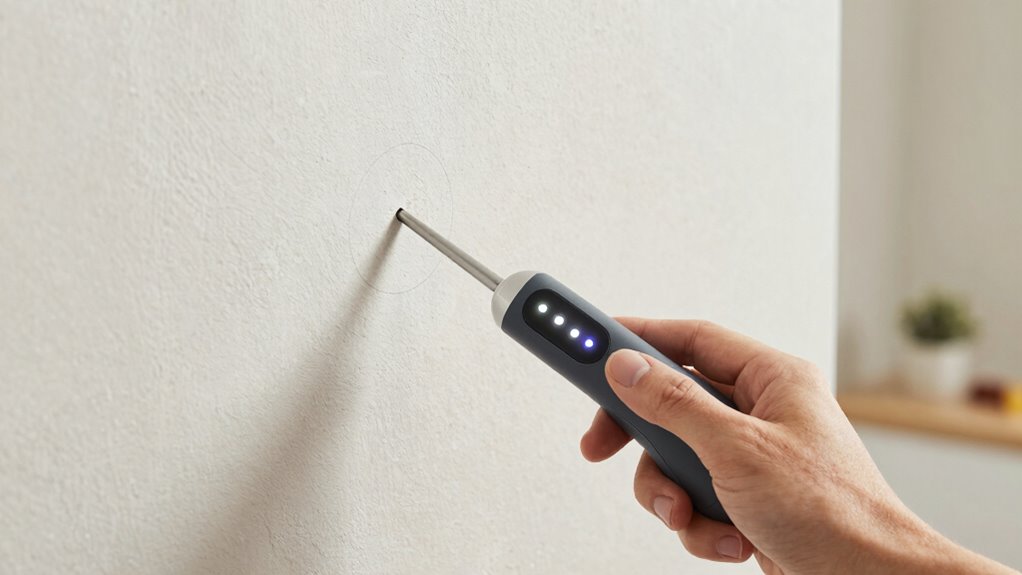
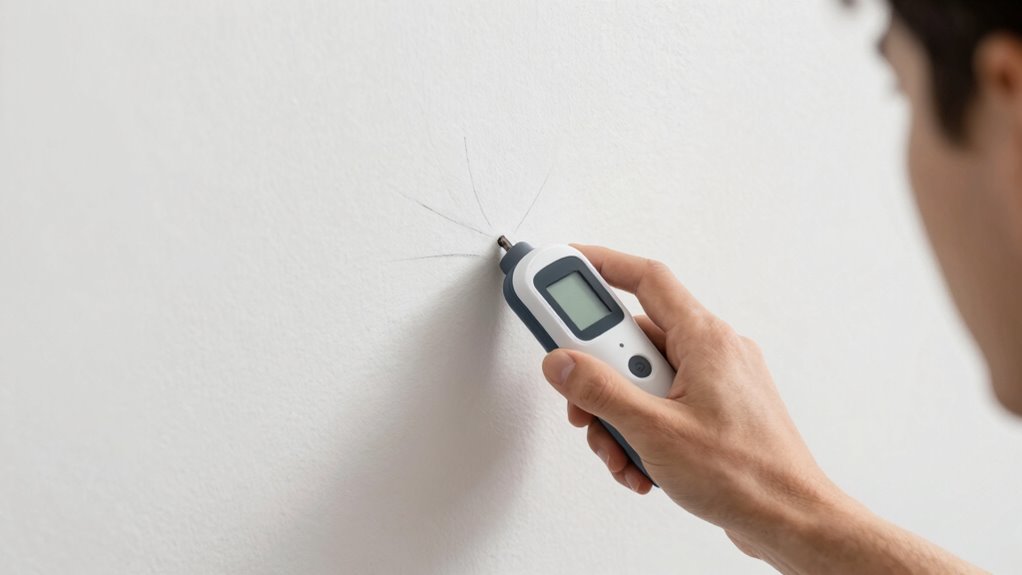
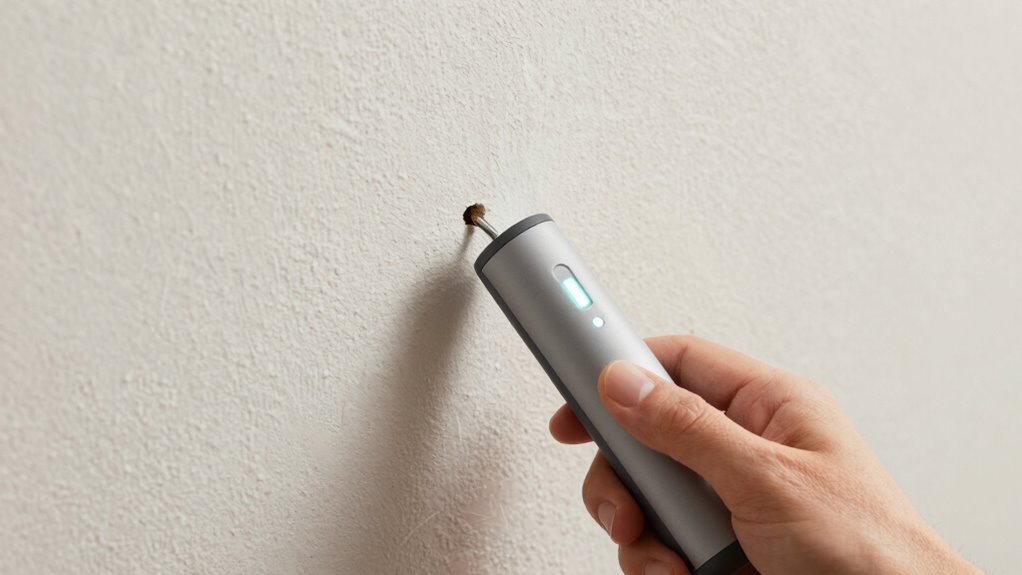
Mark and Drill Safely to Prevent Oops Holes

Before drilling into your wall, taking a moment to mark your stud location accurately is vital for preventing unsightly oops holes. Use your stud finder to locate the stud edges, then mark them clearly. When you’re ready to drill, consider your wall’s texture—rough surfaces may require different tools or techniques to guarantee precision. Always double-check your markings with a level or measurement to avoid mistakes. Using power tools with caution is essential; start with a small pilot hole to confirm your position before enlarging it. Here’s a quick reference:
| Wall Texture | Suitable Power Tools | Precautions |
|---|---|---|
| Smooth | Drill, screw gun | Keep steady pressure |
| Rough | Hammer drill | Use slower speed |
| Textured | Specialty bits | Mark clearly |
| Painted | Fine-tipped bit | Avoid chipping |
Proper marking and cautious drilling help prevent oops holes and guarantee a professional finish. Additionally, understanding filtration and suction basics can improve your overall drilling accuracy and dust control during the process.
Frequently Asked Questions
Can Temperature Affect My Stud Finder’s Accuracy?
Yes, temperature can affect your stud finder’s accuracy. When temperatures fluctuate, it may impact sensor calibration, causing less precise readings. Additionally, wall composition can change slightly with temperature variations, making it trickier for your device to detect studs correctly. To avoid errors, verify your stud finder is properly calibrated in the current environment and consider how wall materials might be responding to temperature changes.
How Do I Find Studs Behind Textured or Painted Walls?
To find studs behind textured or painted walls, start by using a high-quality stud finder designed for wall texture and paint interference. Move the device slowly along the wall, marking potential stud locations. For better accuracy, tap lightly along the wall to listen for solid sounds indicating studs. You can also use a small nail or pin to verify by gently probing the wall where the stud finder indicates.
Are There Different Types of Stud Finders for Specific Wall Materials?
Yes, there are different types of stud finders for specific wall types. For example, magnetic stud finders work well on drywall and plaster, while electronic models with advanced stud finder features excel on textured or painted walls. If you’re dealing with brick or concrete, consider a wall scanner designed for masonry. Selecting the right stud finder based on your wall type guarantees accurate results and helps you avoid unnecessary holes.
What Should I Do if My Stud Finder Keeps Giving False Readings?
If your stud finder keeps giving false readings, don’t worry — it’s often due to calibration issues or sensor interference. Studies show that 60% of inaccurate readings come from improper calibration. To fix this, recalibrate your device on a clear, known surface, and move away from metal objects or electrical wires that might interfere with the sensor. Doing this guarantees more precise results and avoids missed studs or false alarms.
How Can I Locate Electrical Wiring or Pipes Before Drilling?
To locate electrical wiring or pipes before drilling, use a stud finder with built-in electrical wire and pipe detection features. Move the device slowly along the wall, paying attention to signals indicating the presence of wiring or pipes. Mark these areas clearly to avoid drilling into them. Always turn off power and water supplies beforehand for safety, and consider hiring a professional if you’re unsure about the location of hidden utilities.
Conclusion
By mastering your stud finder, you turn a potential “oops” hole into a perfect mark. Imagine the wall as a blank canvas, and your tools as the artist’s brushes—precision transforms chaos into clarity. When you calibrate, check, and mark carefully, you’re not just avoiding mistakes; you’re creating a smooth, professional finish. With confidence and attention, you replace uncertainty with craftsmanship, turning a simple hole into a proof to your skill.